Do you have a question about the Room essentials 417087 and is the answer not in the manual?
Prepare for assembly by checking parts, using the carton, and gathering tools.
List of necessary tools for a smooth bookcase assembly process.
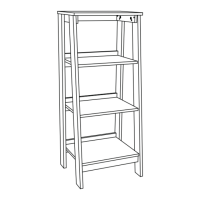
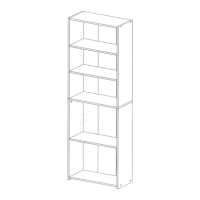
Detailed list and visual guide to all individual bookcase parts.
Catalog of all hardware items, including cams, dowels, and screws.
Install connector screws into hidden connectors and tap into shelves.
Insert hidden cams into skirts and attach cam dowels.
Insert hidden cams into shelves (B2, C2, D2) and backs (E2).
Screw cam screws into the front and rear legs (F, G, H, I).
Fasten side skirts (K) to the legs using flat head screws.
Insert metal pins and attach backs (E2) to the right rear leg (H).
Fasten shelves (B2, C2, D2) to front (F) and right rear (H) legs.
Attach shelves (B2, C2, D2) and backs (E2) to left legs (G, I).
Fasten top (A) to skirts (J2, K) and skirt (J2) to bottom shelf (D2).
Connect shelves (B2, C2, D2) to backs (E2) with hidden connectors.
Attach the safety strap to the unit and a wall for tip-over prevention.
Apply covers to hardware and review tip-over warnings and weight limits.
| Brand | Room Essentials |
|---|---|
| Model Number | 417087 |
| Number of Shelves | 5 |
| Assembly Required | Yes |
| Frame Material | Wood |
| Weight Capacity | 33 Pounds |
| Product Name | 5 Shelf Bookcase |
| Material | Wood |
| Weight Capacity per Shelf | 33 Pounds |