K
kowensAug 17, 2025
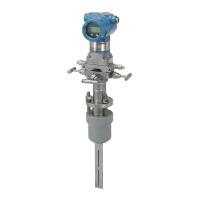
Why do Rosemount 3051SFA Measuring Instruments give a high reading?
- KKelly LeblancAug 17, 2025
If your Rosemount Measuring Instruments are showing a high reading, here are a couple of things to check: * The Annubar sensor might not be installed in the proper pipe size. To resolve this, verify the actual pipe ID and wall dimensions and compare them to the Calculation Data Sheet. If the dimensions do not match, consult the factory. * The DP transmitter might not be zeroed or configured correctly. You should verify that the DP sensor has been zeroed properly, that the transmitter range is correct, and that the square root output is correct. Also, verify that the Annubar sensor calc sheet represents fluid density properly so that the transmitter is configured correctly for the application.