XPression Connect User Guide (10.5) 3–3
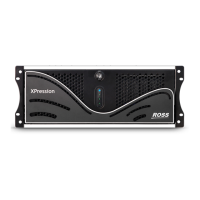
7. Click inside attribute and enter the name Name.
8. Click inside the Data section and enter the value for the attribute. For example, Twitter.
9. Right-click on the xpConnect element node and select Add > Attribute.
An attribute node is added to the xpConnect element node.
10. Click inside attribute and enter the name Type.
11. Click inside the Data section and enter Crawl Test.
Adding Animation
To assign animation to the scene or scene group, add three animation controllers named In, Change, and Out.
Ensure the following is set up for In, Change, and Out animations:
•The In animation brings in items from the data source (for example, Inception) such as ‘Text1’, ‘Avatar1’,
‘Name1’, etc.
• In the Change animation, ‘Text1’ from the In animation is now ‘Text1A’ and is in the same position as the next
‘Text1’ to follow ‘Text1A’.
XPression Connect will copy data from In ‘Text1’ to Change ‘Text1A’, and copy new data to ‘Text1’. The same
applies for Avatar1, Name1, etc.
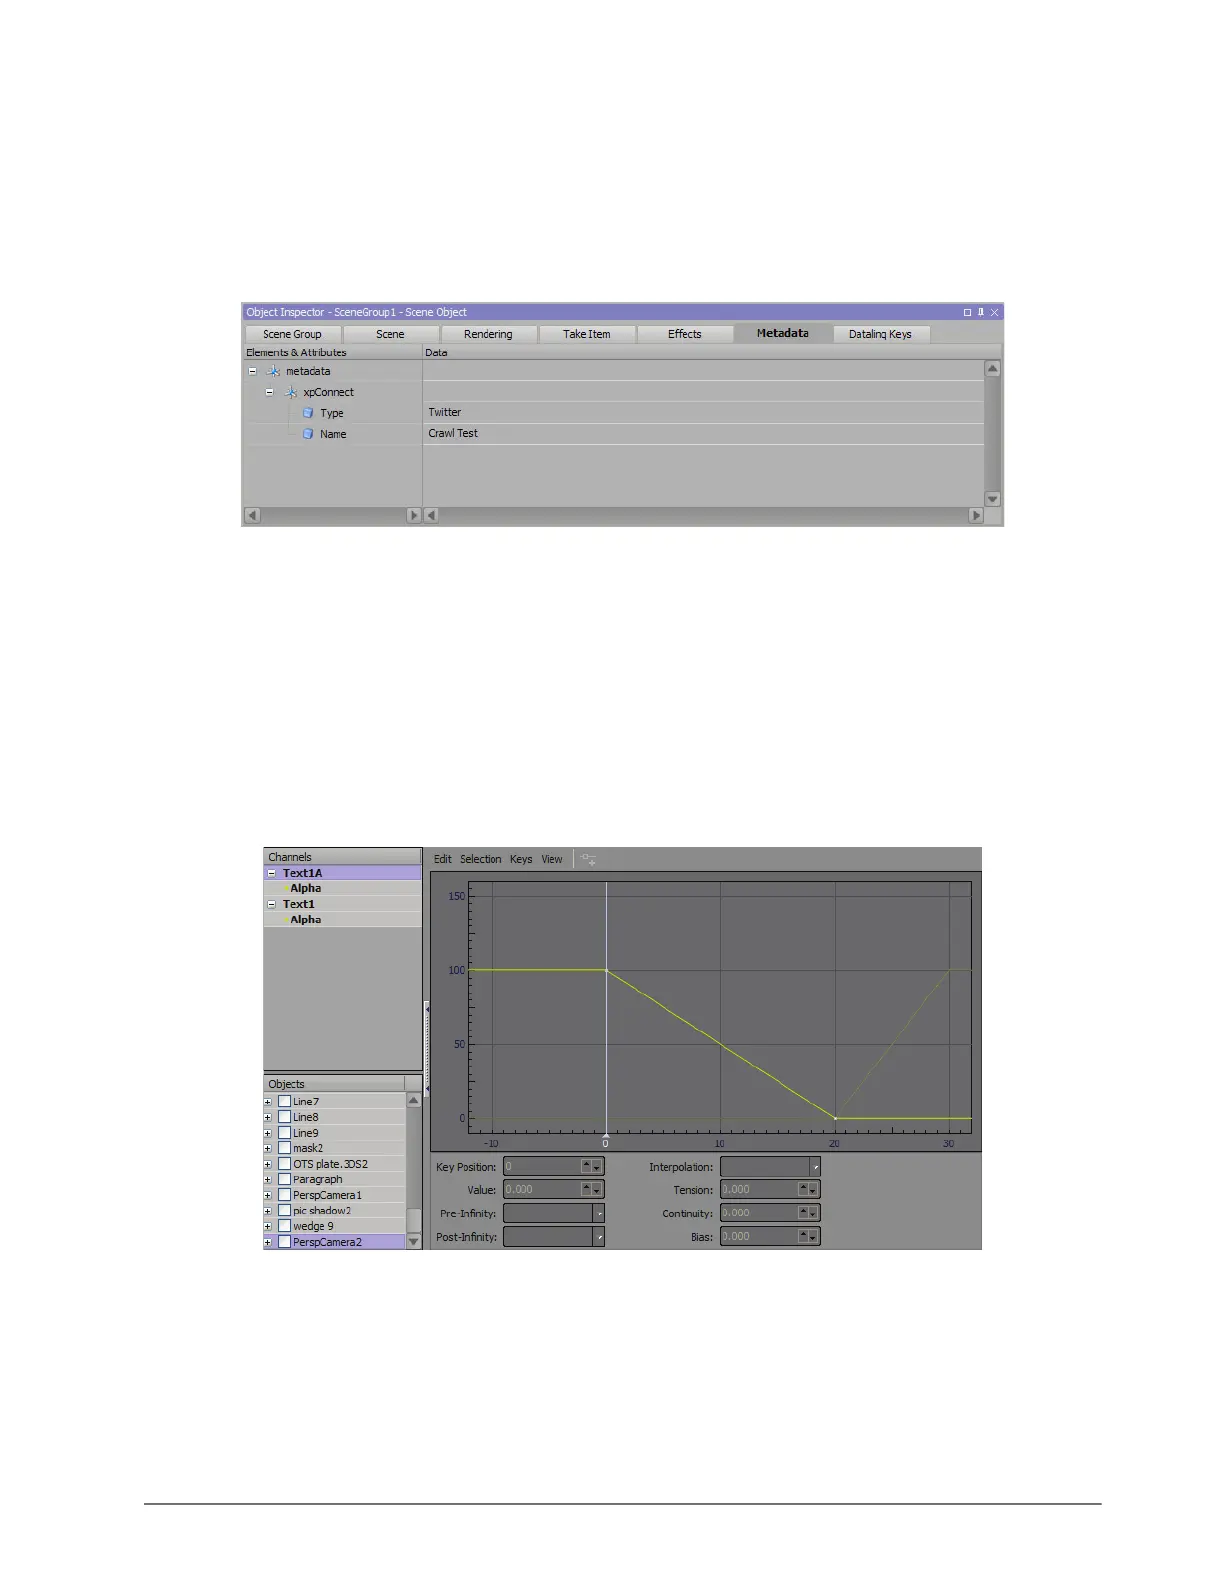
The following image from the Key Graph Editor provides a visual of the necessary setup for the Change
animation, whereby ‘Text1A’ is transitioned out as ‘Text1’ is transitioned in:
•The Out animation has ‘Text1’ animated out, so that if the animation goes from In to Out without a change in
between, ‘Text1’ is still taken out.
Using a Roll/Crawl
For a crawl/roll:
• the object name for the text object for the social media feed must be ‘Name1’ in the Object Manager.
• the object name for the text object for the user handle/screen name must be ‘ScreenName1’ in the Object
Manager.
• the object name for the quad object for an avatar must be ‘Avatar1’ in the Object Manager.
Te x t 1 A
Text1
Te x t 1 A
Text1