5
SINGLE PHASE
THREE PHASE
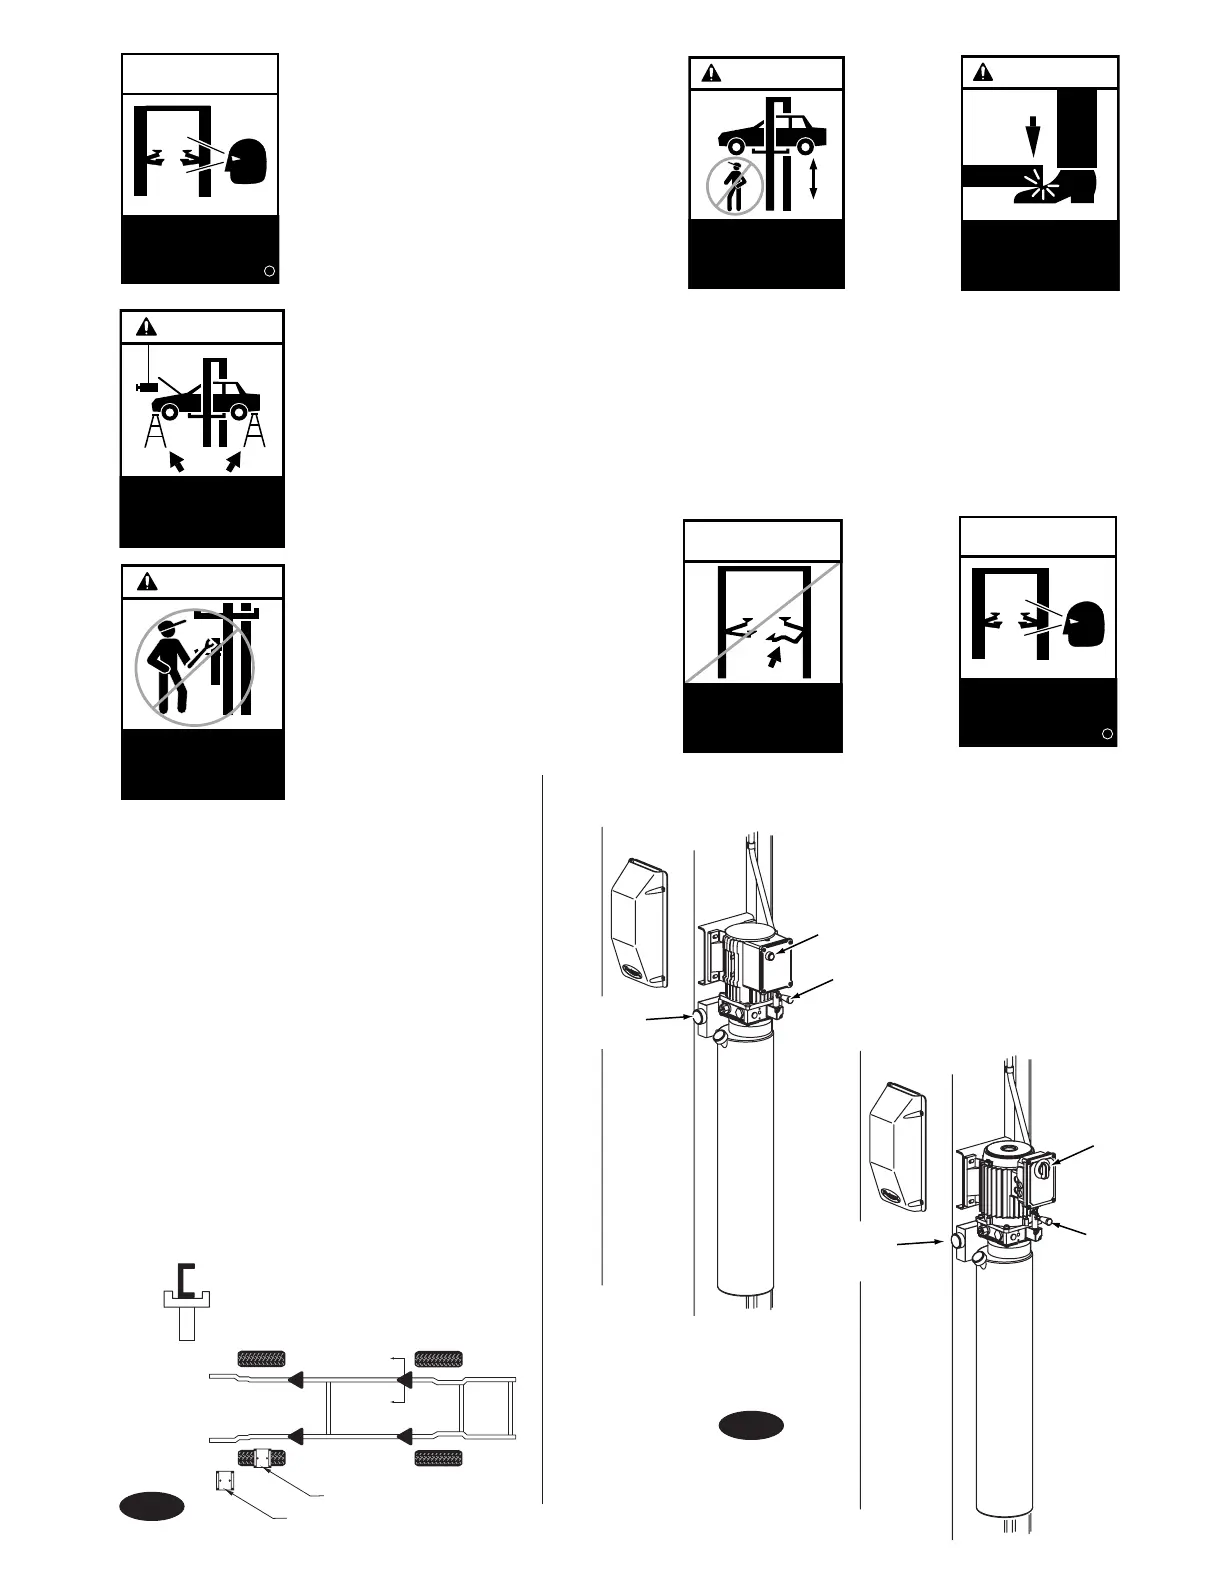
Lowering Valve Handle
Latch
Release
Raise Switch
Latch
Release
Raise
Switch
Lowering
Valve
Handle
5. While Using Lift:
A. Avoid excessive rocking of
vehicle while on lift.
B. Always use safety stands as
needed or when removing or
installing heavy components.
Do not operate
a damaged lift.
CAUTION
Always use
safety stands when
removing or installing
heavy components.
©
6. To Lower Lift:
A. Remove all tools or other objects
from lift area.
B. Raise lift off locking latches.
C. Push AIR LATCH release handle
fully and hold.
D. Push LOWERING valve handle to
lower.
Note: The AIR LATCH release tog-
gle and LOWERING valve handle
are deadman-type design. Each
must be held down to lower lift.
Do Not override self-closing lift
controls.
WARNING
Do not override
self-closing
lift controls.
©
Keep feet
clear of lift
while lowering.
©
WARNING
WARNING
Remain clear of lift
when raising or
lowering vehicle.
©
SAFETY
INSTRUCTIONS
Do not operate
a damaged lift.
©
SAFETY
INSTRUCTIONS
Proper maintenance
and inspection
is necessary
for safe operation.
c
SAFETY
INSTRUCTIONS
Proper maintenance
and inspection
is necessary
for safe operation.
c
Positioning the vehicle
For longer wheel base vehicles, position the
vehicle on the forward spotting dish. For
shorter wheel bases, position the vehicle on
the rear spotting dish. Due to varying centers
of gravity within different vehicle classes, use
the dishes as quides only and locate the arms
beneath the vehicle pickup points. Always
position vehicle with its center of gravity in line
with the lift columns. Slightly raise the vehicle
and check for stability. Do this by pushing up
and down on the front and rear bumpers. The
vehicle should sit firmly on all pickup points.
If necessary, relocate arms and/or vehicle to
attain a stable condition. Also refer to the ALI
Safety Manual included with the lift.
7. Remain clear of lift when lowering vehicle. Observe
pinch point warning decals.
8. Remove adapters from under vehicle and swing arms to
full drive-thru position before moving vehicle.
9. If lift is not operating properly, Do Not use until ad-
justment or repairs are made by qualified lift service
personnel.
Typical Lift Points
Truck
Rear Spotting Dish
Forward Spotting Dish
Section "A - A"
Lift
Adapter
Truck Frame
Fig. 1
Fig. 3

 Loading...


