Repair Manual 125 MAX DD2
Page 48 Issue 01/2006
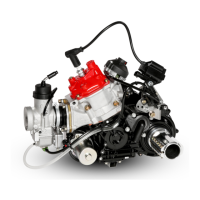
Fig. 82
◆ Note: The shaft circlips should be installed with the chamfer facing the pressure side of the shaft.
➩ Complete the starter crown wheel, see from page 36, and position it on the crankshaft.
✔ Inspect the disc spring for wear.
➩ Install the disc spring.
◆ Note: Take care over the installed position
- the disc spring must be able to
transfer the pressure from the fixing
nut to the component.
➩ Tighten the nut SW30 to the prescribed tightening
torque of 120 Nm using the special tool.
◆ Note: Use the special tool “Locating/
locking device, complete“ ROTAX
No. 676 200/202
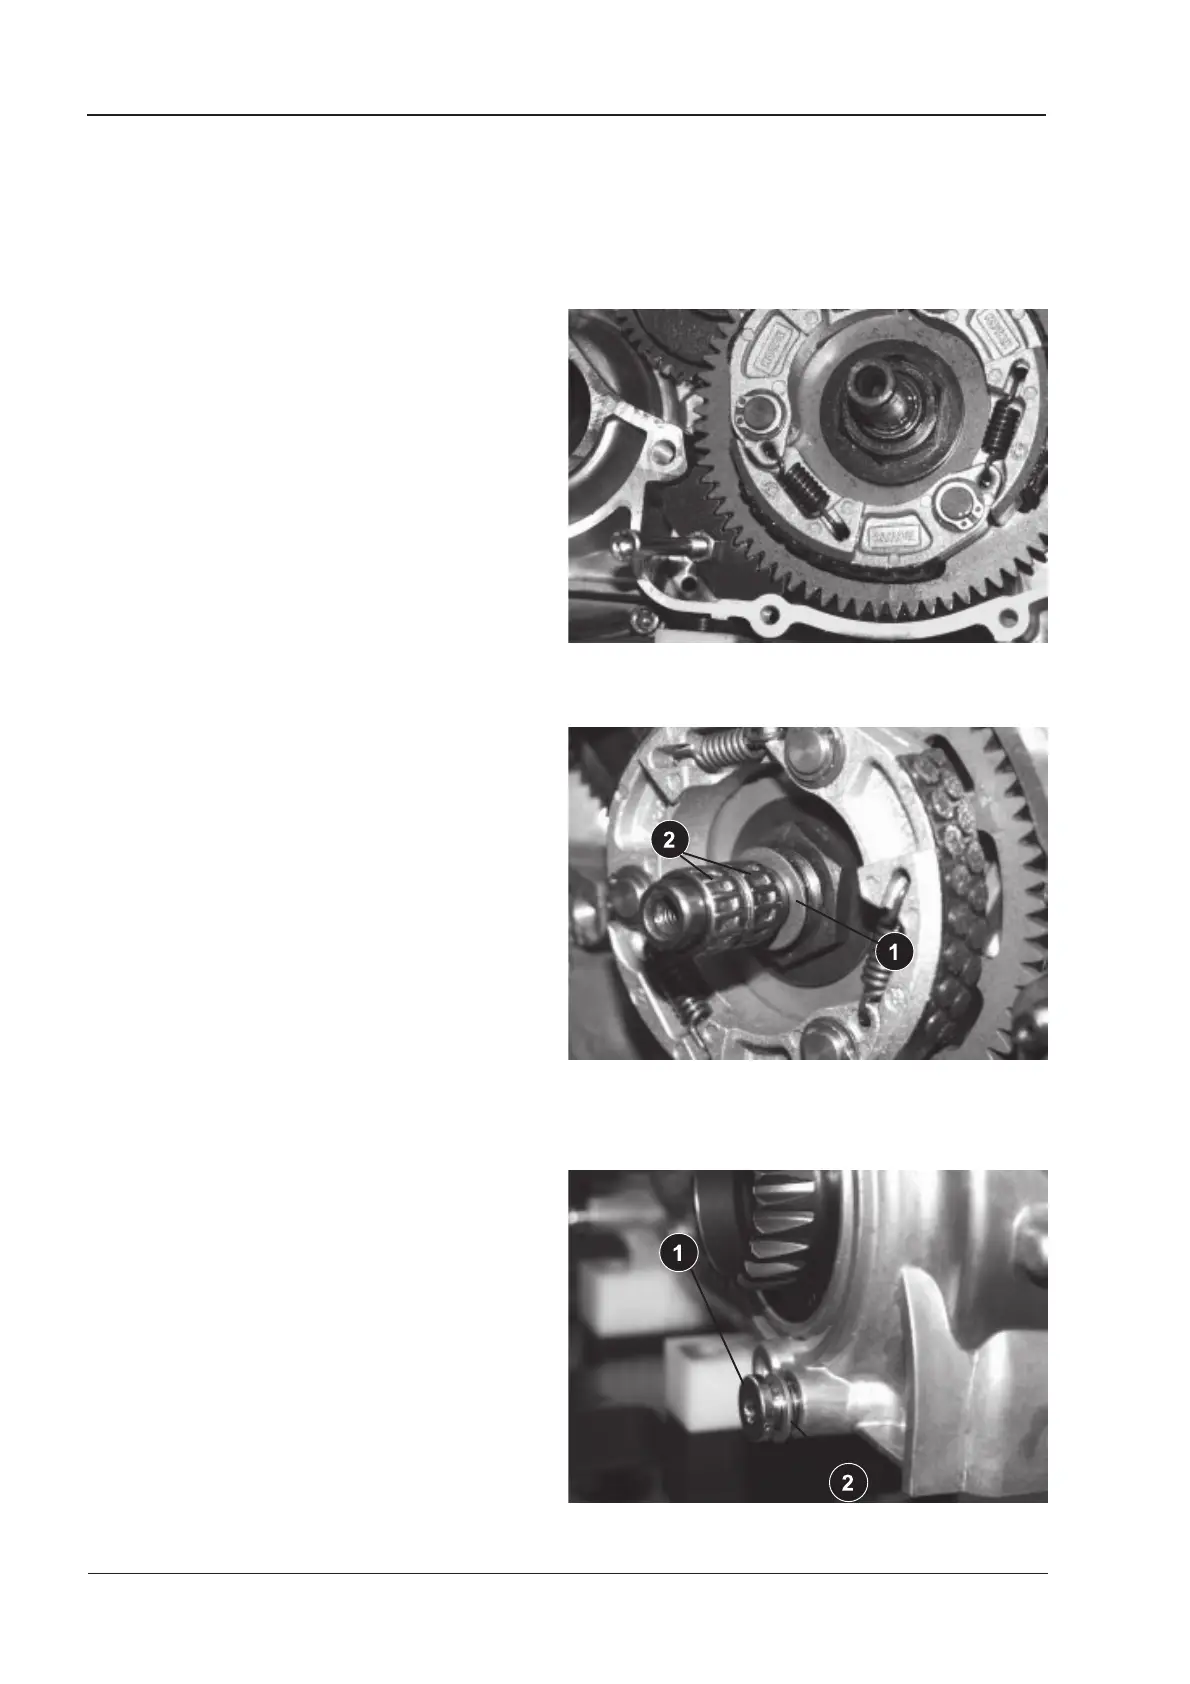
➩ Fit the thrust washer (Item 1), see Fig. 81.
✔ Inspect the thrust washers and needle bearing
for wear - replace if required.
✔ Inspect the drive gear for material erosion and
scouring in the area of the bearing. Check for
deformation and wear of the toothed
components.
➩ Coat the needle sleeve (Item 2) with lithium-base
grease and fit it on the crankshaft.
➩ Fit the shaft circlip in the third groove on the pinion
shaft using suitable pliers.
➩ Position the clutch with the drive gear, complete,
on the needle sleeve.
➩ Engage the secondary gear wheel in the teeth of the pinion shaft.
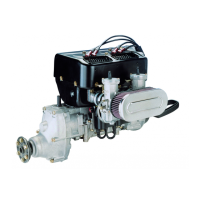
➩ Fit new gearbox housing cover gasket.
➩ Screw in the oil drain screw (Item 1) with a new
sealing ring (Item 2).
➩ Tighten the 6 screws in the clutch cover and the
4 screws in the hollow shaft bracket to the
prescribed torque of 10 Nm.
➩ Screw in the oil level screw/screw plug with a
new sealing ring.
➩ Fill the assembly with the specified quantity of
oil (150 ccm) through the oil filler.
Fig. 81
Fig. 80