Repair Manual 125 MAX DD2
Page 52 Issue 01/2006
◆ Note: On each of the components cylinder
head, exhaust outlet and carburetor
socket a screw with a hole in the top
is used for the purpose of attaching
sealing wire - ROTAX part no. 641
361.
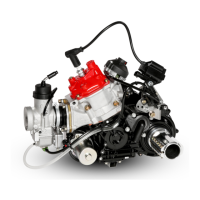
◆ Note: Note the installed position of the
thermostat, see Fig. 90.
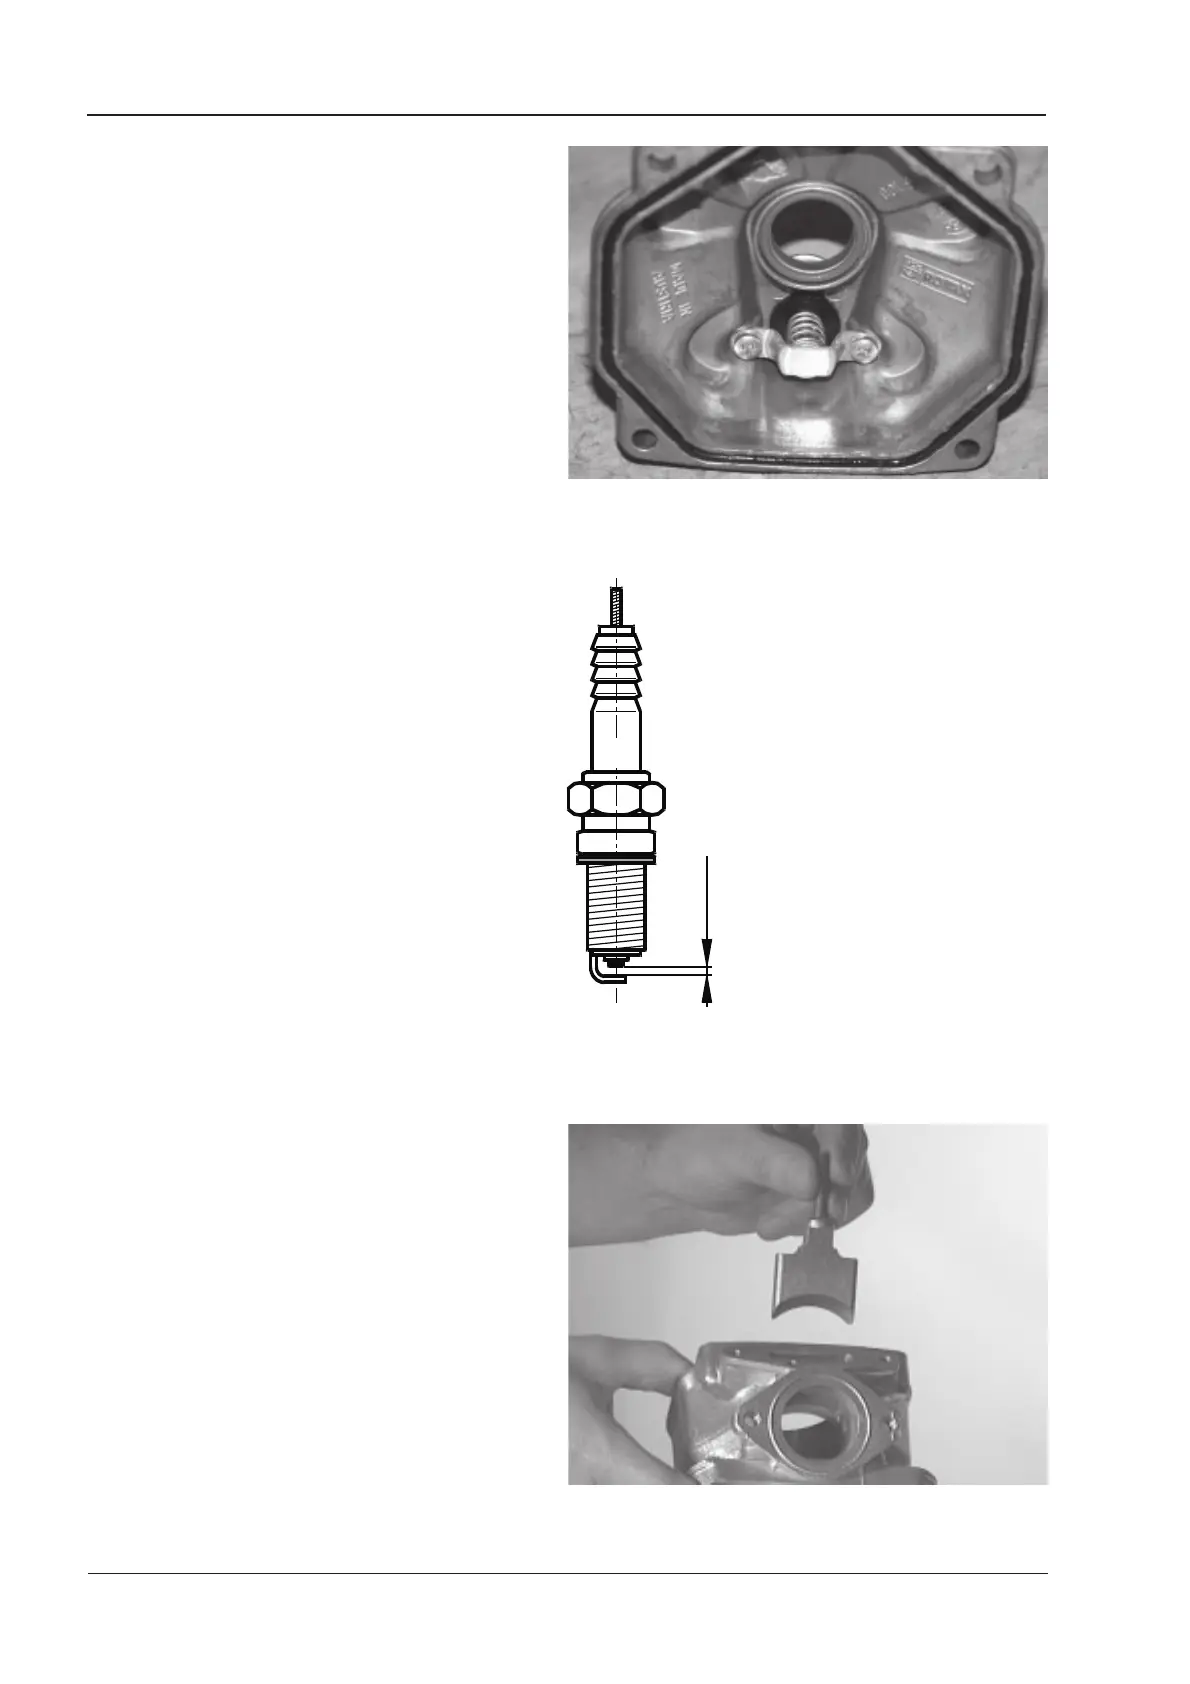
Installation of the spark plug
✔ Check the electrode gap of the spark plug with
a feeler gauge and adjust if required to s = 0.4
mm to 0.6 mm.
■ Attention: The ground electrode can be bent
only by a minimal amount.
➩ Tighten the spark plug by hand and with approx.
180° rotation, depending on the engine
temperature and contact pressure of the spark
plug that is fitted.
◆ Note: The following spark plugs are
approved by BRP-ROTAX:
Denso IW 24 - 31,
a Denso IW 27 spark plug is
installed as standard.
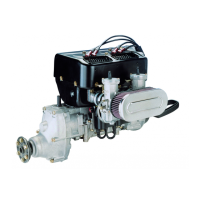
Installation of the outlet slider
◆ Note: The item numbers in this section
relate to Fig. 93.
➩ Secure the outlet slider (Item 15) and stud bolt
(Item 13) with Loctite 648, and tighten to a torque
of 2-3 Nm.
➩ Wipe away the surplus Loctite.
➩ Fit the o-ring (Item 14).
➩ Insert the outlet slider in the cutout in the cylinder
as shown in Fig. 92.
Fig. 91
Fig. 90
S
Fig. 92