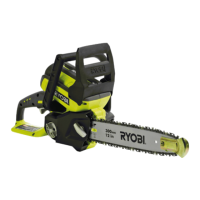
What to do if Ryobi Chainsaw engine starts but chain is not rotating?
C
clarkjohnAug 7, 2025
If the engine of your Ryobi Chainsaw starts but the chain isn't rotating, first, make sure the chain brake is released. If the chain brake is not engaged, the chain tension may be too tight. Also, the guide bar and chain assembly may be incorrectly assembled. Refer to Replacing the Guide Bar and Chain in the Maintenance section of this manual. Inspect the guide bar and chain for damage. Finally, the drive sprocket teeth may be damaged, in which case you should contact an authorised service centre for drive sprocket replacement.
E
Elizabeth DillonAug 20, 2025
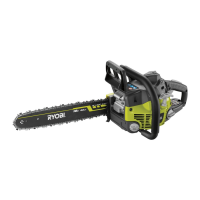
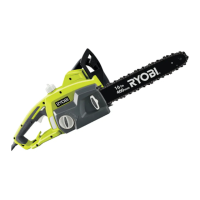
Why is my Ryobi RCS4040B Chainsaw bar and chain running hot and smoking?
R
Ronald PriceAug 20, 2025
If the bar and chain on your Ryobi Chainsaw are running hot and smoking, there are several potential causes. First, ensure the chain lubricant tank is full; it should be filled each time you fill the fuel tank. Another cause might be that the chain tension is too tight. Also, the oiler may not be functioning properly. To check, run the saw at half throttle for 30 to 45 seconds, then stop it and see if lubricant is dripping from the guide bar. If there's no lubricant, contact an authorised service centre.
Know your tool. Read the operator's manual carefully. Learn the saw's applications and limitations as well as the specific potential hazards related to this tool.
A cold chain is correctly tensioned when there is no slack on the underside of the guide bar, the chain is snug, and it can be turned by hand without binding.
During normal saw operation, the temperature of the chain increases. The drive links of a correctly tensioned warm chain will hang approximately 1.2mm out of the bar groove.
If the wood diameter is large enough for you to insert a soft bucking wedge without touching the chain, you should use the wedge to hold the cut open to prevent pinching.
A springpole is any log, branch, rooted stump, or sapling which is bent under tension by other wood so that it springs back if the wood holding it is cut or removed.
This guarantee only applies provided that the product has been used in accordance with the manufacturer's recommendations under normal use and reasonable care.