EasyManua.ls Logo

Ryobi RCS4040B - Mixing the Fuel; Filling the Fuel Tank; Adding Bar and Chain Lubricant; Operating the Chain Brake

Ryobi RCS4040B
27 pages
Print Icon
To Next Page IconTo Next Page
To Previous Page IconTo Previous Page
Loading...


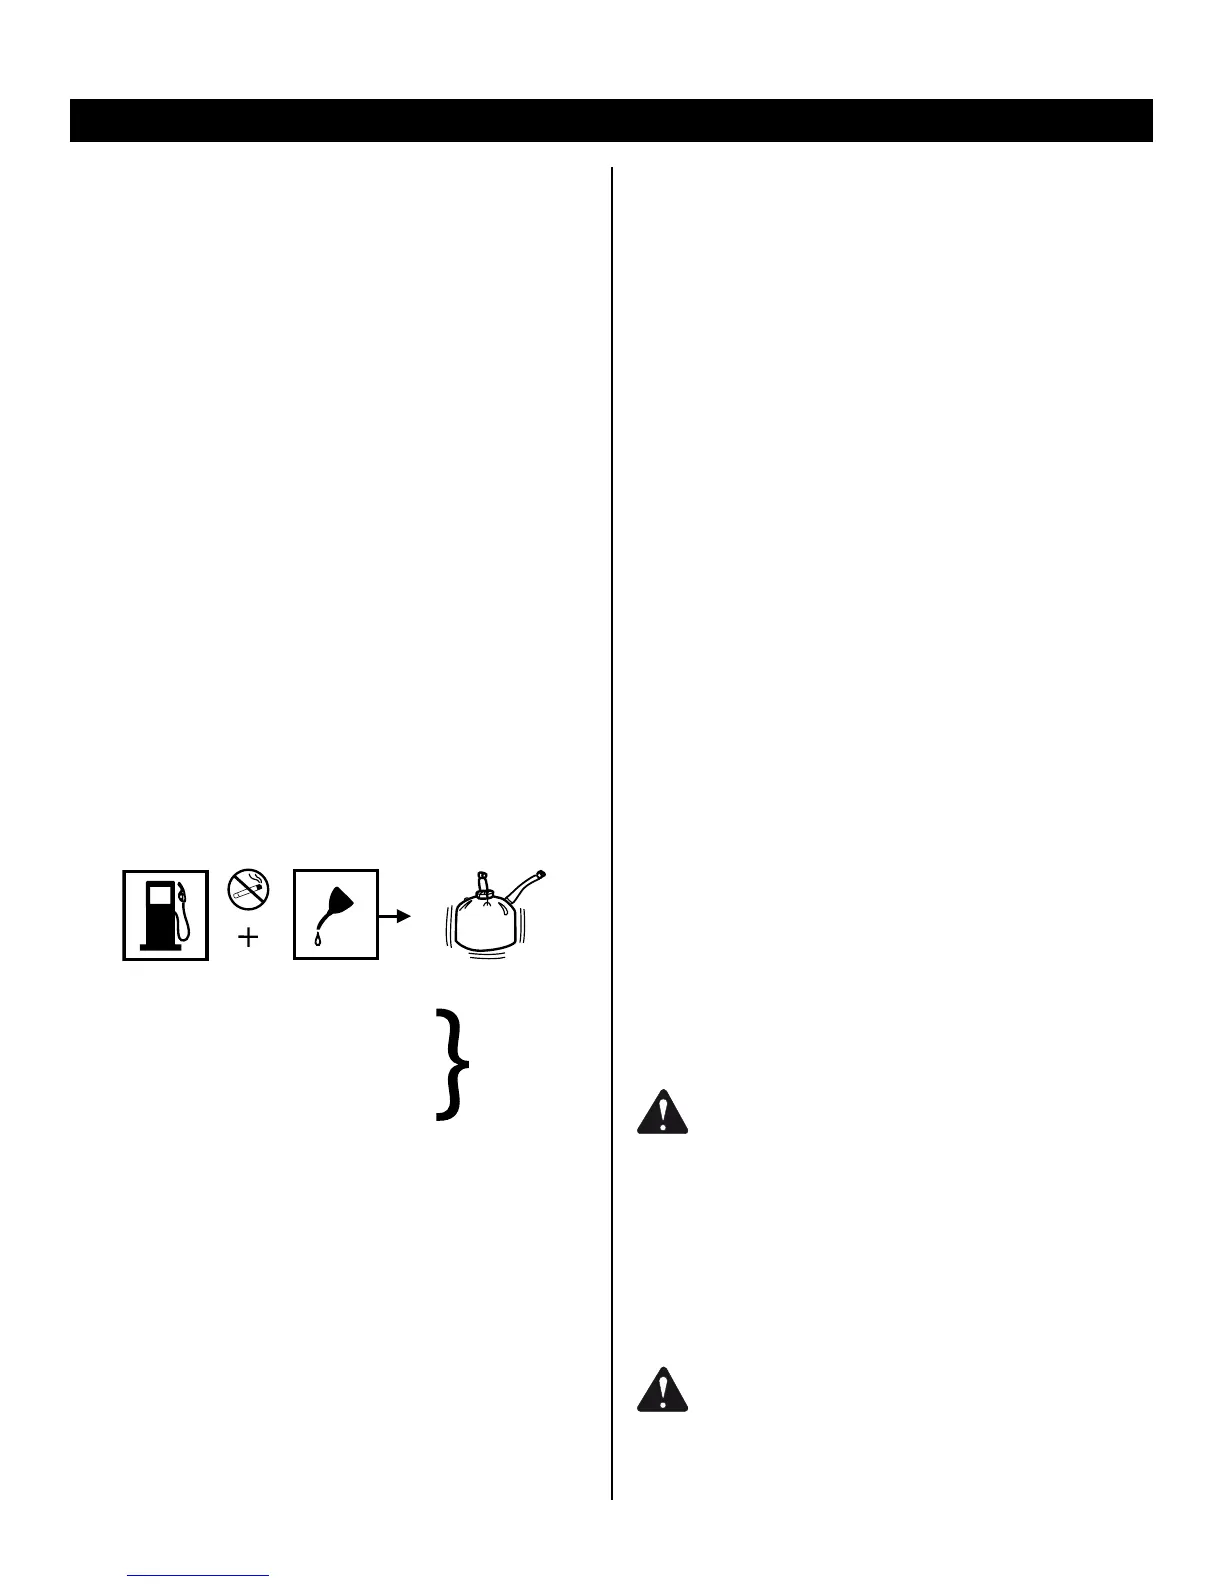
5. Immediately replace the fuel cap and tighten it. Wipe
up any fuel spillage.



See Figure 6.


        





n         

n 

See Figures 7 - 8.


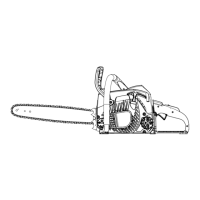
1. Engage the chain brake by rotating your left hand
around the front handle, allowing the back of your
hand to push the chain brake lever/hand guard toward
the bar while the chain is rotating rapidly. Be sure to
maintain both hands on the saw handles at all times.
2. Reset the chain brake back into the RUN position by
grasping the top of the chain brake lever/hand guard
and pulling toward the front handle until you hear a
click.

   
        



        
       
     


See Figures 8 - 13.
       





       


n        



n         



n 
     

n 
     

n        
      

n 

n 
n         
       


   
   
   
   
   





See Figure 5.
1. Clean the surface around the fuel cap to prevent
contamination.
2. Loosen the fuel cap slowly.
3. Carefully pour the fuel mixture into the tank. Avoid
spillage.
4. Prior to replacing the fuel cap, clean and inspect the
sealing gasket.

Related product manuals