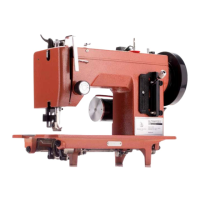
Install Sewing Machine
and Belt Bracket
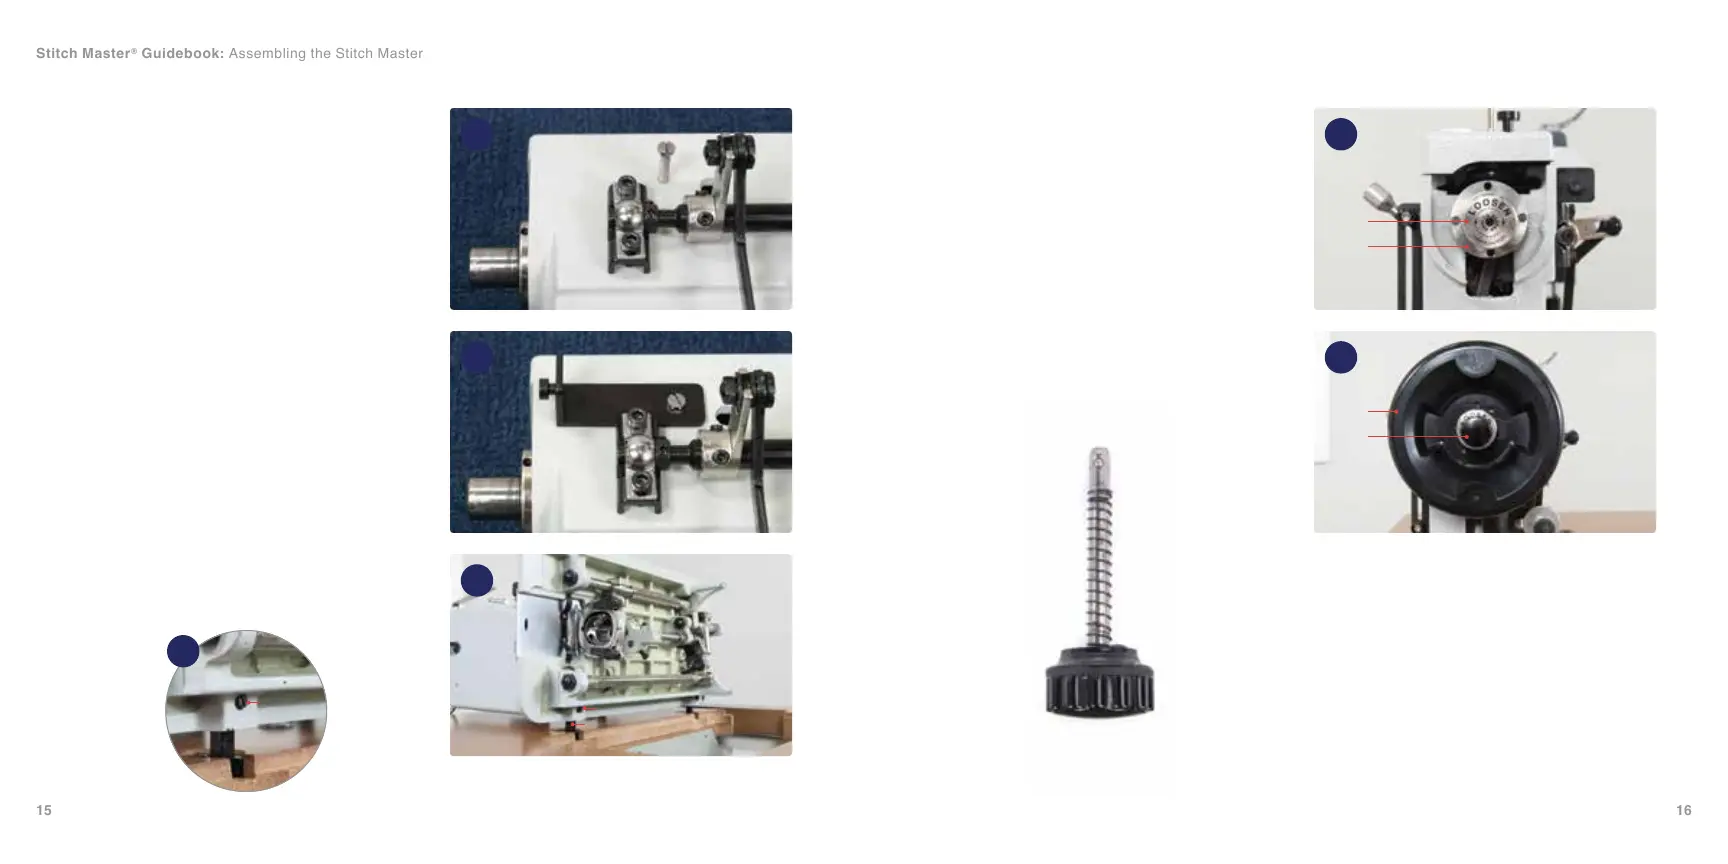
1. Remove the sewing machine from its
styrofoam shell and place the face of the
machine on a soft, at surface. Loosen the
hinge hole set screws (A) so that the holes
(B) are not obstructed.
2. Remove the long screw (C) from the head of
the sewing machine (23). Take the smaller
part of the belt cover assembly (D) and
secure with the screw (C) as shown (24).
3. Carefully lift the sewing machine and place
the hinge holes (B) over the hinge pins
of the hinges previously screwed to the
tabletop (25). Allow the sewing machine to
slide all the way back/down on the hinge
pins and rest the machine on the tabletop.
Tighten the set screws (A) (26). Pivot the
sewing machine upright.
23
24
25
26
27
28
C
D
F
A
B
A
G
H
E
E
Attach Power Plus™ Flywheel
1. Set the Posi-Pin
®
(E) aside and unscrew
the reverse-threaded Posi-Pin Nut (F) (27).
Slide the Power Plus Flywheel (G) onto the
Posi-Pin Wheel Bushing (H) and rethread
nut, spinning counter clockwise. Push the
Posi-Pin (E) into the center hole of the Nut
for safekeeping (28).
Stitch Master
®
Guidebook: Assembling the Stitch Master