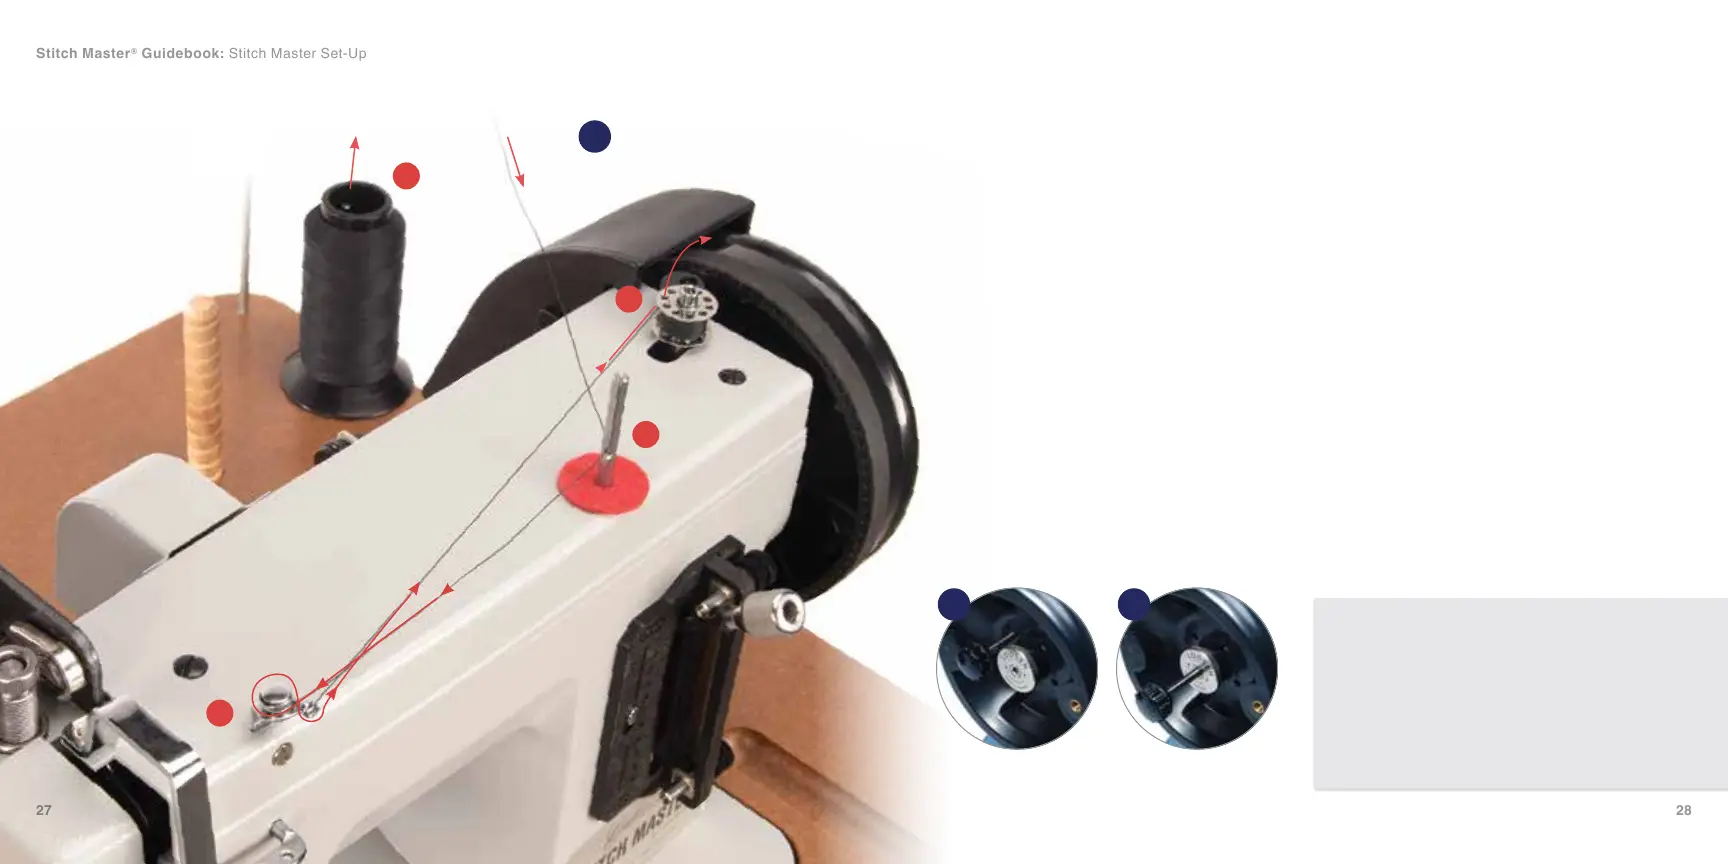
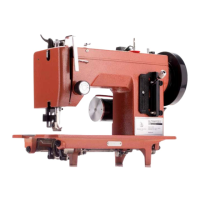
Winding Bobbins
A partially wound V-92 (T-90) bobbin is
already loaded in the machine. Skip this
step if you wish to test sew with the pre-
loaded bobbin. The black thread in the
photos is used for visual purposes only
and is not included with the machine.
> Posi-Pin clutch
DISENGAGED
> Posi-Pin clutch
ENGAGED
Thread the Bobbin
on the machine:
1. Thread comes off top of cone to thread
stand arm (A).
2. Pass through thread post (B). Use
whichever hole provides the most direct
path to the bobbin tensioner (C).
3. Wrap around bobbin tensioner (C).
4. Run under and up through a hole in top
of bobbin (D). Place bobbin on post and
push to the right. Hold onto thread tail
briey and power machine with the clutch
disengaged to wind bobbin. Stop after
several rotations and cut the thread tail off
ush with the bobbin side.
5. Continue winding until the bobbin is full.
Then remove the bobbin from the winder
post by pushing the post to the left and
pulling the bobbin off. Cut the thread.
A
B
C
D
It's faster to wind while you sew!
Run thread to the bobbin winder from an
extra cone of thread. Simply place the second
cone beside the primary cone and lead the
thread up through the same guides. Follow
normal bobbin winding instructions but do not
disengage the clutch.
45
44
46
Disengage the Clutch i.e.
Posi-Pin
®
Clutch System:
To prepare your machine to wind bobbins,
rst disengage the Posi-Pin Clutch System, to
allow for bobbin winding without running the
machine (45).
Simply pull the pin out of the Power Plus™
Flywheel and place it in the center hole as
shown to store (46). It may already be in the
stored position if you are using the machine
for the rst time.
To continue sewing, re-engage the clutch:
1. Push the Posi-Pin gently into any of the three
Posi-Pin holes in the Power Plus Flywheel.
2. Rotate the Power Plus Flywheel while lightly
pushing on the Posi-Pin until you feel it
connect with any of the 4 bushing holes.
3. Push the pin all the way in and release.
Stitch Master
®
Guidebook: Stitch Master Set-Up