2. INSTALLATION AND SETUP
Page 9
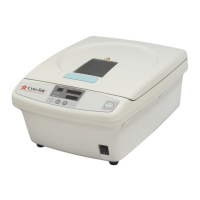
2.1 General Information
This section provides information on selecting a proper
location, unpacking, and installing the Cyto-Tek
2500
Cytocentrifuge. The instrument must be installed correctly
to ensure proper operation and service. Read this operating
manual carefully before attempting to operate the
instrument. Follow all instructions carefully.
The Cyto-Tek
2500 Cytocentrifuge is a precision instrument
and must be handled accordingly. Rough handling or
dropping of the instrument will disturb or damage internal
components. Always handle the instrument with care.
2.2 Installation Requirements
The Cyto-Tek 2500 Cytocentrifuge will deliver optimum
performance if the following requirements are observed:
1. Place the cytocentrifuge on a strong, level surface
away from any induced mechanical vibration.
2. Do not subject the cytocentrifuge to direct sunlight or
any other form of heat source.
3. The instrument must be in an area of minimal contact
with volatile combustibles and corrosive gases.
4. The instrument should not be on the same electrical
circuit servicing equipment with motors, cooling units,
heating units, or light sources.
5. Mark a 30 cm (one foot) boundary around the
cytocentrifuge and permit no person or hazardous
material within this zone while the cytocentrifuge is
operating.
2.3 Unpacking
Open the carton. The carton will contain the following
accessories:
Accessories packed in the secondary accessory carton
include:
NOTE: An English explanatory material on the Japanese
warranty card and medical package insert is also included
for overseas customers.
If any of these items are missing contact Sakura Technical
Support (see Section 5.4).
If there is any visible shipping damage to any item,
immediately file a complaint with the carrier. Then notify
your Sakura instrument distributor.
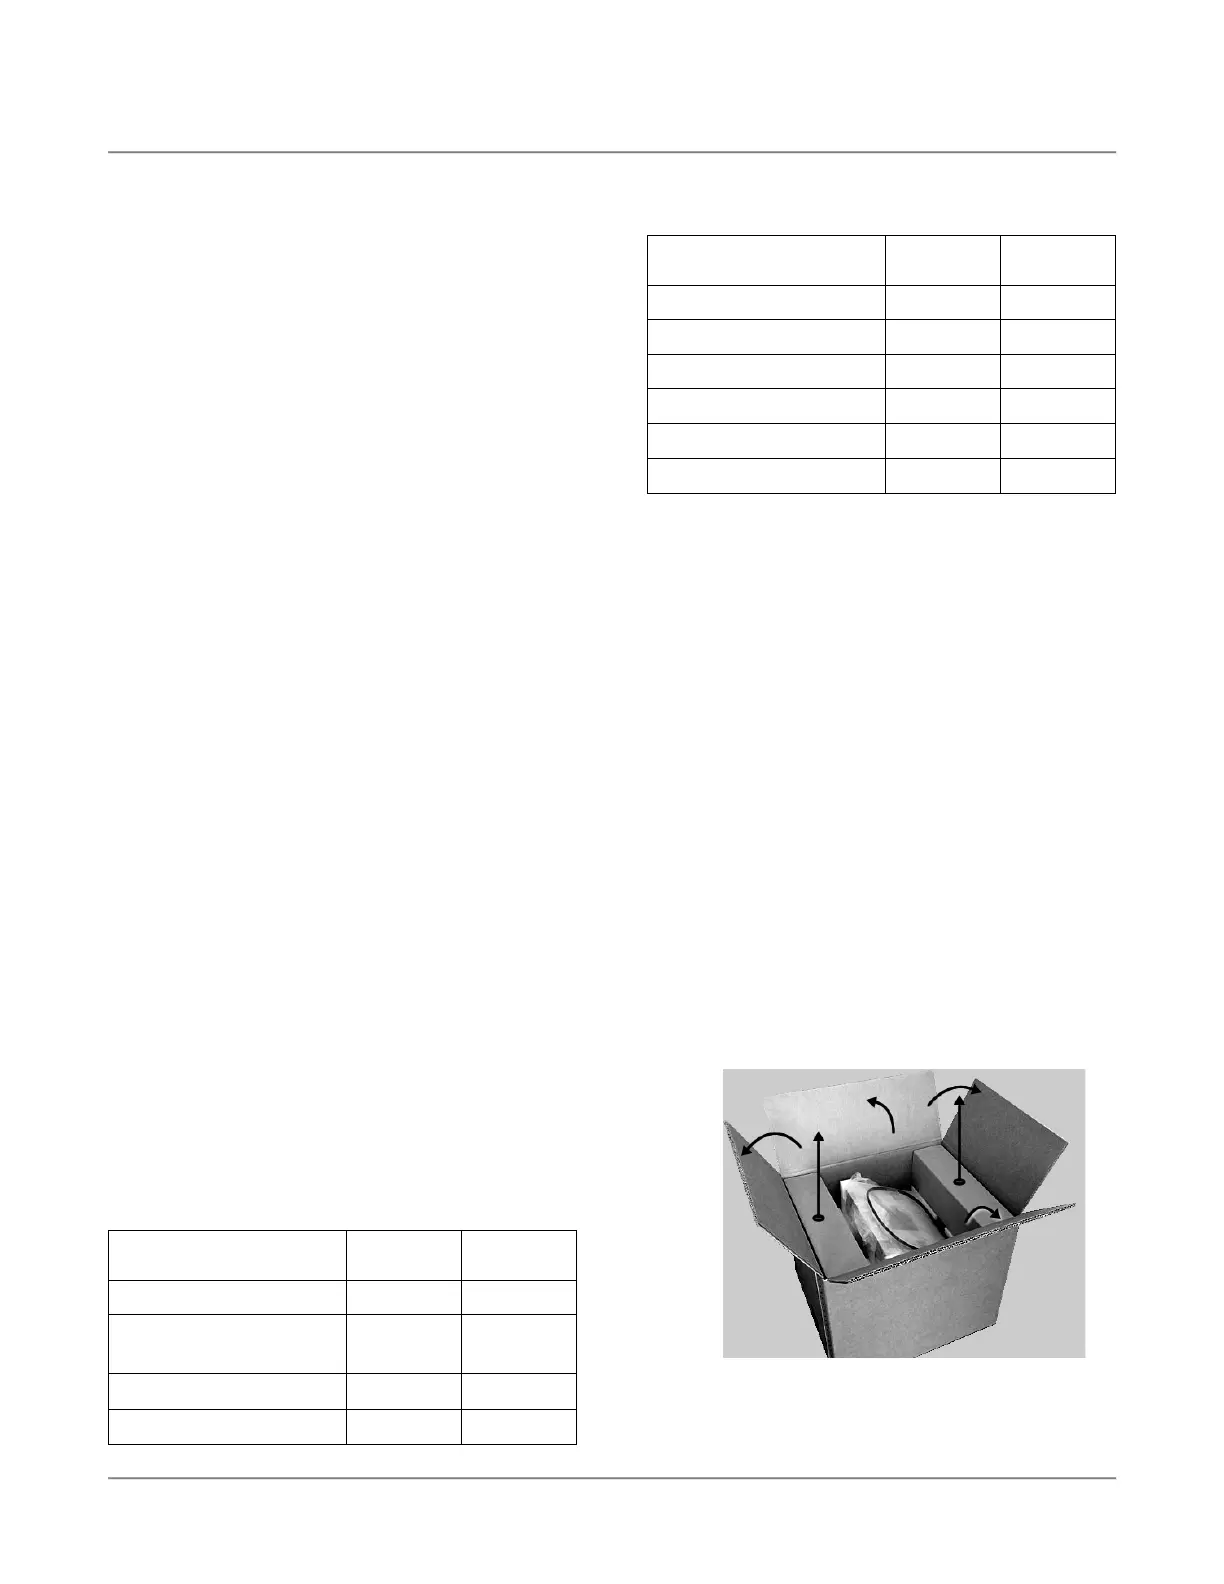
2.4 Unpacking the Instrument
CAUTION: Use proper lifting techniques when
removing the instrument from packaging.
1. Cut the two plastic straps on the sides of the
carton.
2. Remove both cardboard spacers (Figure 2A) and
instrument lid gasket (Figure 2B).
Figure 2A
Description Quantity Check box
Description Quantity Check box
Medical Package Insert
(Japan Customers Only)
1
□
 Loading...