22 | EN SMARTY v2023.1
6. MAINTENANCE
6.1. SAFETY INSTRUCTION
Unplug the unit from the mains before opening the door (disconnect the power plug from the outlet or in case a two-pole au-
tomatic circuit breaker installed, disconnect it as well. Make sure that it cannot be turned on by third parties) and wait until the
fans completely stop (for about 2 min.).
6.2. GENERAL RECOMMENDATIONS FOR THE MAINTENANCE OF VENTILATION SYSTEM
,QRUGHUWRHQVXUHSURSHUIXQFWLRQLQJRIWKHV\VWHPPDLQWHQDQFHUHTXLUHPHQWVDQGLWVSHULRGVVKRXOGEHREVHUYHG2WKHUZLVHWKHZDUUDQW\VKDOO
EHYRLG6RPHUHFRPPHQGDWLRQVDUHSURYLGHGLQWKHWDEOHEHORZEXWWKH\DUHMXVWDGYLVRU\DVWKHQHHGIRUV\VWHPPDLQWHQDQFHGHSHQGVRQWKH
ORFDWLRQRIWKHXQLWLQVWDOODWLRQWKHSROOXWLRQRIDWPRVSKHUHSRSXODWLRQZRUNLQJKRXUVHWF
COMPONENT DURING START-UP AT LEAST EVERY 6 MONTHS
Filters &KHFNWKHFOHDQOLQHVVRIWKH¿OWHUV
5HSODFH¿OWHUVHYHU\WRPRQWKVRUDFFRUGLQJWRWKHFRQWURO
device indications.
Fans
Check the connections and the
direction of rotation
Check cleanliness. Clean, if necessary
Make sure that the impellers are not unbalanced.
0DNHVXUHWKDWWKHLPSHOOHUVGRQRWFDXVHQRLVHZKHQURWDWHGE\
hand.
0DNHVXUHWKDWWKHIDVWHQLQJVFUHZVDUHQRWORRVHDQGIUHHRI
mechanical damage.
Check electrical connections and make sure that these are se-
cured properly and are free of signs of corrosion.
Plate Heat exchanger
Check the cleanliness of the heat
exchanger
Check cleanliness and clean, if necessary
Control panel Check the connections Check the connections
Electric heater Check the connections
&OHDQRႇGXVWDQGFKHFNWKHHOHFWULFDOFRPSRQHQWVDQGFRQQHF-
tions of the heater
Pressure sensor Check electrical connections Check the operation
Temperature sensor Check electrical connections Check the operation
Air supply and extract system Check the connections Clean
Air duct system Check the tightness Clean
'DPSHUVGLႇXVHUVJULG Check the tightness of connections Clean
6ZLWFKLQJXQLWFRQWDFWRU
(YHU\WRPRQWKVYLVXDOO\DVVHVVWKHIXQFWLRQLQJRIWKHVZLWFK-
ing unit (contactor), i.e. make sure that its casing has no signs
RIPHOWLQJRULVQRWWKHUPDOO\GDPDJHGLQDQ\ZD\DQGGRHVQRW
produce any unusual sounds. All the contactors in the product or
in its accessories must be checked.
Condensate trap and discharge
assembly
Check the condensate discharge
DVVHPEO\DQGPDNHVXUHWKDWZD-
ter runs from the drip tray properly.
Clean
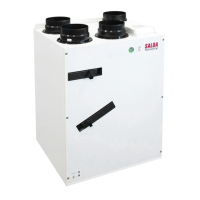
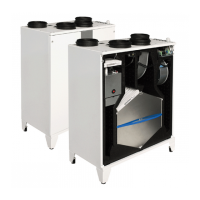
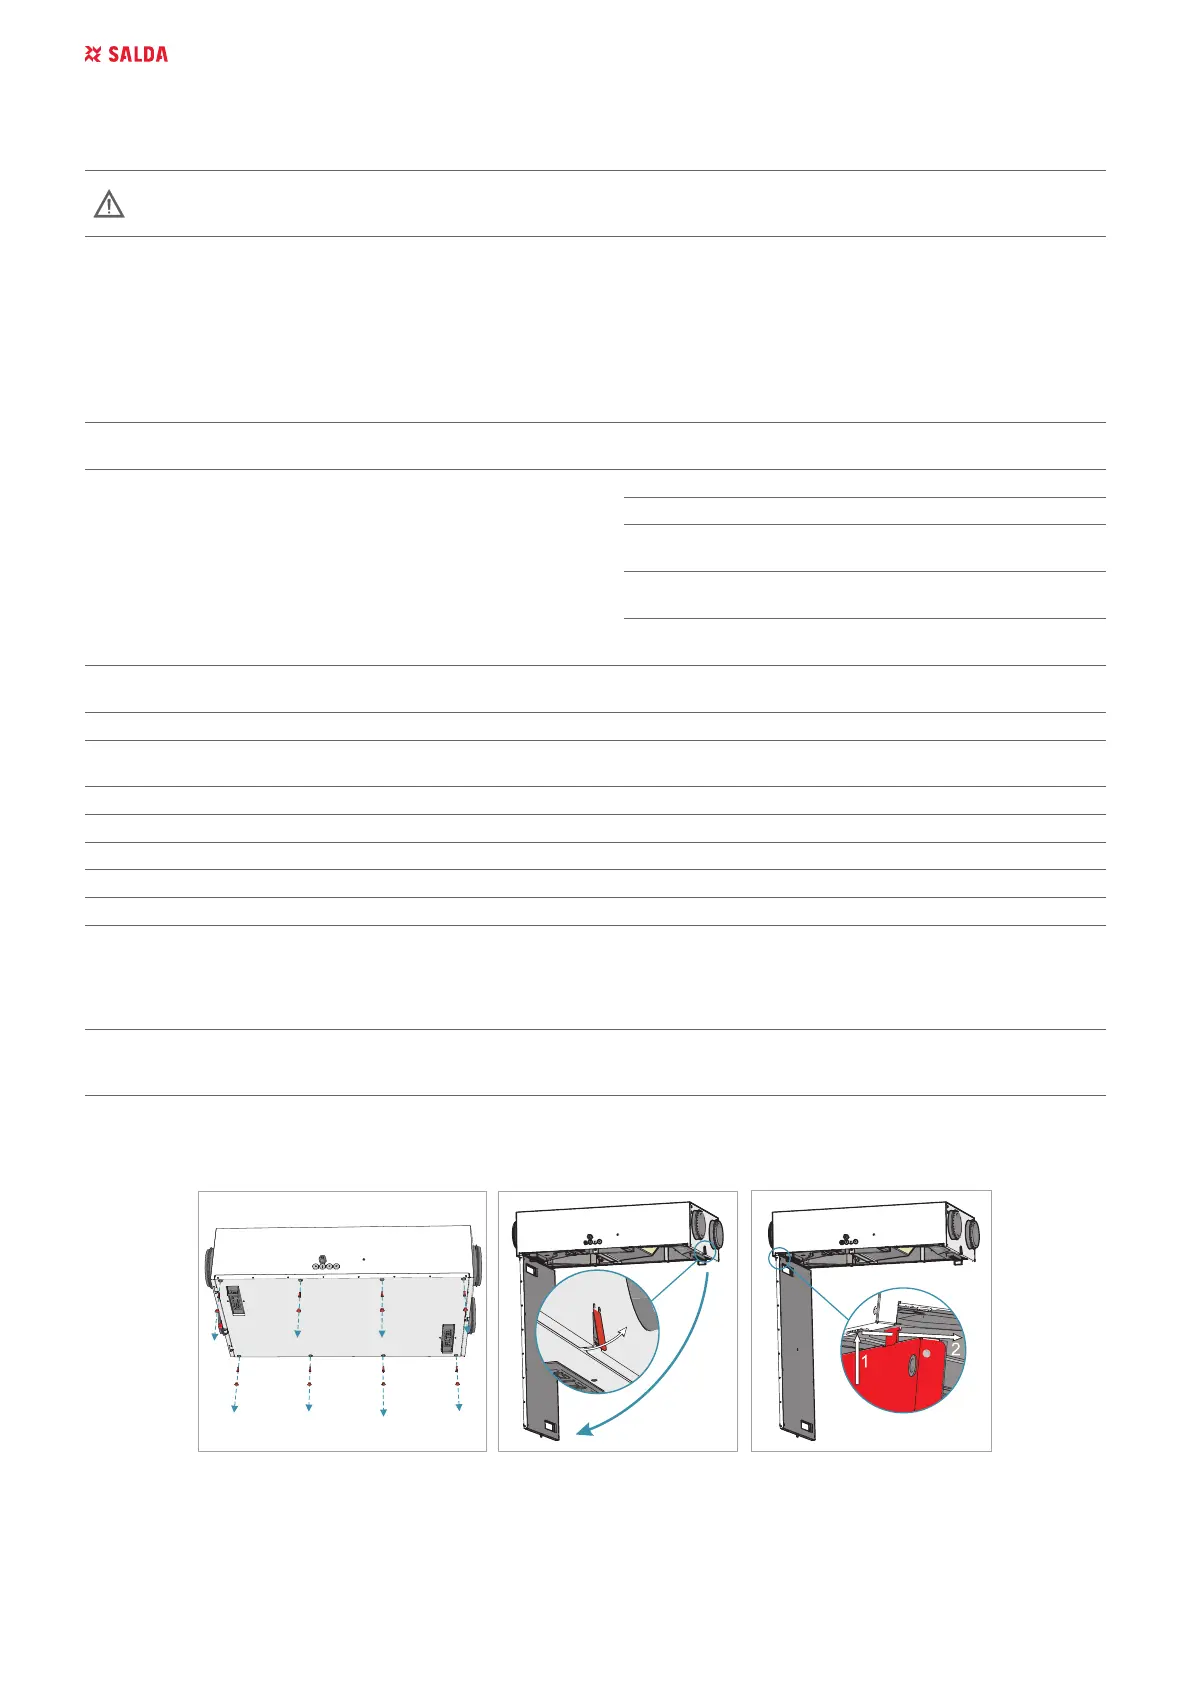
6.3. COVER OPENING
Figure 6.3.1. Smarty 2X P