51
GLASS LID ASSEMBLY
**Your Pressure Cooker is equipped with a
Tempered Glass Lid that can be used with the SLOW
COOK and WARM functions. Please do not use this
Glass Lid with any other functions on this Pressure
Cooker.
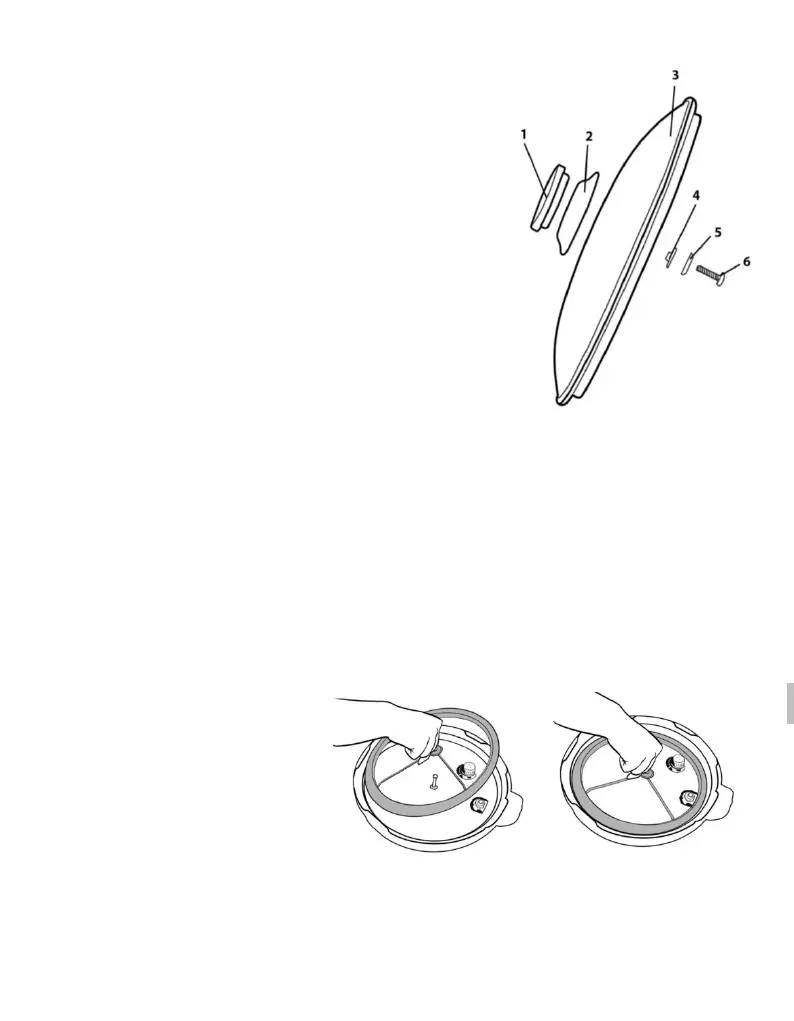
Assembly of the Knob on the Glass Lid will require a
Screwdriver (not included).
Follow the diagram on the left (Figure 6) to
assemble the knob on the Glass Lid.
1. Handle
2. Handle Base
3. Glass Lid Body
4. Silicon Gasket
5. Gasket
6. M4 Screw
RUBBER SEAL RING ASSEMBLY
Always ensure the Rubber Seal
Ring (18) is securely fitted onto
the metal Y-shaped ring in the
interior of the Lid (2). Make sure
the crease in the Rubber Seal
Ring (18) meets with the outside
of the Y- Ring all the way
around.
Figures 1-2