If you’ve had some prior experience using wireless systems, these QuickStart instructions will get you up and running with your
AirLine system in a matter of minutes! Detailed instructions for setting up and using your AirLine system can be found on page 14 of
this manual, and the “Guided Tour” sections on pages 4 - 13 provide full descriptions of all AirLine component controls and displays.
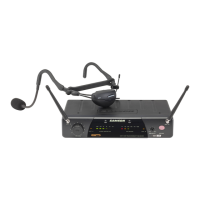
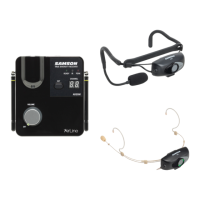
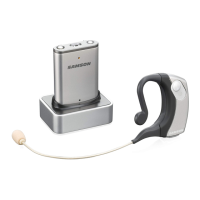
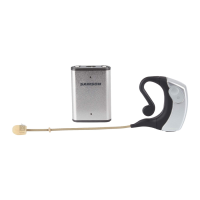
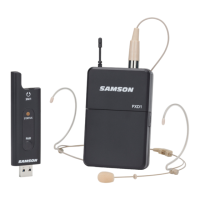
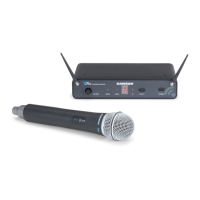
1. Make sure that the supplied AR1 receiver and AX1, AL1 or AH1 transmitter are factory preset to the same channel.
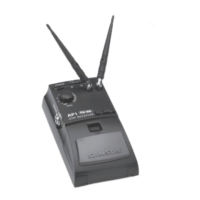
2. Physically place the AR1 where it will be used (if desired, it can be wall-mounted using the supplied holder) and extend its antenna
vertically.
3. Set the power switch to your transmitter to the “off” position (away from the arrow) and place a fresh battery in it. Then turn the
transmitter back on momentarily; its LED will flash once and then go off if the battery is sufficiently strong. Once battery strength is
verified, turn the transmitter off.
4. If you are using an AX1, plug its XLR connector into a wired dynamic microphone; make a good tight connection, using the
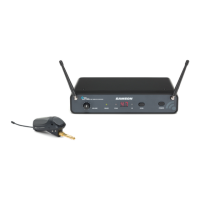
supplied rubber gasket if necessary. If you are using the AL1 with an external lavalier microphone, make the physical connection
between its input connector and the microphone.
5. Turn the Volume knob on the AR1 completely counterclockwise. Connect the supplied AC adapter to the AR1 receiver and plug it
in, but leave its power off for the moment.
6. Turn your audio system off and make the physical cable connection between the AR1 balanced or unbalanced output jack
(if necessary, both can be used simultaneously) and a mic level audio input of your amplifier or mixer.
7. Turn on the AR1 receiver; its “Power/ RF” LED will light steadily red.
2
Samson AirLine
QuickStart
ENGLISH