11 Disassembly and Reassembly
11-7
설
설
명 사
사진
설명
Description Picture Description
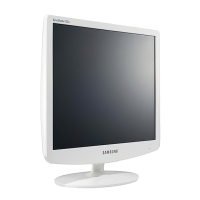
4. Turn the stand so ▽mark on the connecting
pin is facing the front.
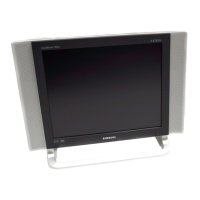
4. Check the connecting part between the monitor
and the stand.
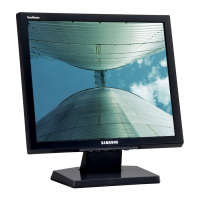
4. Tilt the monitor upwards at an angle of 5 ° to
10° so that the base is closer to you than the
top. Then hold the monitor on the stand by its
top parts and push them downwards.
(You can assemble it more easily by pushing it
down while wriggling it a little to the left and right.)
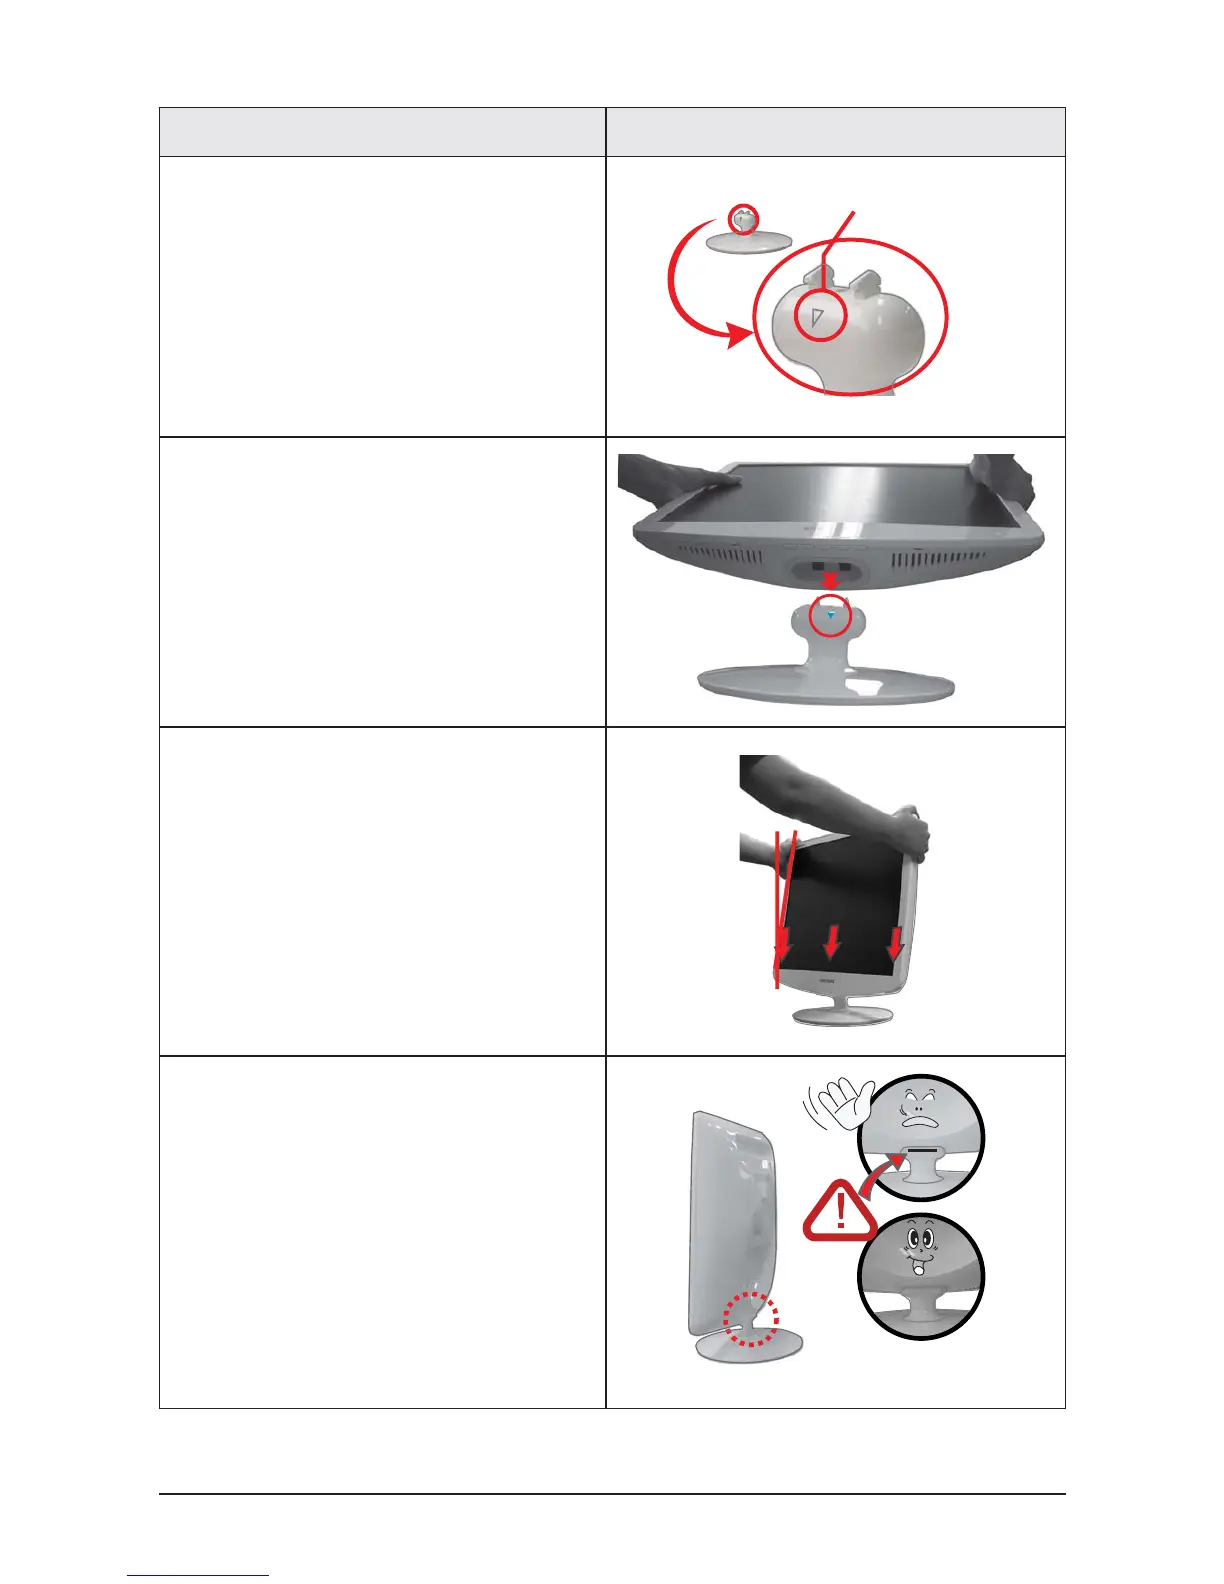
5. When the monitor is assembled correctly, the
straight groove line at the back of the
connecting pin will not be visible when the
monitor is erected at 90°.