47
Effect
You can adjust the sharpness of the picture you want to
take. You cannot check the sharpness effect on the LCD
monitor before you take a picture, because this function is
applied only when the captured image is stored on the
memory.
[ PROGRAM mode ]
Sub menu Icon Description
The edges of the image are softened.
This effect is suitable for editing images on your PC.
The edges of the image are sharp.
This is suitable for printing.
The edges of the image are emphasized. The edges will
appear sharp, but noise may occur in the recorded image.
VIVID
NORMAL
SOFT
2048
SHARPNESS
SOFT
NORMAL
VIVID
NOR
Sharpness
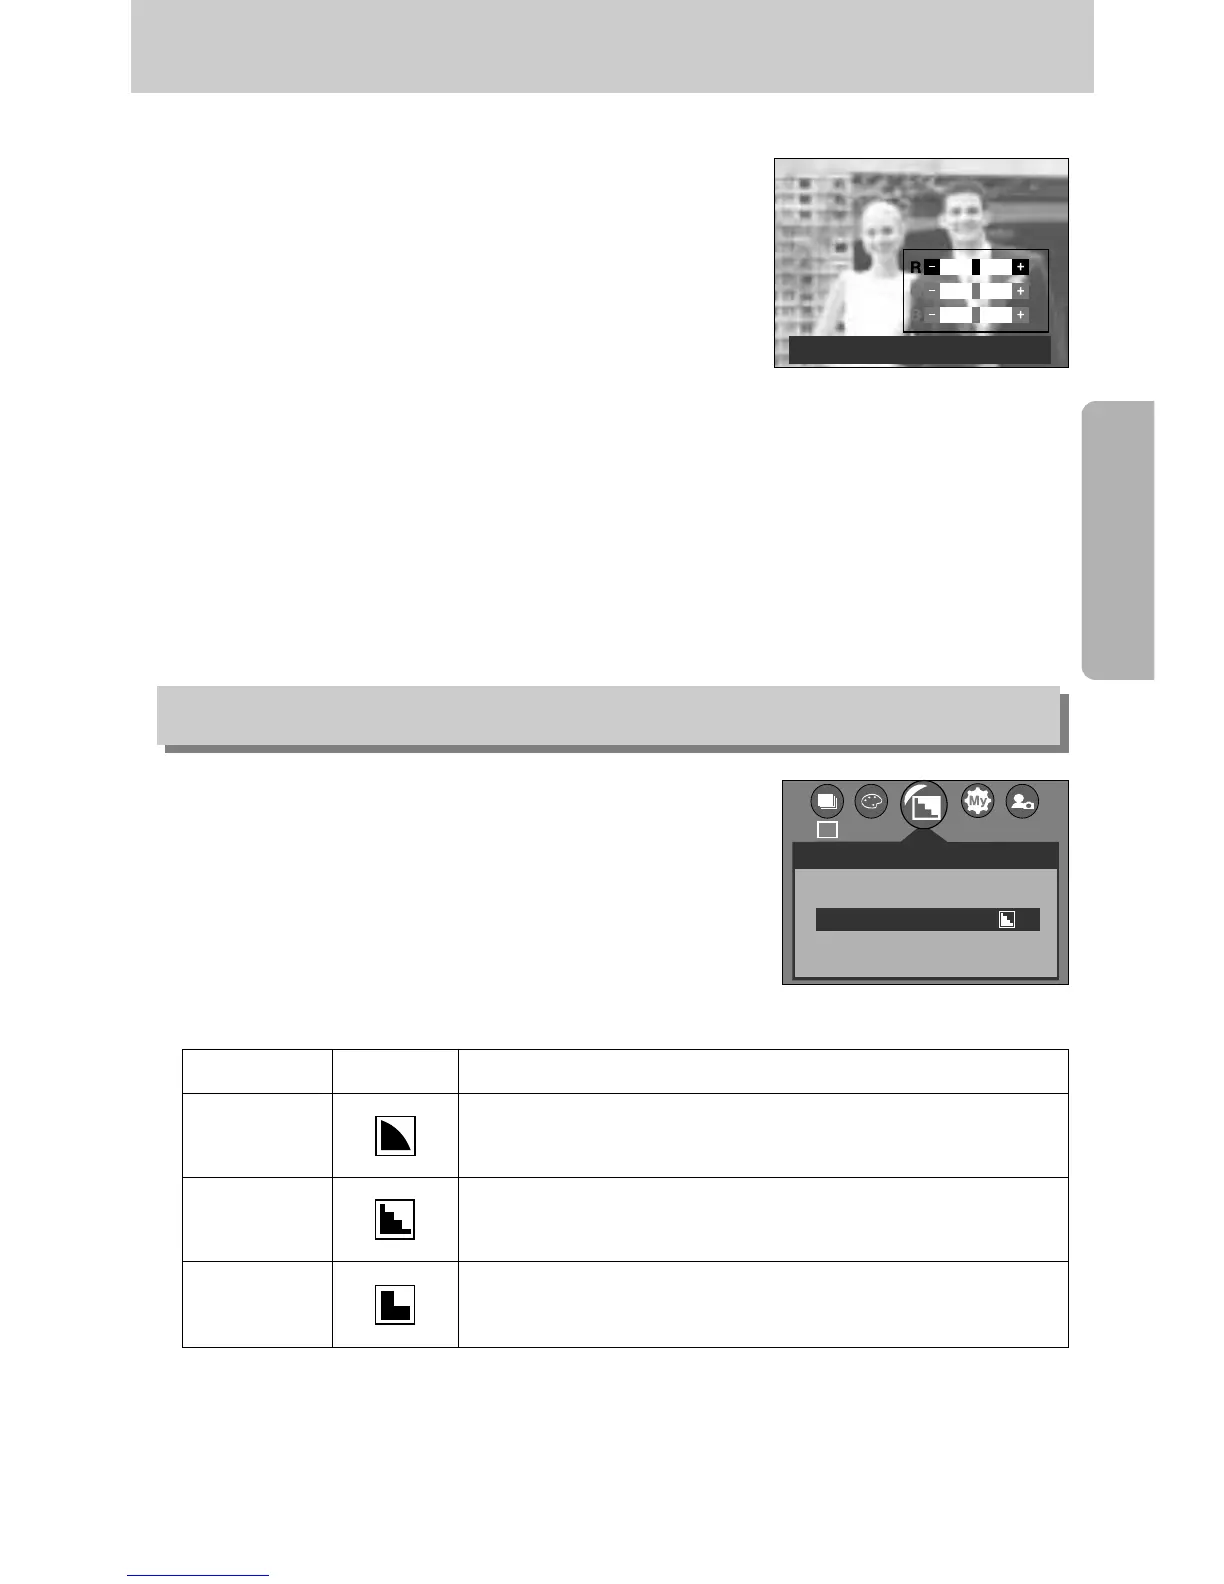
Setting RGB Values
1. Select the [RGB] sub menu and then press the OK
button. The RGB menu bar will appear as shown.
2. Use the UP/ DOWN/ LEFT and RIGHT buttons to select
the desired RGB value.
- Up/Down Button: Navigates between R, G, and B
icons.
- Left/Right Button: Changes value of each icon.
3. When you press the OK button, the value you set will be
saved and RGB setup mode will end.
EXIT:SH1 SET:OK

 Loading...