English - 9
02 INSTALLATION
10 cm 10 cm
behindbehind
20 cm 20 cm
aboveabove
10 cm on 10 cm on
the sidethe side
85 cm of 85 cm of
the oorthe oor
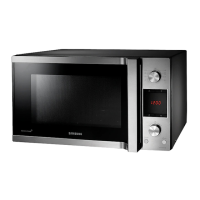
INSTALLATION SITE
• Select a at, level surface approx.
85cm above the oor. The surface
must support the weight of the oven.
• Secure room for ventilation, at least
10cm from the rear wall and both
sides, and 20cm from above.
• Do not install the oven in hot or damp surroundings, such as
next to other microwave ovens or radiators.
• Conform to the power supply specications of this oven. Use
only approved extension cables if you need to use.
• Wipe the interior and the door seal with a damp cloth before
using your oven for the rst time.
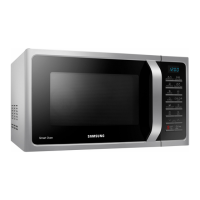
TURNTABLE
Remove all packing materials inside the oven.
Install the roller ring and turntable. Check that
the turntable rotates freely.
USING THE STEAM CLEANING
The steam provided by steam clean system will soak the cavity
surface.
After using steam clean function, you can easily clean the cavity
of oven.
Use this function only after the oven has completely cooled.
(Room temperature)
Use normal water only,and no distilled water.
1. Open the door.
2. Fill with water following guide line outside
the water bowl.
3. Please attach the water bowl in right side of
the oven.
4. Close the door.
5. Press the Steam clean button.
It will start Steam clean by automatic.
(Bulb does work during Steam cleaning time.)
6. If Steam clean is completed, beep of 4 times
rings. Than Open the door.
7. Please clean cavity of oven with dried
dishtowel. Remove the turntable and only
under rack with kitchen paper.
• Water Bowl only can be use during “Steam clean” mode.
• When cooking non-liquid items, remove water bowl
because It will damage and cause re to the microwave
oven.
WARNING