34_
installing your camera
installing your camera
English English _ 35
INTERFACE SYMBOLS
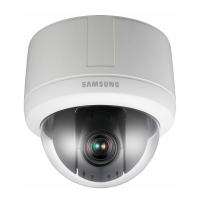
Install Camera
Install Camera Fit the camera to the hole on the ceiling, and then secure the camera
using 3 Product-enclosed Fixture Screws (M4x20).
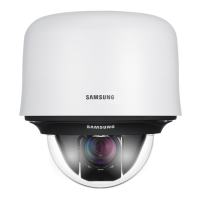
Assemble Dome Cover
Assemble Dome Cover Insert the grooves on the dome cover into ones on the camera,
and then turn clockwise to fasten.
5.
6.
Screw
Screw
Ceiling
Ceiling
Motion Detection Standby/Operation Display :
When in standby mode, the " " in the upper right of the screen blinks and then
changes to " " if motion is detected.
Alarm Input Port Status Display :
"①","②" in the upper right of the screen blink.
Current Alarm Port Display According to Input Alarm Ports(Priority) :
Only one of " ➊"," ➋" in the upper right of the screen blinks.
Preset Number Display Settings :
'*' : If a preset number is already available
'H' : If a preset location is the camera’s home position
If an OSD Menu has Sub Menus :
" " displays at the end of the menu.
If an OSD Menu Does Not Have Sub Menus :
No symbol appears at the end of the menu.
PTZ Function Screen :
Preset Number Setting Screen :
•
-
•
-
•
-
•
-
-
•
-
•
-
•
•
Preset Edit
Preset=011* (1~255)
ID=001 ➊①②
Area1 Area Name
G-SEQ1
PRESET=001 Preset Name
P:300 T:040 10X
Preset Info
Sequence Status
Motion Detect
Alarm Input
Area Display
interface symbols
 Loading...