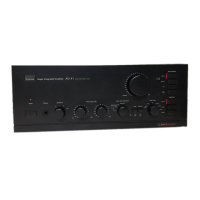
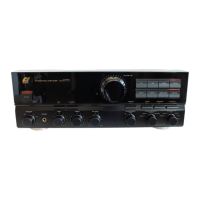
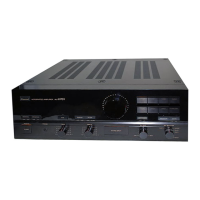
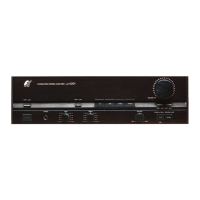
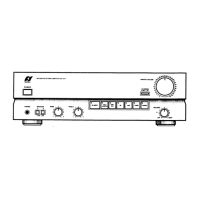
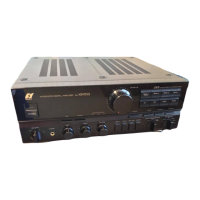
The SANSUI AU-X417R is an integrated amplifier designed to provide high-quality audio performance and versatile connectivity for various audio components. This manual outlines its functions, technical specifications, and usage guidelines.
Function Description
The AU-X417R serves as the central hub for an audio system, allowing users to connect and manage multiple audio sources, including a turntable, CD player, tuner, and tape decks. It amplifies audio signals for output to speaker systems and headphones, offering control over volume, balance, and tone.
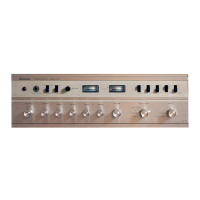
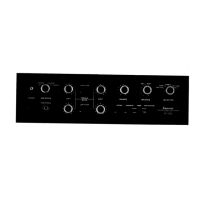
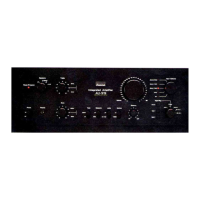
The amplifier features an INPUT SELECTOR switch to choose between various program sources:
- PHONO: For connecting a record player.
- TUNER: For connecting a radio tuner.
- CD: For connecting a compact disc player.
- LINE: For connecting other audio components like a video disc player or TV tuner.
- TAPE-1 / TAPE-2: For connecting up to two tape decks.
Speaker Management:
The SPEAKERS Switch allows selection of speaker pairs. Up to two sets of speaker systems (SYSTEM-A and SYSTEM-B) can be connected. When both A and B systems are used simultaneously, specific impedance requirements must be met to prevent malfunction.
Tone Control:
The amplifier includes BASS and TREBLE controls to adjust sound quality. A TONE Switch can be engaged to activate these controls or bypassed for a flat frequency response.
Loudness and Subsonic Filters:
- LOUDNESS: Boosts low and high frequencies at low listening volumes to maintain perceived sound balance.
- SUBSONIC: Attenuates ultra-low frequencies (below 16 Hz) to reduce noise and distortion, especially when playing warped records.
Recording Features:
The REC SELECTOR switch enables recording from various sources to a connected tape deck. Users can record from PHONO, CD, TUNER, or LINE inputs. Tape-to-tape dubbing (TAPE-1 to TAPE-2 or TAPE-2 to TAPE-1) is also supported.
Remote Control:
The unit comes with a remote controller, allowing convenient operation from a listening position. It transmits infrared signals to the amplifier's Infrared Light Receptor. The remote includes keys for volume, tuner, tape deck, and CD player operations, as well as a MODE Key for carousel-type CD players (e.g., CD-390M).
Important Technical Specifications
Power Output:
- Minimum RMS (both channels driven, 20 to 20,000 Hz, 0.05% THD): 55 watts per channel into 8 ohms.
- DIN: 70 watts per channel into 4 ohms.
Load Impedance:
- A, B: 4 to 16 ohms
- A+B: 8 to 16 ohms
Total Harmonic Distortion: Less than 0.05% at or below rated minimum RMS power output.
Frequency Response (at 1 watt):
- Overall (from CD): 1 to 100,000 Hz, +0 dB, -3 dB.
RIAA Curve Deviation (PHONO-MM, 20 Hz to 20 kHz): +0.5 dB, -0.5 dB.
- PHONO (MC): 400 µV / 100 ohms
- PHONO (MM): 3 mV / 47 kohms
- CD, TUNER, LINE, TAPE PLAY-1,2: 200 mV / 47 kohms
- Max. input capability (PHONO-MM): 150 mV at 1 kHz, less than 0.1% total harmonic distortion.
Output Level (at 1 kHz):
- TAPE REC-1,2: 200 mV into 47 kohms.
Signal-to-Noise Ratio (short-circuit, A-weighted):
- PHONO (MC): 65 dB
- PHONO (MM): 80 dB
- CD, TUNER, LINE, TAPE PLAY-1,2: 105 dB
Tone Controls:
- BASS: ±8 dB at 50 Hz
- TREBLE: ±8 dB at 15 kHz
Subsonic Filter: -3 dB at 20 Hz (6 dB/oct).
Loudness (VOLUME: -30 dB position):
- +8 dB at 50 Hz
- +4 dB at 10 kHz
Power Requirements: AC 230 V (50 Hz).
Power Consumption: 290 watts (rated), 300 watts (maximum).
Dimensions: 430 mm (W) x 134 mm (H) x 314 mm (D).
Weight: 9.0 kg (net).
Usage Features
Initial Setup:
Before operation, ensure all switches and controls are in their proper positions:
- VOLUME control to "MIN" (fully left).
- BALANCE control to center.
- BASS and TREBLE controls to center.
- REC SELECTOR switch to "OFF".
- Activate the appropriate A or B SPEAKERS switch based on connected speakers.
Connecting Components:
- Turntable: Connect L (white) and R (red) output cords to the corresponding PHONO terminals. If a grounding cable is present, connect it to the GND terminal, but disconnect if hum increases. The Cartridge Selector Switch (MM/MC) on the rear panel must be set to match the turntable's cartridge type.
- CD Player/Tuner/Line Components: Connect output cords to the respective CD, TUNER, or LINE input terminals using pin-plug cords.
- Tape Decks: Connect TAPE REC terminals to the input (LINE IN) terminals of the tape deck for recording, and TAPE PLAY terminals to the output (LINE OUT) terminals for playback.
AC Outlets:
The unit provides auxiliary AC outlets (SWITCHED, 250W max capacity) for powering other audio components. These outlets are switched on/off with the amplifier's POWER switch. Caution: Do not exceed the specified power capacity.
Remote Control Operation:
- Point the remote controller towards the amplifier's infrared signal receiving window.
- The operating range is within 30° to each side of the front of the player, up to about 6 meters (20 feet) in a straight line. Obstacles or direct sunlight/bright spotlights can reduce range or cause malfunction.
- Press operating switches separately and firmly.
Maintenance Features
Cleaning:
Wipe panels and the case with a soft cloth. Avoid using thinners, alcohol, or volatile liquids as they can damage the surface or erase markings. Do not use insecticide sprays nearby.
Battery Replacement:
When remote controller batteries weaken, replace them with new, identical "AAA" (IEC R03) 1.5 V type batteries. Do not mix new and used batteries. Use batteries designed to prevent electrolyte leakage.
Installation Precautions:
- Install on a flat surface for optimal heat dissipation. Avoid standing it up or installing at an angle.
- Do not install in direct sunlight, near heat sources, in moist/humid locations, poorly ventilated areas, or on unstable/vibrating surfaces.
- Ensure ventilation holes are not blocked to prevent internal temperature increase and potential malfunction.
Power Plug Safety:
- Always hold the plug, not the wire, when disconnecting from the power outlet.
- Never connect/disconnect with wet hands.
- Disconnect the power plug if the unit will not be used for a prolonged period.
- Before connecting, verify that the unit's voltage setting matches the local power supply to prevent fire or damage.
Internal Access:
Do not remove the case or bottom panel. Internal inspections or adjustments should only be performed by qualified service personnel to avoid electric shock and malfunction. Unauthorized internal modifications will void the SANSUI warranty.