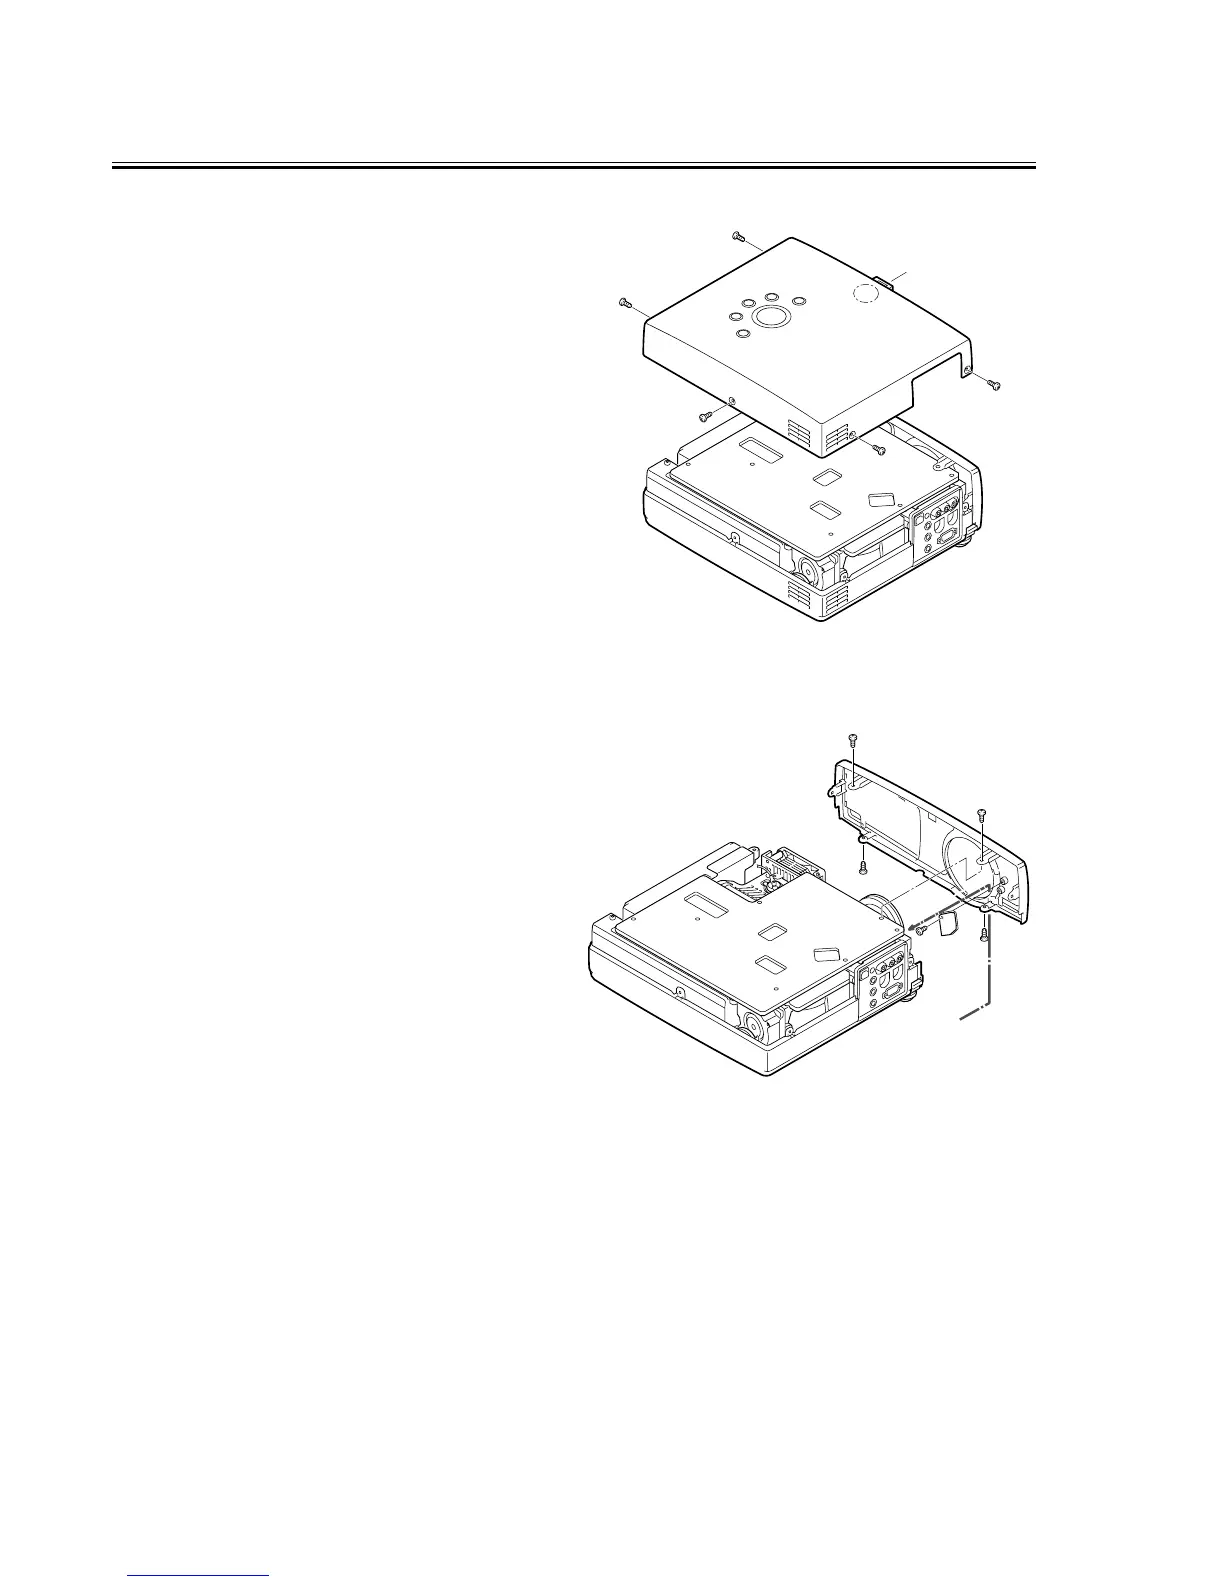
1. CABINET - TOP REMOVAL
1. Remove five screws-A.
2. Grasp the rear both ends of Cabinet-front with both
hands, and slightly pull upward.
3. Release hook, by pressing down "C" portion lightly with
finger.
4. Grasp the rear both ends of Cabinet-front with both
hands, pull up and remove upwards.
Note:
Be careful not to damage Hook. Cabinet-top is being fixed
with cabinet-front by hook.
2. CABINET - FRONT REMOVAL
1. Remove four screws A and B.
2. Turn the focus-ring of Projection lens fully clockwise.
3. Set zoom-lever of Projection lens to under lens.
4. Slightly pull the upper part of Cabinet-front forward with
both hands. (hook is released and cabinet front is
removed.)
5. Remove a screw and, next, remove Unit R/C.
Note:
Be careful not to damage Hook. There is hook which is fix-
ing Cabinet-front and Cabinet-bottom under Projection
lens.
Screws-A and screws-B are used different kind screws.
Check the kind of screw, and proper screw should be
used.
 Loading...