Do you have a question about the Sanyo Xacti VPC-CG10 and is the answer not in the manual?
Press ON/OFF button for 1 sec. Cancel date/time prompt if it appears.
Press [] button to begin recording. Press again to stop.
Press [] button to start recording a video clip.
While recording, press [] button to capture a single shot.
Press REC/PLAY button to display the last recorded image.
Use SET button directional controls to navigate to the desired file.
Press SET button to display selected image or start video playback.
Display the specific image you intend to delete.
Toggle SET button up, select 'DELETE', and press SET to confirm.
Use the supplied charger to charge the battery pack. Indicator lights show status.
Open battery cover, align markings, insert, and close.
Open card slot cover, insert card, and close cover. Card is not included.
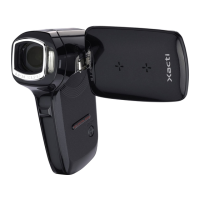
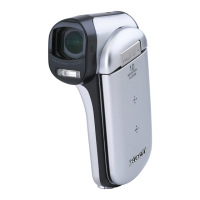
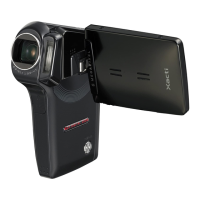
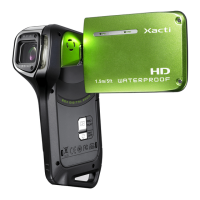
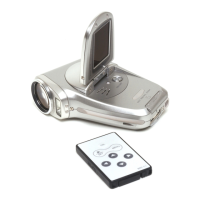
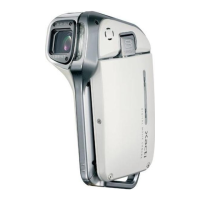
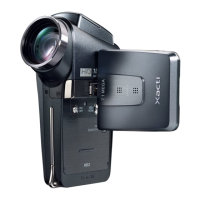
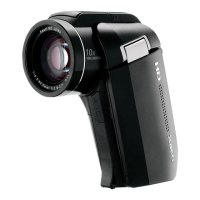
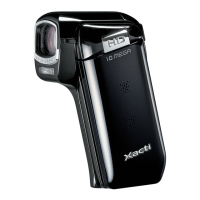
This document serves as a quick guide for the Sanyo Xacti Dual Camera, models VPC-CG10EX, VPC-CG10, and VPC-CG10GX, detailing its primary functions of recording video clips, capturing still images, viewing images, and deleting images, along with instructions for preparing the battery pack and inserting an SD memory card.
The camera is designed to easily record video clips. To begin, the user must turn on the camera by pressing the ON/OFF button for at least one second. If a date and time setting screen appears, it can be dismissed by pressing the MENU button twice. Once the camera is on, recording a video clip is initiated by pressing the dedicated video recording button. To stop recording, the user simply presses the same button again. The guide also addresses a common issue: if the image is not captured, it suggests checking the battery power and recharging the battery pack if necessary, referring to instructions on the reverse side of the guide for battery charging details.
The Sanyo Xacti Dual Camera also allows for the capture of still images. To do this, the camera must first be turned on. Once powered on, the user presses the still image capture button to take a photograph. A notable feature is the ability to capture still images even while a video clip is being recorded. To achieve this, the user first starts recording a video clip by pressing the video recording button. While the video is actively recording, pressing the still image capture button will capture a single photograph of the scene at that exact moment, without interrupting the video recording. This dual functionality offers flexibility for users who wish to document events in both video and still formats simultaneously.
After capturing video clips and still images, the camera provides a straightforward method for viewing them. The process begins by pressing the REC/PLAY button. This action will display the last recorded image on the screen. To navigate through the stored images, the user utilizes the SET button, toggling it left, right, up, or down. This action moves an orange frame to highlight the desired file for playback. Once the desired image or video clip is selected, pressing the SET button again will display the image fullscreen or begin playback of the video clip. This intuitive navigation allows users to quickly review their captured content.
The Sanyo Xacti Dual Camera incorporates an easy-to-use deletion feature, allowing users to manage their captured content efficiently. To delete an image, the user must first display the specific image they wish to remove. Once the image is on screen, the user toggles the SET button upwards. This action brings up a "Confirm Delete Screen." On this screen, the user selects the "DELETE" option and then presses the SET button to confirm. This action permanently deletes the current image. After deletion, to return to the Playback Screen, the user selects "EXIT" and presses the SET button. The guide emphasizes the benefit of this feature, stating that unlike film cameras, the dual camera allows users to take as many photos as they want, keeping only the desired ones and easily deleting the rest, thus encouraging experimentation without the fear of wasted resources.
Proper preparation of the battery pack is crucial for the camera's operation. The guide provides clear instructions for charging the battery. Users are instructed to use the supplied charger to charge the battery pack. The process involves connecting the battery pack, ensuring the connector markings align, and then plugging in the power cord. The charger features a CHARGE indicator that lights red during recharging, signaling that the battery is actively charging. Once the battery pack is fully charged, the indicator turns off. The estimated charging time is approximately 120 minutes.
Once charged, the battery pack needs to be correctly inserted into the camera. The guide outlines a four-step process. First, while pressing, the user pushes the battery cover towards the bottom to release it. Second, the battery cover is opened. Third, the battery pack is inserted, ensuring that the connector markings on the battery pack match the corresponding markings inside the battery compartment. Finally, the battery cover is closed securely. This ensures the battery is properly seated and ready to power the camera.
The Sanyo Xacti Dual Camera requires an SD Memory Card for storing captured video clips and still images. The guide explicitly states that an SD Memory Card is not included with the camera and advises users to purchase a commercially sold card. Throughout the manual, the SD Memory Card is simply referred to as "the card." The insertion process is detailed in four steps. First, the monitor unit of the camera is opened. Second, the card slot cover is opened. Third, the SD card is inserted into the card slot. Finally, the card slot cover is closed, and then the monitor unit is closed. This ensures the memory card is securely in place and ready to store the user's content.
| Digital zoom | 60 x |
|---|---|
| Optical zoom | 5 x |
| Image stabilizer | Yes |
| Focal length range | 6.8 - 34 mm |
| Sensor type | CMOS |
| Total megapixels | 10 MP |
| Optical sensor size | 1/2.33 \ |
| Display diagonal | 3 \ |
| Interface | USB 2.0 |
| Internal memory | 40 MB |
| Light exposure control | ±1.8EV @ 0.3EV |
| Maximum frame rate | 30 fps |
| Maximum video resolution | 1280 x 720 pixels |
| Still image resolution(s) | 1600 x 1200, 3648 x 2056, 3648 x 2736, 3648 x 2736, 4000 x 3000 |
| Camera shutter speed | 1/2 - 1/1500 s |
| Composite video out | 1 |
| Compatible memory cards | SD, SDHC |
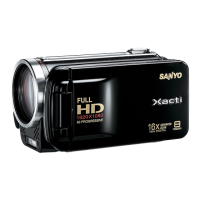
| Product color | Black |
| Battery type | DB-L80 |
| Operating temperature (T-T) | 0 - 40 °C |
| Depth | 38 mm |
|---|---|
| Width | 72 mm |
| Height | 112.8 mm |
| Weight | 171 g |