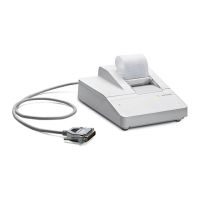
Connecting the Data Printer to a Weighing Instrument
§ Connect the interface cable to the printer and to the
weighing instrument. Secure the connection.
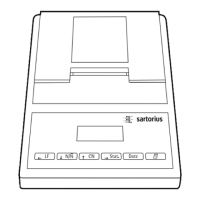
Turning On the Weighing Instrument and the Printer
§ Plug in the AC adapter to power the weighing instru-
ment
§ Turn on the weighing instrument
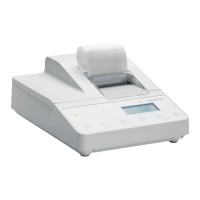
> The printer switches on automatically
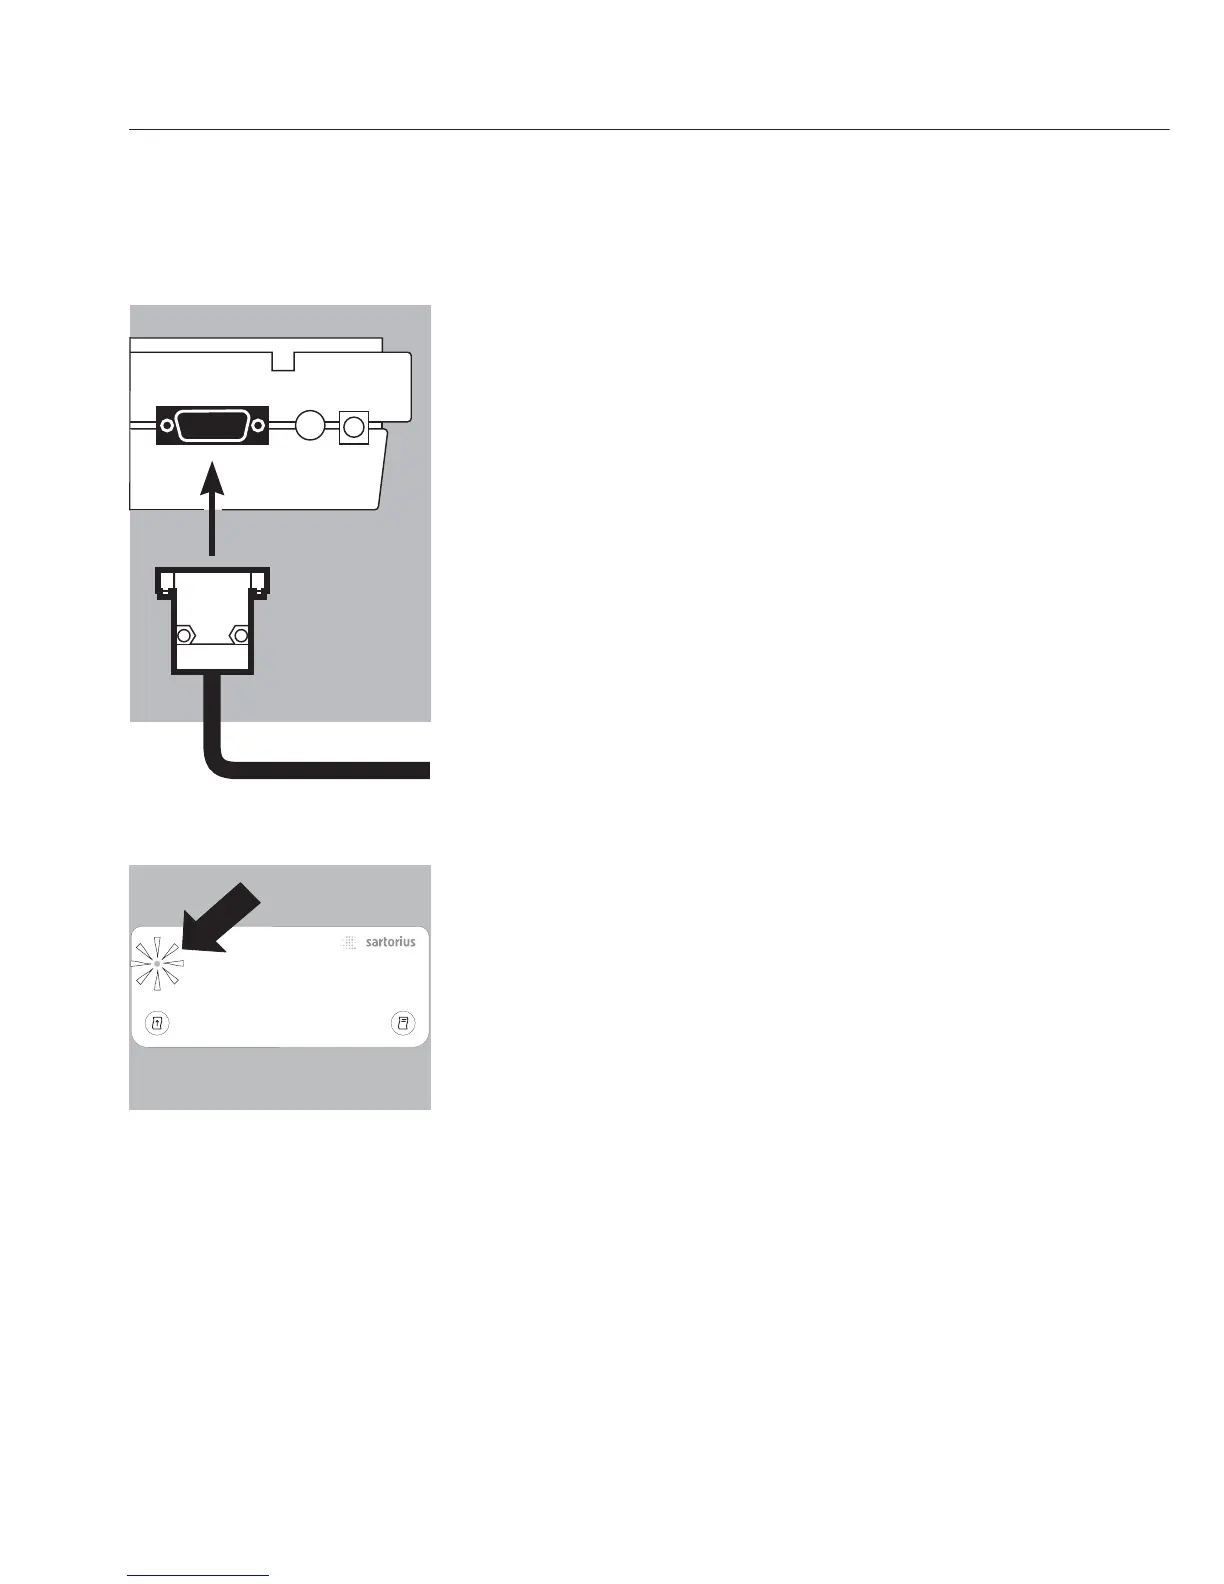
> The green LED on the left-hand side of the front panel
lights up
Charging the Batteries during Initial Operation
§ Charge the batteries by leaving the weighing instrument
turned on
> The batteries are charged while the weighing instrument
is in standby mode
> It takes 28 hours to charge the batteries to full capacity
$ The LED flashes red to indicate that there is not enough
charge in the batteries to power the printer.
If the LED does not stop flashing after a maximum of
3 hours charging, the batteries must be replaced
(see page12 ).
Installing the Ink Ribbon Cassette
§ For details on installing the ink ribbon cassette, see the
section entitled “Maintenance” (page 11).
Inserting the Paper Roll
6
 Loading...