Pro Remote User Guide | 009-1410-06 45 Perseverance Way, Hyannis, MA 02601
© 2020 Savant Systems, Inc | 201210 4 of 18 Savant.com | 508.683.2500
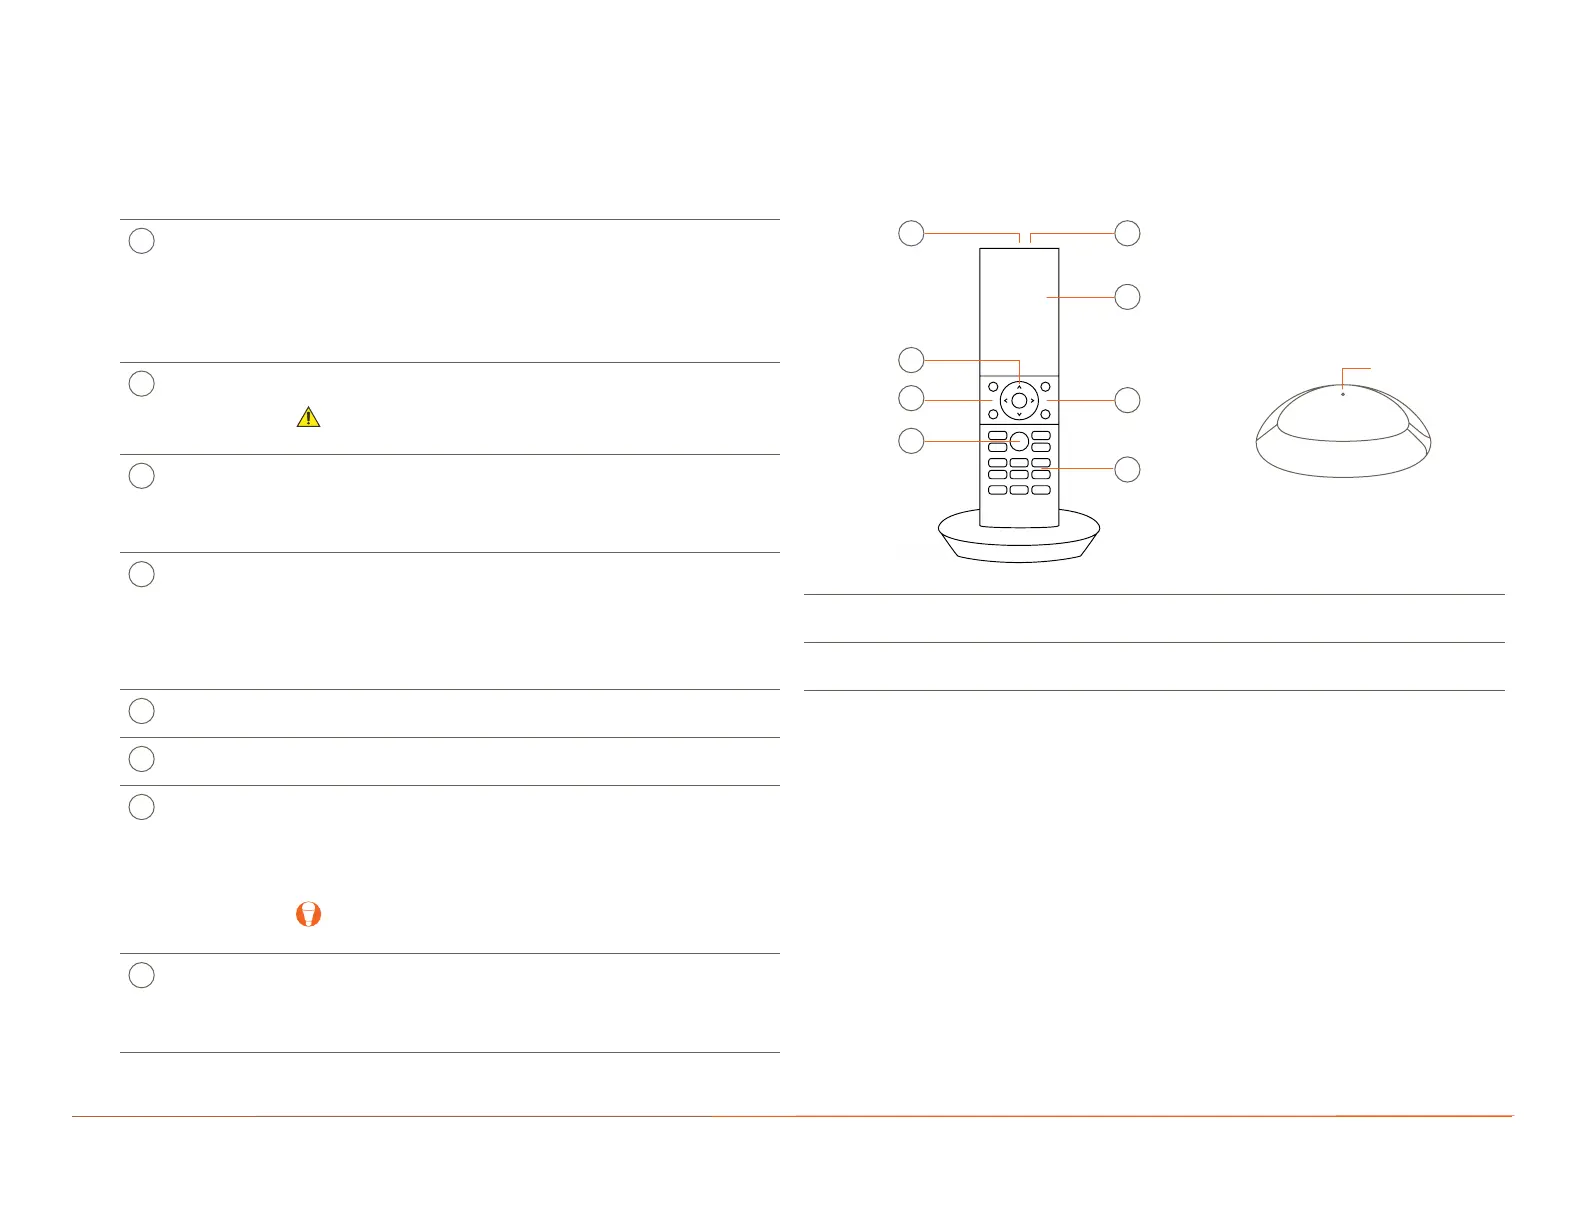
A
Power
Button
Press/Release:
– Powers the Remote on. Savant Logo will
appear in 5 to 7 seconds.
– With the Remote powered on, the power button can
toggle the last used A/V service on or o.
Press/Hold (5 sec): Powers Remote o.
Microphone The microphone for Voice Commands is positioned under
the small hole on top of Remote.
IMPORTANT! Do not insert objects into the microphone
opening.
Touchscreen
Display
– Multi-colored LCD display with multiple screens
for viewing and controlling available Services.
– Motion activated.
– Touch and swipe operation.
D
Navigation
(D-pad)
– Standard up, down, left, and right arrows for on-screen
control.
– Press and hold the up/down arrows to page up or page
down the on-screen menus.
– Press the Select button at the center of the D-pad to
select the highlighted item.
E
Volume Increase or decrease volume of the service selected on the
touchscreen display (active service).
F
Channel Channel Up or Channel Down the service selected on the
touchscreen display (active service).
G
Voice
Command
– Activate Services, scenes, environmental controls, and
various other functions using voice commands.
– Press and hold the Voice Command button, wait for
the on-screen prompt, and speak the commands
clearly.
TIP: Speak the phrase Voice Commands into the
Remote to open a list of supported commands.
H
Service
Control
Generic Service buttons for basic control over Audio/Video
Services.
Function can change depending on Active Service.
NOTE: Not all Services are aected by all buttons.
2. Hardware Overview
Hardware information for all Pro Remotes and their corresponding button descriptions are described below.
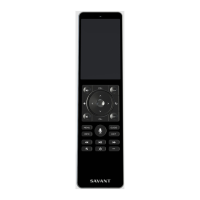
2.1. REM-1100 (Single-Room Pro Remote)
The following tables describe technical hardware features of the REM-1100 Pro Remote.
Remote Base Status
LED
O: Not powered
Solid Green: Powered
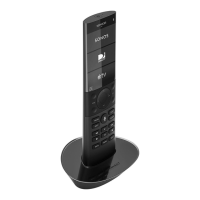
Remote Base
Charges the battery when the Remote is set into
the Remote Base.
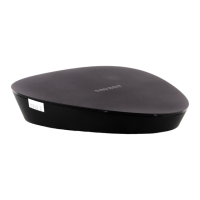
Status LED
Remote Base
(Bottom)
F
G
A B
C
D
E