24
31
1 2
2
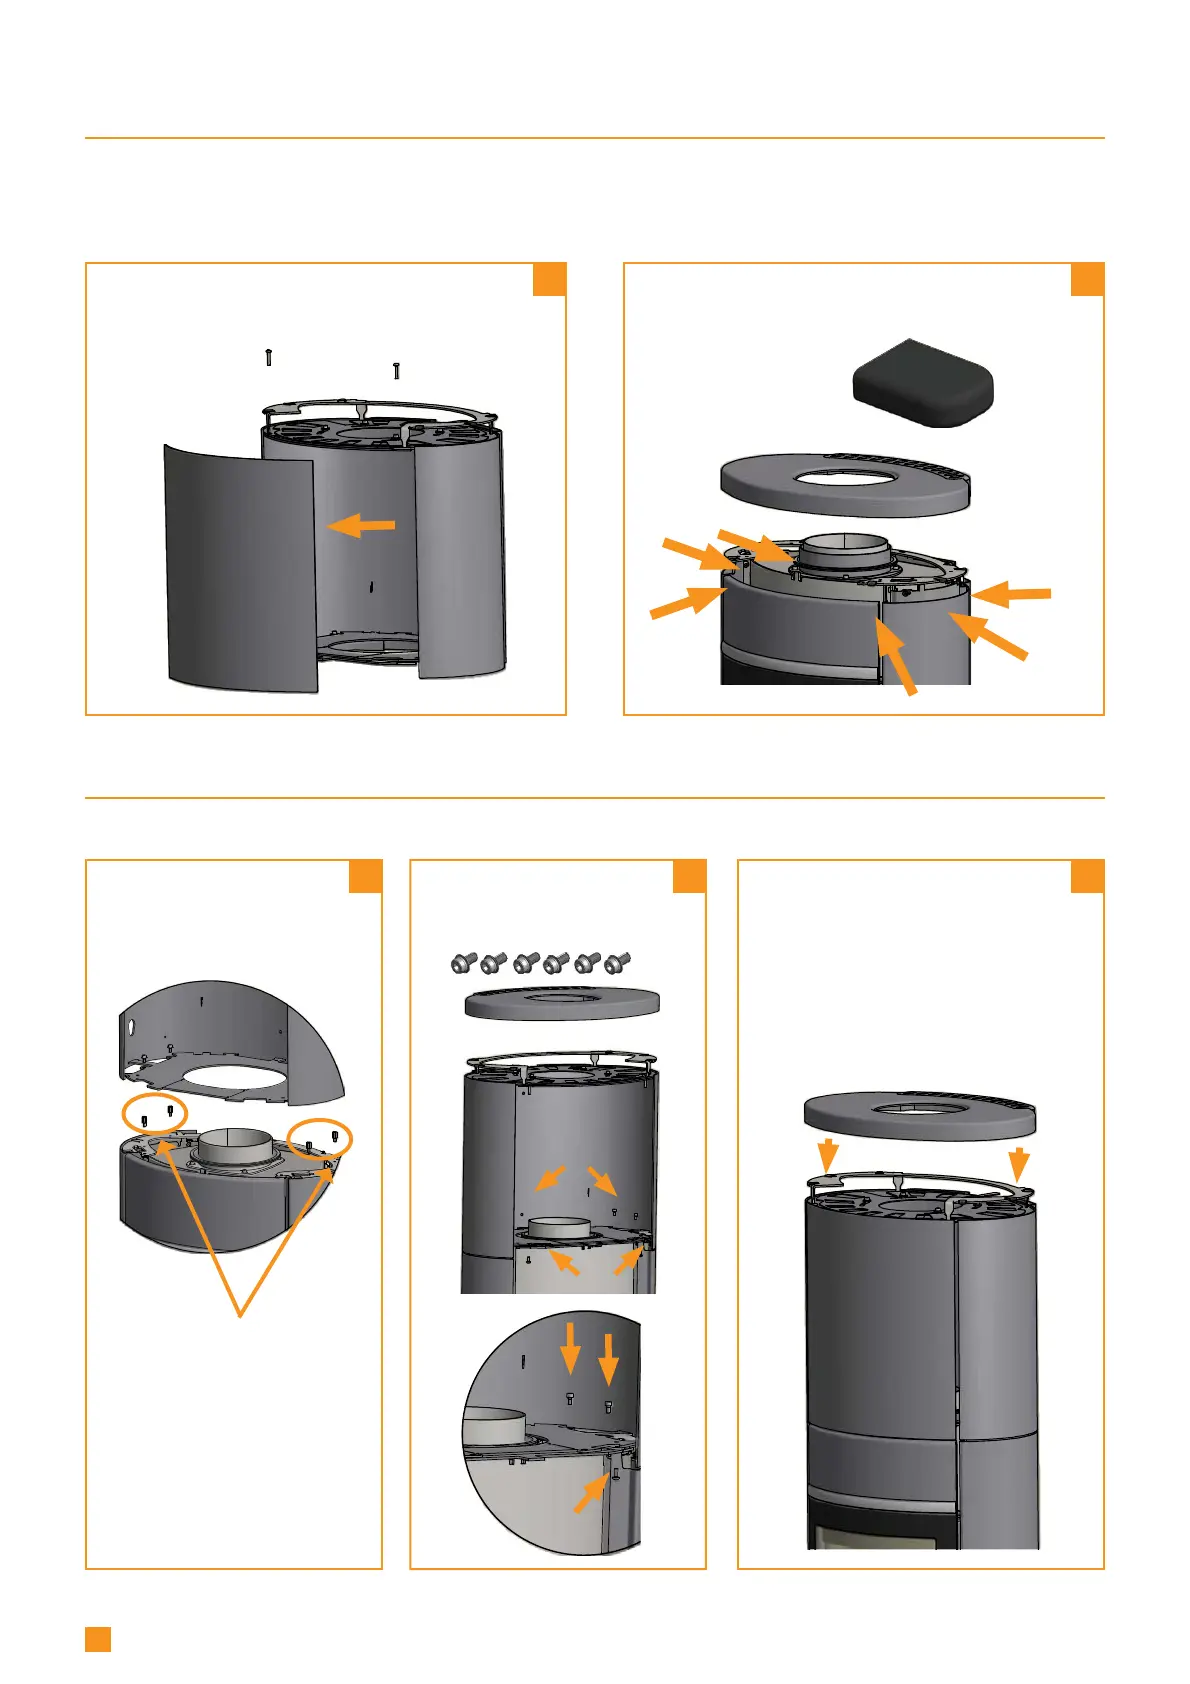
Re-fit the front plate.
Fit the two bottom screws so the front
plate can be pushed in between when it
is mounted.
Re-tighten the two bottom screws
once the front plate is in place
MOUNTING OF HIGH TOP
If you choose to connect the stove with an elbow pipe or a rear outlet, the stove must be mounted to the wall behind the oven us-
ing a special wall mounting kit. This kit can be purchased from your local Scan dealer. For fitting, see instructions in this manual.
IT IS VERY IMPORTANT THAT THE BASE IS LEVEL AND STABLE.
The front plate of the high top is removed as follows:
Remove the Allen screws. Remove the front of the high
top
MOUNTING OF HIGH TOP
A sealing strip, four M5x10 screws with flange and four spacer bushes are supplied.
Remove the top plate.
Remove the 6 rubber grommets
Spacer bush
Use the six screws that are
supplied with the High Top.
(M5
x
10)
Fit the four spacer bushes
supplied before fixing the
High Top in place
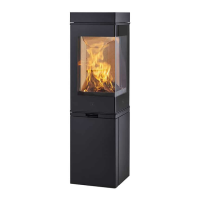
FOR SCAN 68-13/14 HT (ACCESSORY)
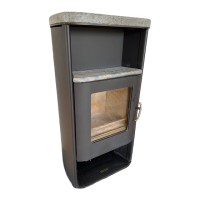
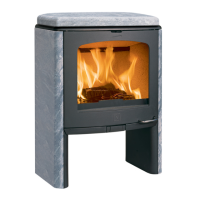
FOR SCAN 68-15/16 NATURAL STONE (ACCESSORY)