13
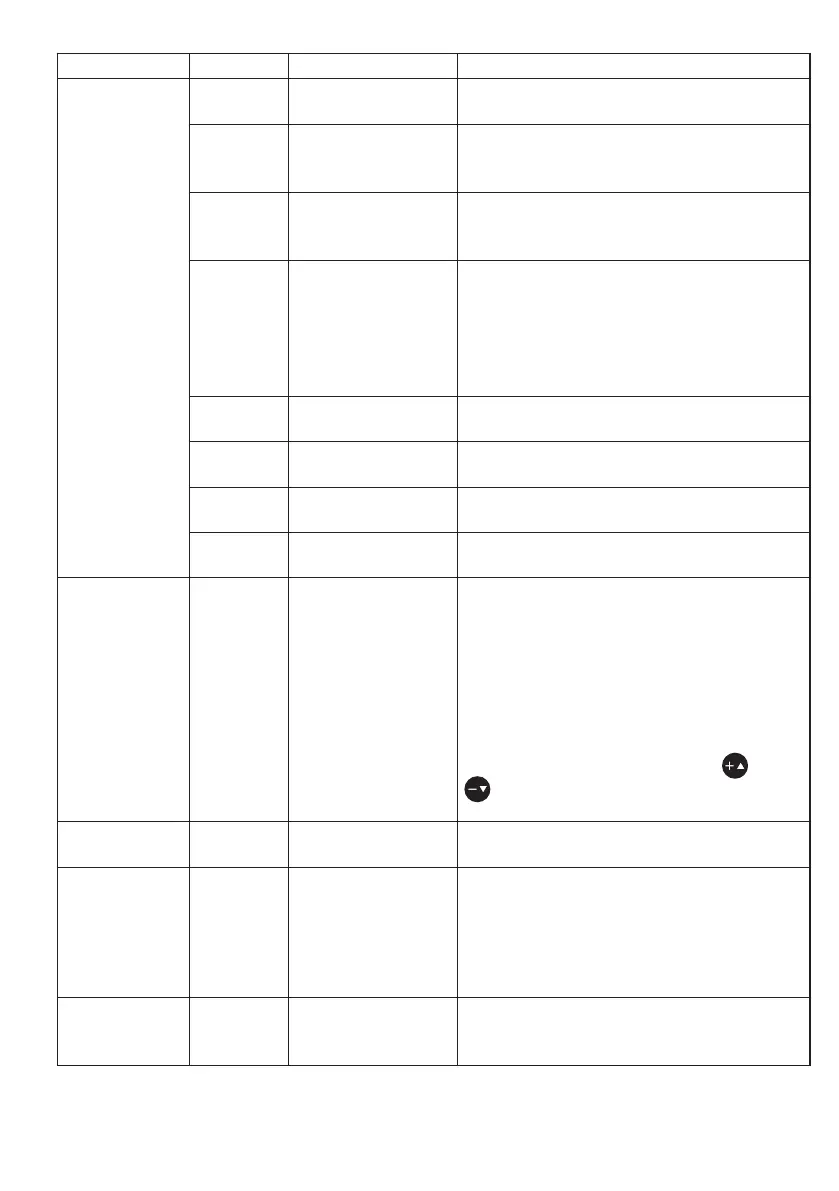
Main Menu Submenu Settings Menu Description
Material
selection
Material [1], [2], [3], [4]
To select a material characteristic curve to
be used for a measurement.
Name
[character],
[numbers],
[special character]
To enter a name for the selected material
characteristic.
Damp
(chapter
3.4.1)
[1] - [9]; [4]
To adjust the damping factor for the
selected material characteristic
Alarms [ON], [OFF]
To activate or deactivate the alarm
function for the material characteristic.
The alarm of a material characteristic
curve is only active if it has also been
activated in the Alarm menu item in the
main menu.
Low Limit [0000] - [9999]
If the value falls below the set limit
value, the display reads MIN-ALARM.
High Limit [0000] - [9999]
If the set limit value is exceeded, the
display reads MAX-ALARM.
Range
All possible
tension ranges
The measuring range of the connected
sensor must be selected.
Unit
[cN], [N], [daN],
[lb], [g]
The unit of measurement of the connected
sensor must be selected
Display
(chapter 3.1)
—
[Numeric]
[Bargraph]
[Graph]
• Measured value displayed as number
and alarm monitoring
• Measured value displayed as number,
bar graph trend display and alarm
monitoring
• Measured value displayed as graphical
trend, measured value/limit values as
graph
By simultaneously pressing the and
keys in the display mode , the display
modes can be switched through.
Time scale —
1, 2, 5, 10, 30 und
60 seconds
To select the time period shown in the dis-
play (graphic display only).
Display
damping
(chapter 3.4.1)
— [1] - [9]; [4]
For setting a different damping value than
in the selected material characteristic
curve. When changing the material char-
acteristic curve, it will be changed auto-
matically to the damping value that was
set in the material characteristic curve.
Alarms
(chapter 3.4.2)
— [ON], [OFF]
To activate or deactivate the alarm
function.
3.3 Instrument settings (cont.)
Factory settings are illustrated bold