Page 19 of 21
P/N 595359-01 Rev A - 04/17
INSPECTION
After each use, inspect the RDI Voice Amplier for damage. If any damage is found,
remove the equipment from service and tag for repair by authorized personnel. No
attempt to disassemble or repair the COMMUNICATION ASSEMBLIES shall be made.
1. Inspect the housings of the Facepiece Assembly for cracks or other
damage that could interfere with the usability of the equipment.
2. Check for missing components.
3. Turn the RDI Voice Amplifier ON and check for the LOW BATTERY ALERT.
If the LED on the RDI Voice Amplifier is flashing RED, the batteries are
low. Refer to BATTERY INSTALLATION section of this instruction for
Battery replacement. Be sure to turn the units OFF before storing.
MAINTENANCE
Except for cleaning, replacing the battery, and replacement parts listed in this section
of this manual, no attempt shall be made to do maintenance or repairs beyond the
scope of this instruction manual without proper training.
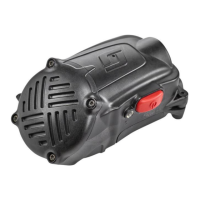
EPIC 3 RDI VOICE AMPLIFIER REPLACEMENT PARTS
The following replacement parts and assemblies are available for the EPIC 3 RDI
Voice Amplier:
• Battery Door Assembly – SCOTT P/N 201079-01 (includes the retaining screw,
o-ring, and Battery Door PCBA)
• Battery Door Gasket – SCOTT P/N 10009051
• Battery Door Retaining Screw – SCOTT P/N 31001550
• Locking Spring Lever Assembly – SCOTT P/N 201081-01
BATTERY DOOR ASSEMBLY
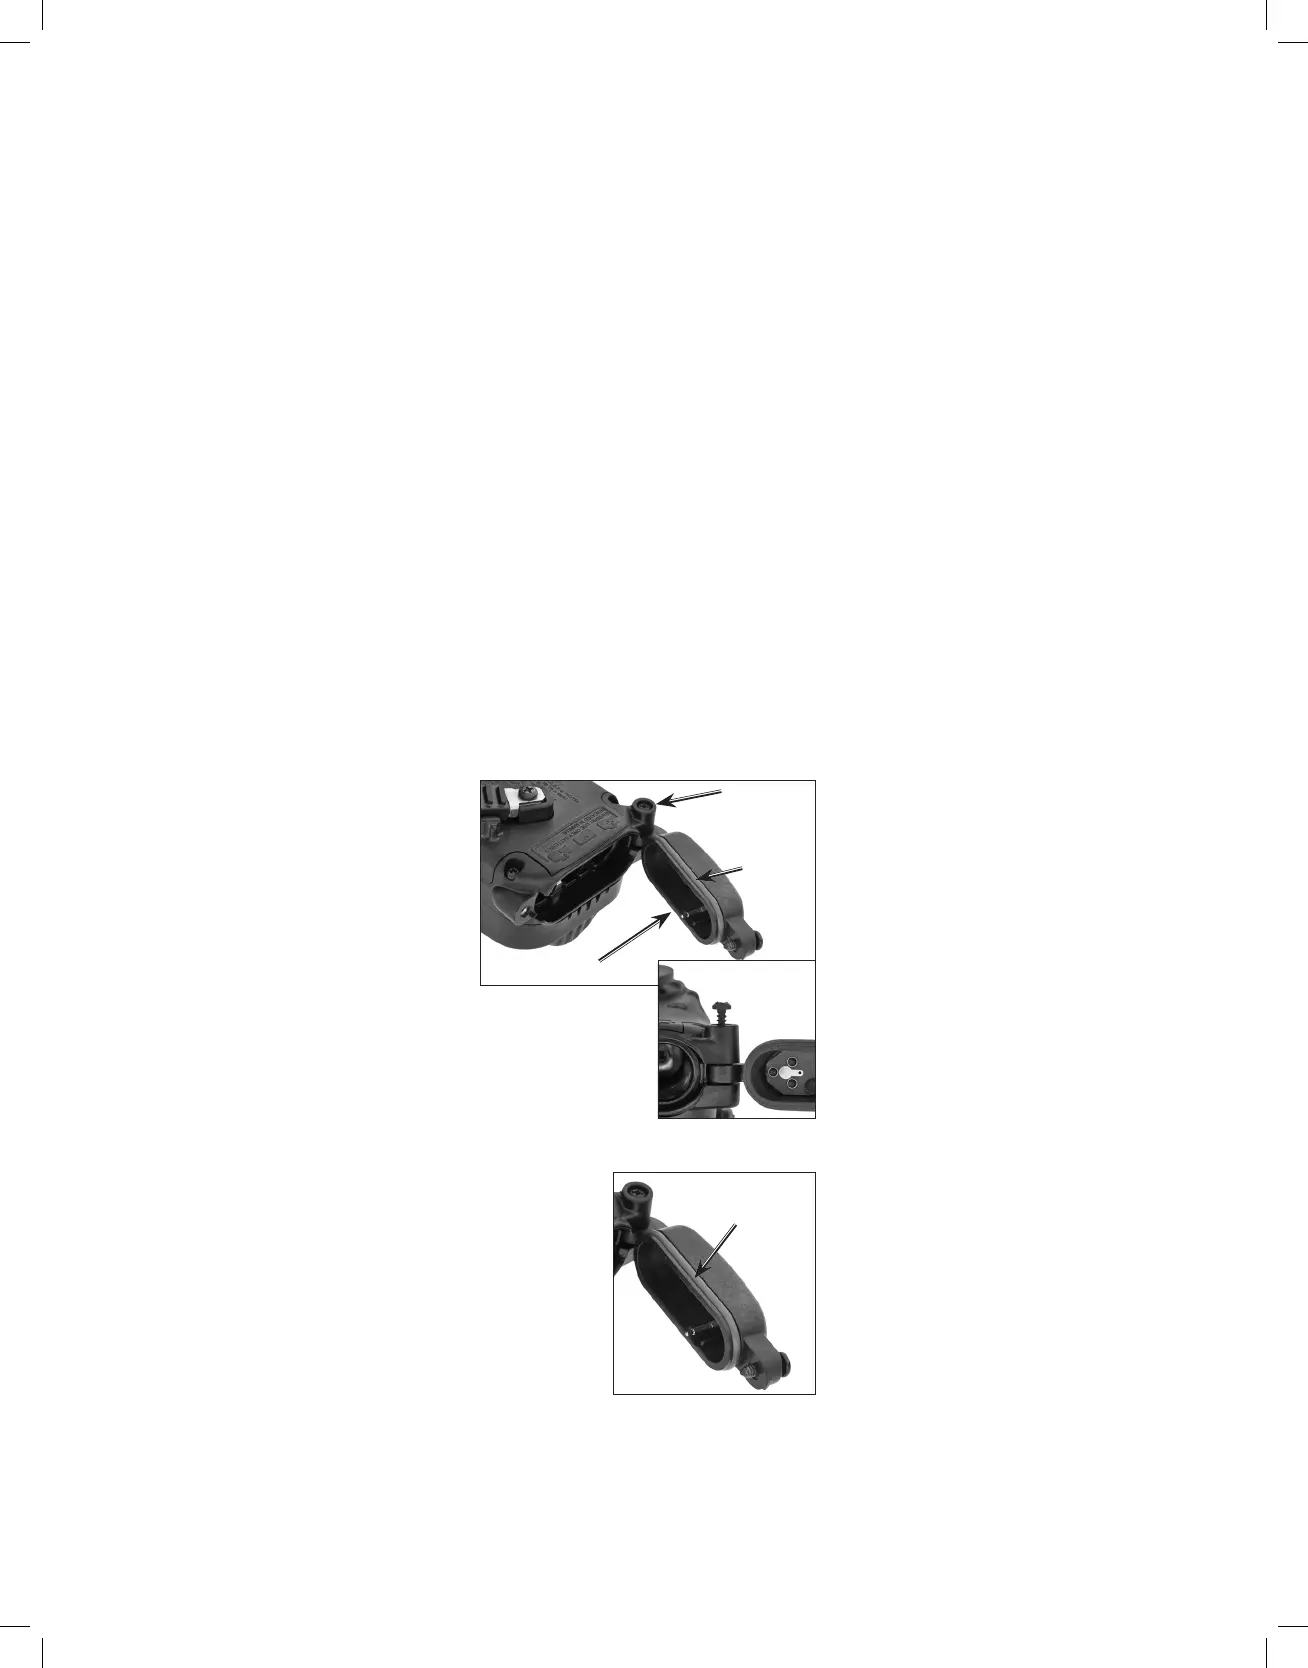
To replace the battery door assembly SCOTT P/N 201079-01.
1. Remove retaining screw from battery cover and discard.
2. Remove the screw from the
existing battery door hinge.
Set screw aside for later use.
3. Remove the existing battery
door and discard.
4. Apply a thin film of Parker
Super-O-Lube
1
lubricant to the
new battery door gasket and
install it on the new battery
door.
5. Place the new battery door in
position between the two out-
side walls of the door hinge
and secure with saved hinge
screw.
BATTERY COVER DOOR GASKET ONLY
If only the gasket around the inside of the battery
door is damaged or missing, replace with SCOTT P/N
10009051.
1. Be sure the old gasket is completely removed
and the groove for the seal gasket is clean
before installing the new gasket.
2. Apply a thin lm of Parker Super-O-Lube
lubricant
to the battery cover gasket before installing it on
the battery cover.
1
Super-O-Lube is a registered trademark of Parker Hannin Co.
COVER
GASKET
COVER
HINGE
BATTERY COVER
W/ GASKET
HINGE
BATTERY COVER
GASKET
COVER GASKET
WARNING
MAINTAIN THE EPIC 3 RDI COMMUNICATION
ASSEMBLIES ONLY AS DIRECTED IN THIS
INSTRUCTION. DO NOT ATTEMPT DISASSEMBLY
OR REPAIR BEYOND THAT WHICH IS SPECIFIED
IN THIS INSTRUCTION OR IN THE INSTRUCTIONS
PROVIDED WITH SERVICE PARTS. IMPROPER
MAINTENANCE OR TAMPERING WITH THE EPIC
3 RDI COMMUNICATION ASSEMBLIES MAY
RESULT IN FAILURE OF THE COMMUNICATION
SYSTEM AND MAY LEAD TO SERIOUS INJURY
OR DEATH.
WARNING
CHANGE BATTERIES ONLY IN AN AREA KNOWN
TO BE NONFLAMMABLE AND NONEXPLOSIVE.
CHANGING BATTERIES MAY CAUSE A SPARK
THAT COULD IGNITE A FLAMMABLE OR
EXPLOSIVE ATMOSPHERE RESULTING IN
SERIOUS INJURY OR DEATH.
WARNING
FAILURE TO PROPERLY LUBRICATE THE
BATTERY COVER O-RING GASKET MAY RESULT
IN A WATER LEAK WHICH COULD CAUSE
FAILURE OF THE EQUIPMENT WHICH COULD
LEAD TO SERIOUS INJURY OR DEATH.
WARNING
DUE TO THE POTENTIAL FOR ELECTROSTATIC
DISCHARGE, DO NOT CLEAN AND
MAINTENANCE DEVICE IN AN EXPLOSIVE
ENVIRONMENT. ELECTROSTATIC DISCHARGE
MAY CAUSE A SPARK THAT COULD IGNITE A
FLAMMABLE OR EXPLOSIVE ATMOSPHERE
RESULTING IN SERIOUS INJURY OR DEATH.
 Loading...