18
CHAPTER 03. Setting and Performing
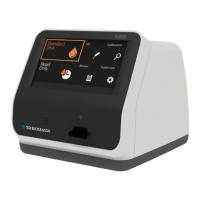
Operating the Analyzer
STEP 1. Connect AC/DC adaptor jack
1-1. Place the analyzer on the bench top within reach of an electrical
outlet. The unit is portable and can be moved to a suitable location
for testing. Ensure counter top is stable, at and dry. Also check
the bench provides adequate space for the analyzer and barcode
scanner.
1-2. Plug the DC power cord into the power port in the back of the
analyzer. Plug the AC/DC adaptor power cord into the cord and
an available electrical outlet.
1-3. Once the connection is complete, the analyzer is ready for use.
STEP 2. Set the analyzer
2-1 When setting on the analyzer for the rst time, operator ID should
be registered. Initial supervisor password is 0000.
2-2 It is recommended to acknowledge following table given on the
supervisor menu.
Stage Menu Sub Menu
1
Manage
Operator
Add / Edit / Delete
2 Load/Save Settings / Operator ID / Save test records
3 Update F/W update / S/W update
4 Settings
Print option
Printed sheet 1/Printed sheet 2/Auto-
printing
Time out
Automatic turn-off time /Insert test
device time
Calibration & QC Time period
General
Date / Time / Language / Units /
Network/LIS / Volume / Brightness
※
LIS/HIS can be set only when LIS / HIS
server and connection is ready.
Instrument name Instrument name/Facility name
5 Info View version / View network