6QB218 6.1.2019 vers 1.0
Power Requirements
The wall receptacle used for your vendor must be properly polarized, grounded and of the correct voltage.
Operang the QB218 system from a source of low voltage will VOID YOUR WARRANTY. Each QB218 system
should have its own 15 Amp electrical circuit that is protected by a circuit breaker or fuse conforming to local
power safety regulaons.
Unpacking the Vending System
Remove all packing materials from the interior of the vending machine. Keep all documents found packed
inside which include payment system and accessory manuals as appropriate. Keep and set aside any accessory
kits.
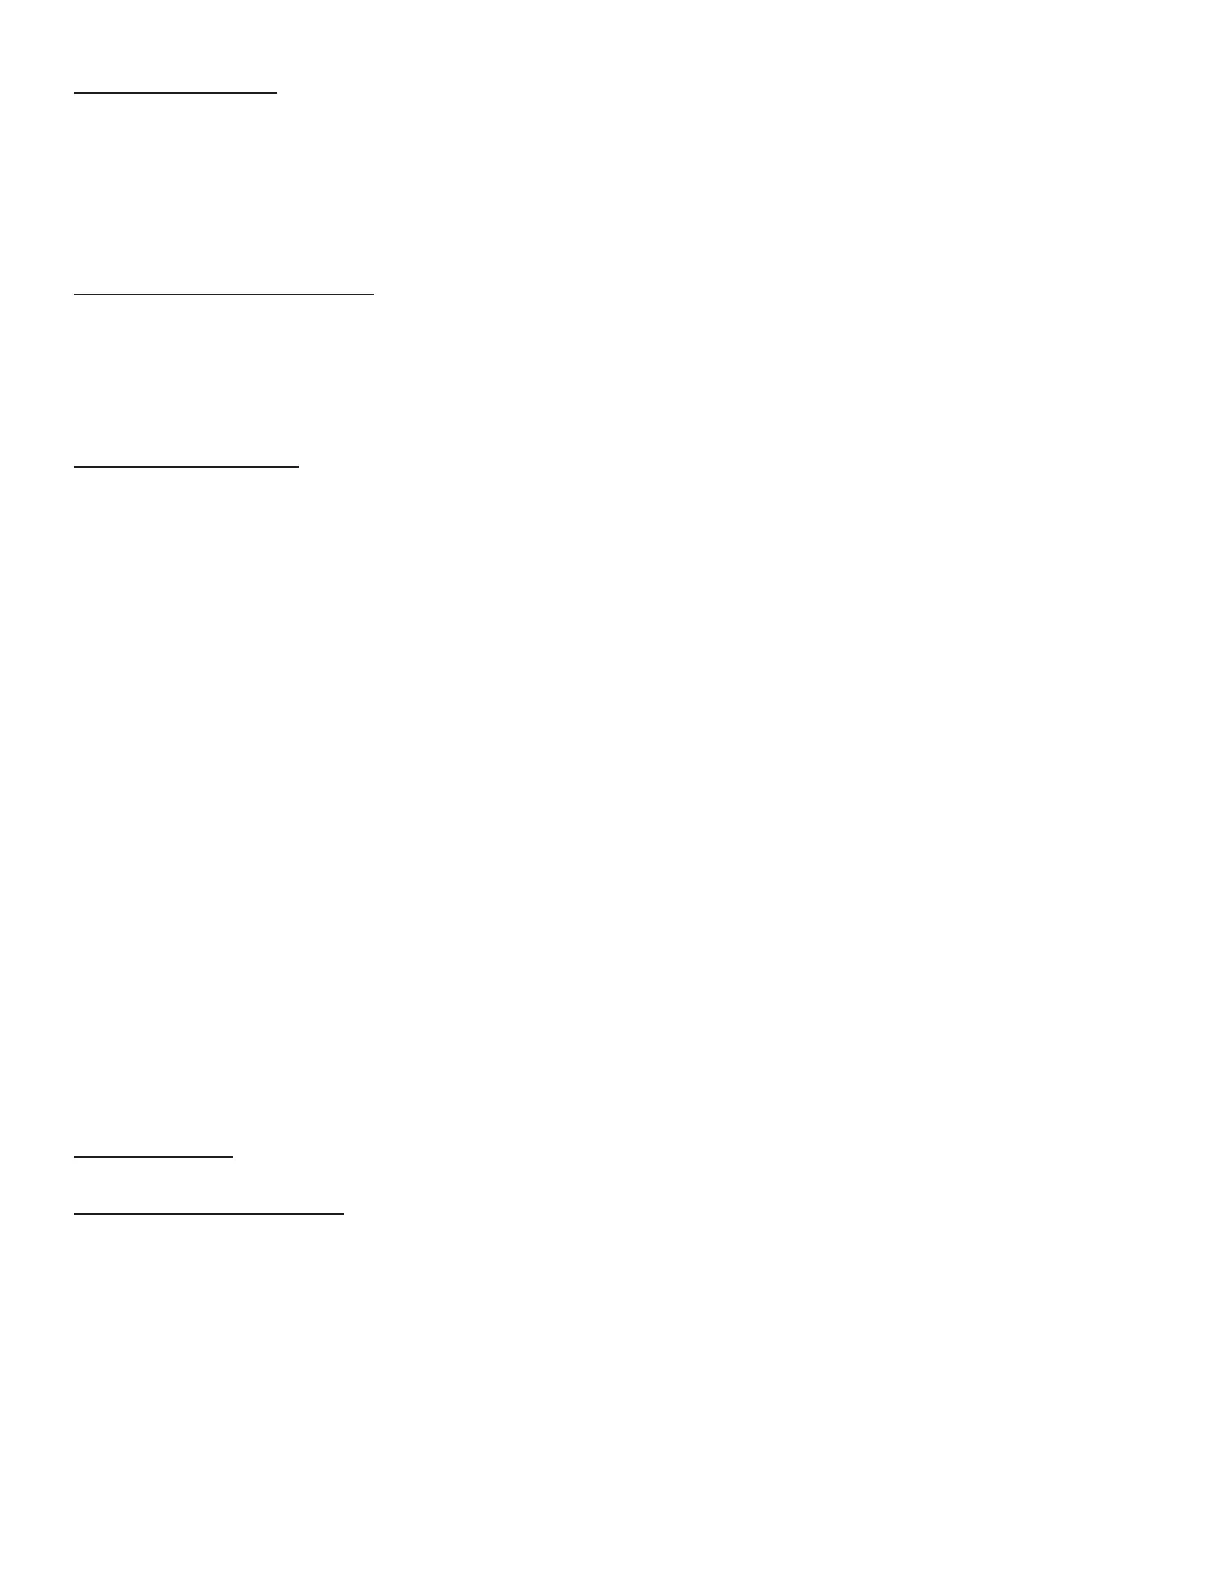
Controls and Indicators
Display
The Display is how the vending system communicates with your customers while they are in front of the ma-
chine. The customer may see messages about how much an item costs, when a selecon is sold out, and other
communicaon. The Display also shows you, the operator, the programming mode and can show you errors or
other important diagnosc informaon.
Keypad
The customer uses these buons to make selecons. The operator uses these buons to program and/or test
the system.
Coin Return Buon
Pressing this buon returns any credit that has been paid in to the vending machine prior to a vend unless
Forced Vend is turned on.
Bill Acceptor
Accepts bills in various denominaons depending upon the conguraon of the bill validator unit.
VMC
The VMC is the Vending Machine Controller and is the heart of the vending system. The VMC is where the
Menus buon is located to put the system into programming mode.
Inial Setup
Moving the Vending System
Your QB218 system should never be moved with product or coins loaded, it should be completely empty and
any moving parts must be secured.
The system can be located as close as 2 inches to the back wall but requires 6 inches clearance on either side
for the doors to open properly while you service the machine.
Aer locang your vending system, plug in the power cord and the system will turn on.