9QB218 6.1.2019 vers 1.0
Theory of Operaon for Snack & Entree Trays
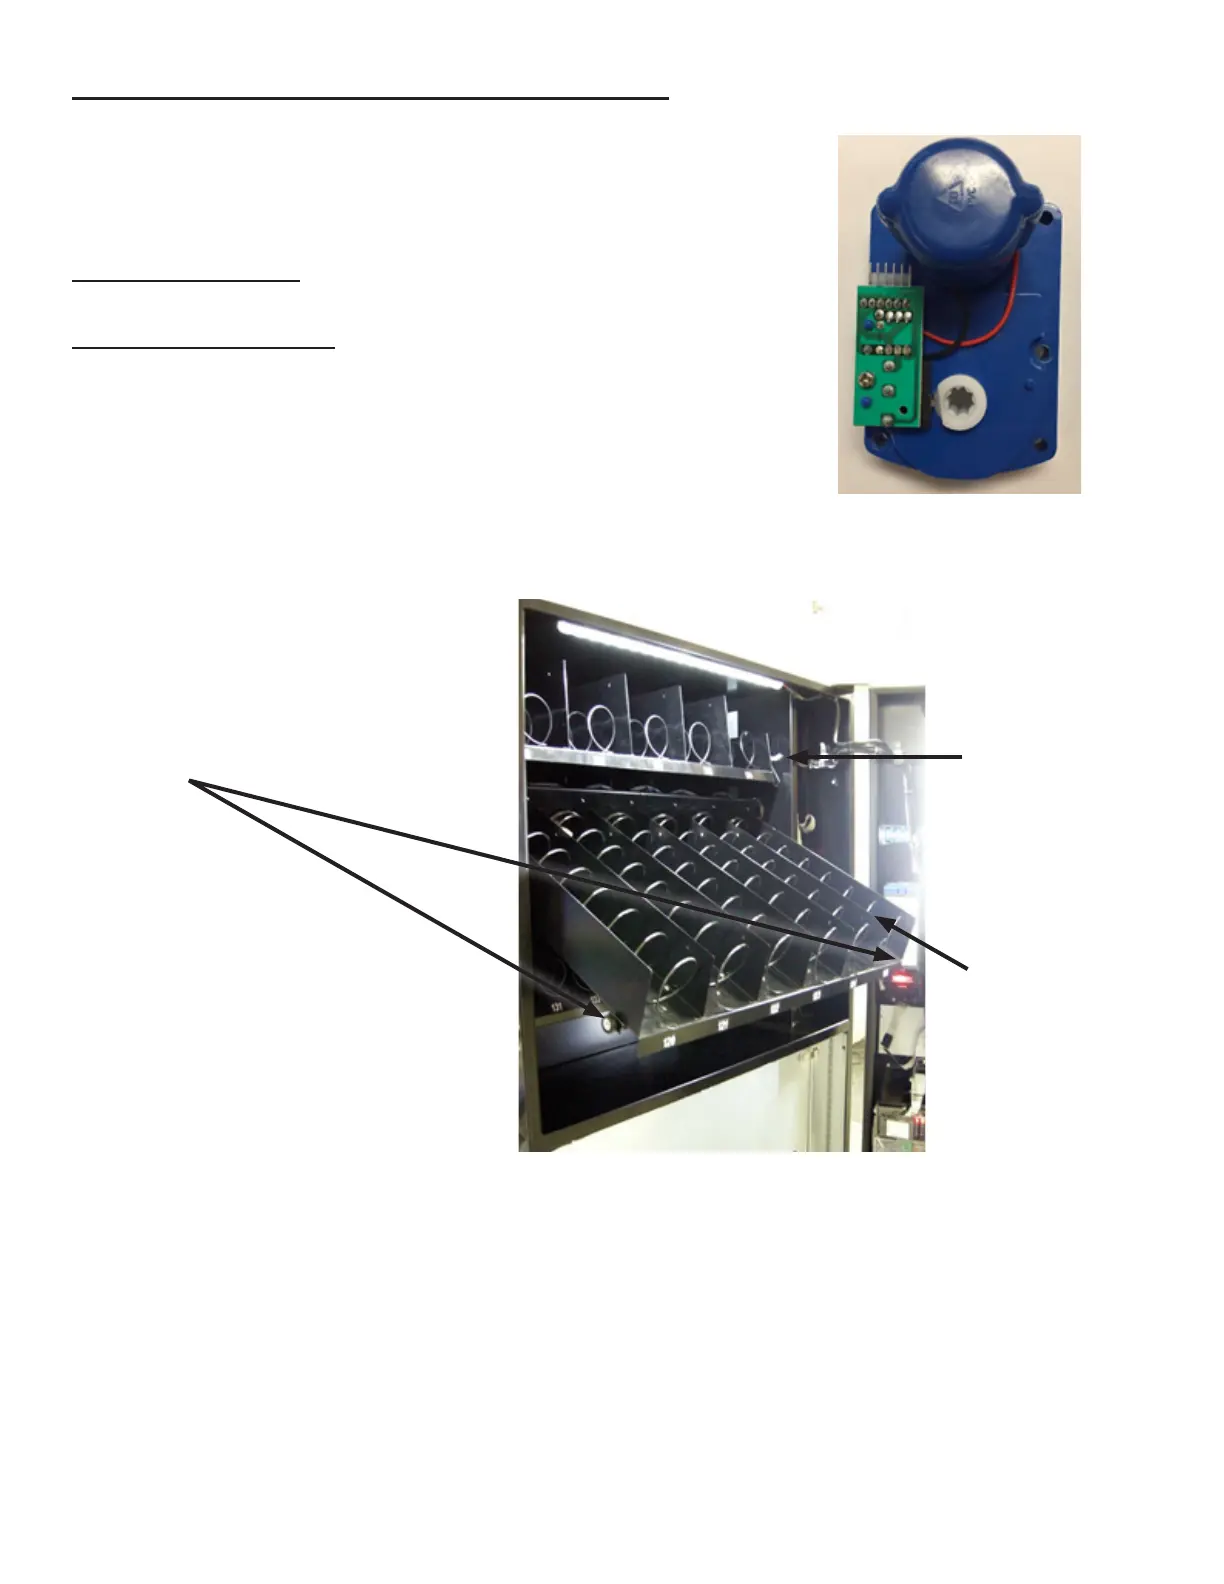
When a snack vends, power is sent to the motor (that drives the coil) and it
turns unl the motor hub is back to the internal “home switch” then it stops
and the vend is considered to be complete. The motor simply rotates 360
degrees and stops.
Equipment Setup
Loading Snack Trays
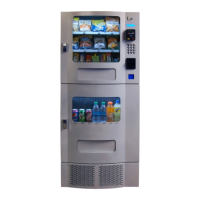
Each snack tray has a release lever located on the right side. To place the
tray in load posion, hold down on the release lever and li the tray up
slightly; slide the tray forward (toward you) unl the roller hits the stop built
into the side rail. Gently lower the front of the snack tray unl it is lted
down and all coils are exposed (Figure 5).
Figure 5 – Snack Tray in Load Posion
IMPORTANT: Make sure front
wheels on both sides are
properly engaged in side rails
when placing tray back in sales
posion.
Each tray has a
Release Lever
Tray in Load
Posion
When loaded, li the tray front up so that the tray is level and push back into posion. NOTE: Make sure the
wheels on the front of the tray are engaged properly in the side rails and the release lever is in the forward
posion.