5
Arising Star. Instruction Manual.
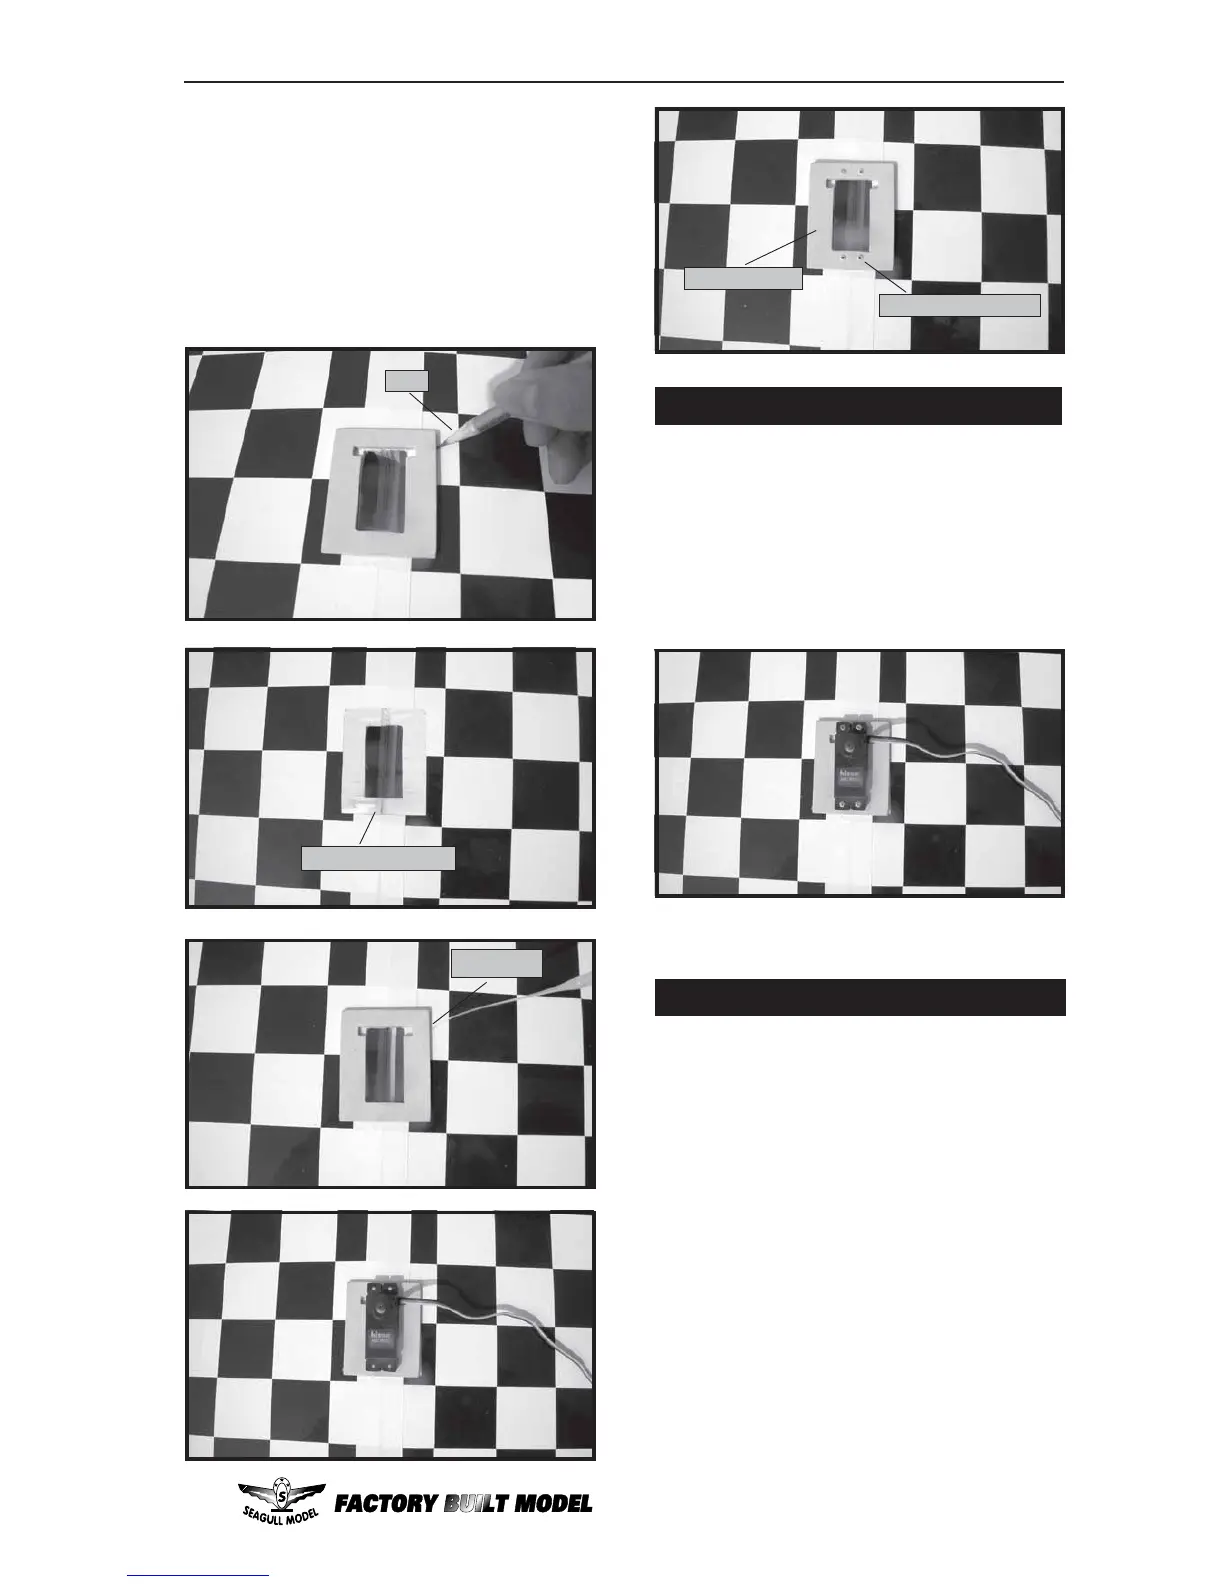
4) Remove the mount, and using a mod-
eling knife, carefully remove the covering from
inside the outline you drew.
5) Using 6 Minute Epoxy, glue the servo
mount into place. Remove any excess epoxy
using a paper towel and rubbing alcohol. Use
pieces of masking tape to hold the tray in place
until the epoxy fully cures.
INSTALLING THE AILERON SERVO.
Install the aileron servo into the servo
mount, with the output shaft towards the lead-
ing edge of the wing, using the wood screws
provided with your radio system. Drill 1/16”
pilot holes through the mount before installing
the screws. This will prevent the wood from
splitting.
1) Thread one nylon adjustable control
horn onto each aileron torque rod. Thread the
horns on until they are flush with the ends of
the torque rods.
2) Thread one nylon clevis at least 5/16”
onto each of the two threaded wires.
3) With the aileron servo centered, install
the servo arm onto the servo. The arm should
be installed so it is parallel with the trailing edge
of the wing.
C/A glue.
Pen.
Remove covering.
INSTALLING THE AILERON LINKAGE.
Servo mount.
1,5mm screw hold.