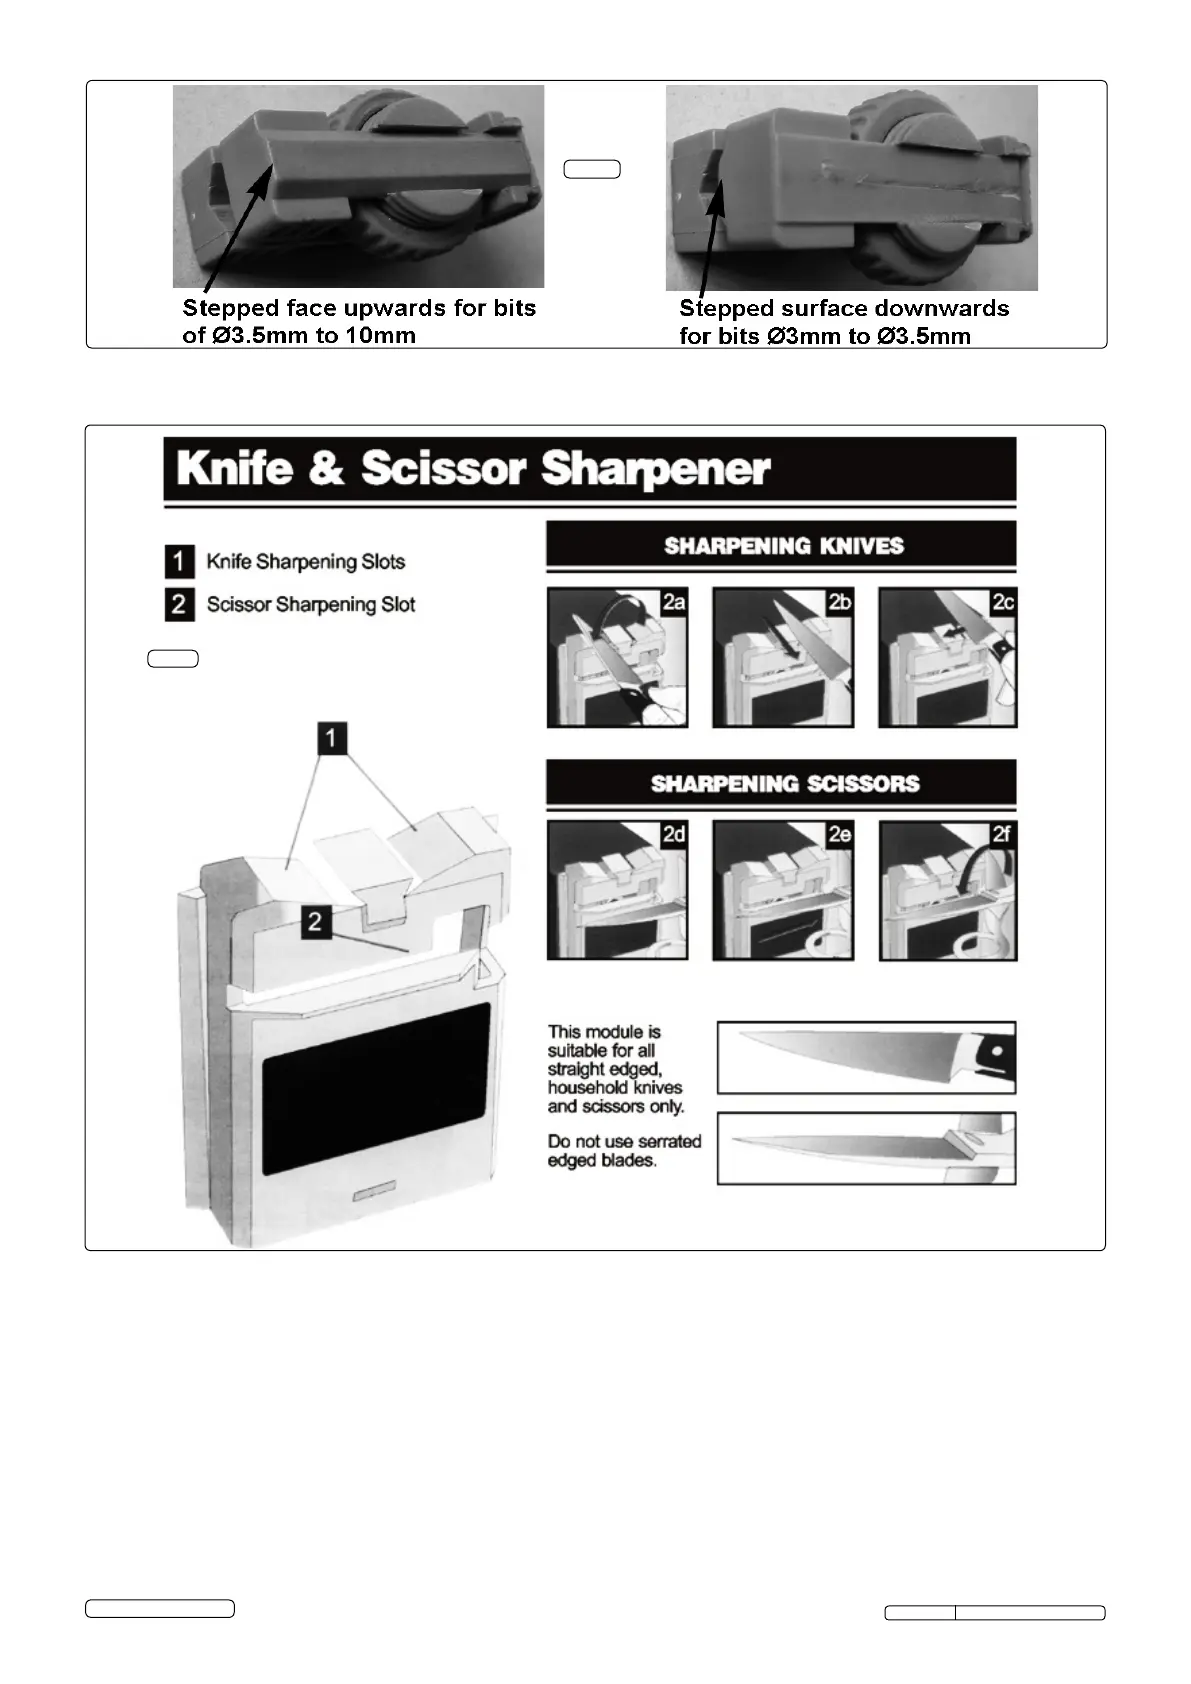
SHARPENING KNIVES
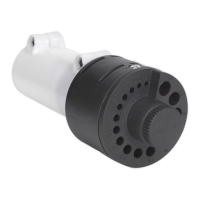
4.2.1. Slide module labelled "Knife Sharpener and Scissor Sharpener" onto the power unit.
4.2.2. Switch the power unit on.
4.2.3. Hold the knife handle towards you and insert the handle end of the blade into the guide slot (2a).
4.2.4. As soon as the blade touches the grinding wheel, draw it with light steady pressure across the wheel to the tip, then remove. DO NOT
press too hard (2b).
4.2.5. Insert the second side of the blade into the other top guide slot (2c) and repeat step 4.2.4.
4.2.6. Repeat sharpening each side in turn until a clean sharp edge is attained.
4.2.7. Switch the power unit off. Before removing the module, ensure the grinding wheel has stopped.
SHARPENING SCISSORS
4.2.8. Open the scissors fully.
4.2.9. Slidetherstscissorbladethroughthefrontguideslotfromlefttoright(2d),keepingthepivotofthescissorsandtheotherbladetothe
right hand side.
4.2.10. Draw the blade across the grinding wheel from pivot to tip. Use a light steady pressure, DO NOT press too hard (2e).
4.2.11. Remove and turn scissors over to sharpen the second blade (2f), keep the pivot to the right hand side.
4.2.12. Repeat if necessary, until sharp, clean edges are achieved.
4.2.13. Switch the power unit off. Before removing the module, ensure that the grinding wheel has stopped.
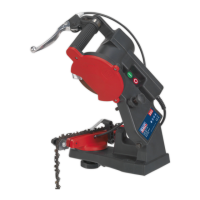
4.2. KNIFEANDSCISSORSHARPENER(Refertog.3)
© Jack Sealey Ltd
Fig.3
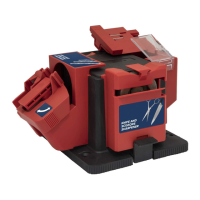
Fig.2
4.1.14. For drill bits of diameter 3mm to 3.5mm, loosen the locknut and pull the clamp out of the block and install it with the stepped surface
downwards.Seeg.2.
Original Language Version
SMS2004 Issue:4 (H,F) - 22/01/18