8
SeaStar Hydraulic Jackplate
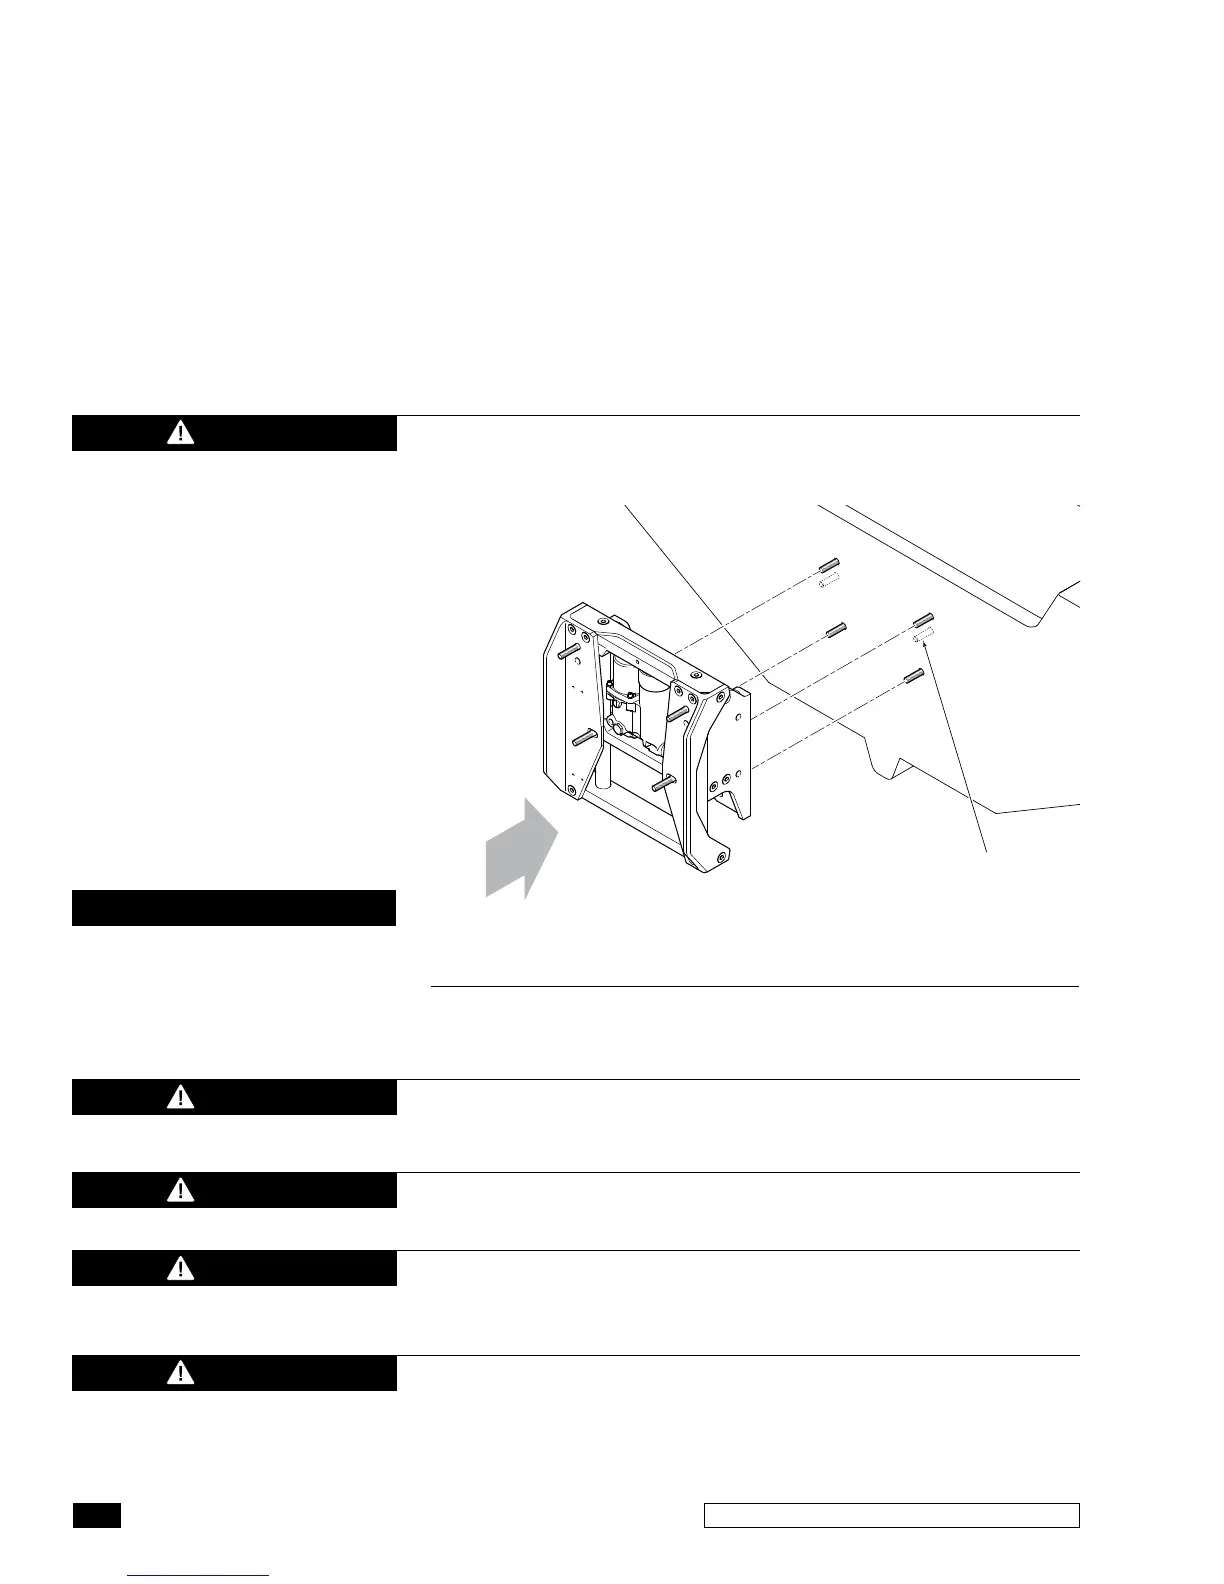
ADDITIONAL BOLTS
RECOMMENDED IN CASE
OF 10" OR 12" SETBACK
OR 250
+
HP ENGINE
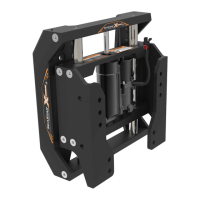
3. If the Jackplate setback is 10 inches or more, or if the outboard
engine output is 250 horsepower or more, it is recommended to
use
6 mounting bolts at the transom connection. Additional
mounting
bolts should be used in the upper holes on the Jackplate
hole pattern. See figure 8.
4. Seal all holes in the transom with an appropriate marine sealant.
1/2" x 1-1/16" OD SAE must be used with the engine mounting
bolts to ensure proper clearance and bolt preload.
Figure 6. Jackplate to transom connection.
WARNING
CRUSH HAZARD. Moving Jackplate parts can crush. Keep all body
parts free and clear when actuating the Jackplate.
WARNING
The use of 6 mounting bolts is recommended for installations of
10” or 12” setbacks or for outboard engines with output greater
than 250 horsepower.
WARNING
Follow the outboard engine manufacturer’s recommendations for
tightening torque.
WARNING
Use of non-approved bolts and washers may lead to separation of
engine from boat.
WARNING
At the lowest position, the Jackplate
provides a 2-1/2" lift offset between
the transom and the engine.
NOTICE
 Loading...