62 Cockpit
Setting the date
– Keep pressing the
MODE
button until the date display (day)
flashes.
– Use the
+
and
-
buttons to set the day.
– Keep pressing the
MODE
button until the month display flashes.
– Use the
+
and
-
buttons to set the month.
– Keep pressing the
MODE
button until the year display flashes.
– Use the
+
and
-
buttons to set the year.
Deactivating the date display
– Keep pressing the
MODE
button until the complete date display
flashes.
– Use the
-
button to disable the date display.
Activating the date display
– Keep pressing the
MODE
button until the complete date display
flashes.
– Use the
+
button to enable the date display.
When the display stops flashing, this means the setting you are performing
is completed and the time and date have been successfully stored.
When the ignition is switched off, the odometer and the digital clock with
date display can be switched on for a few seconds by pressing the CHECK
button ⇒ fig. 37
8
.
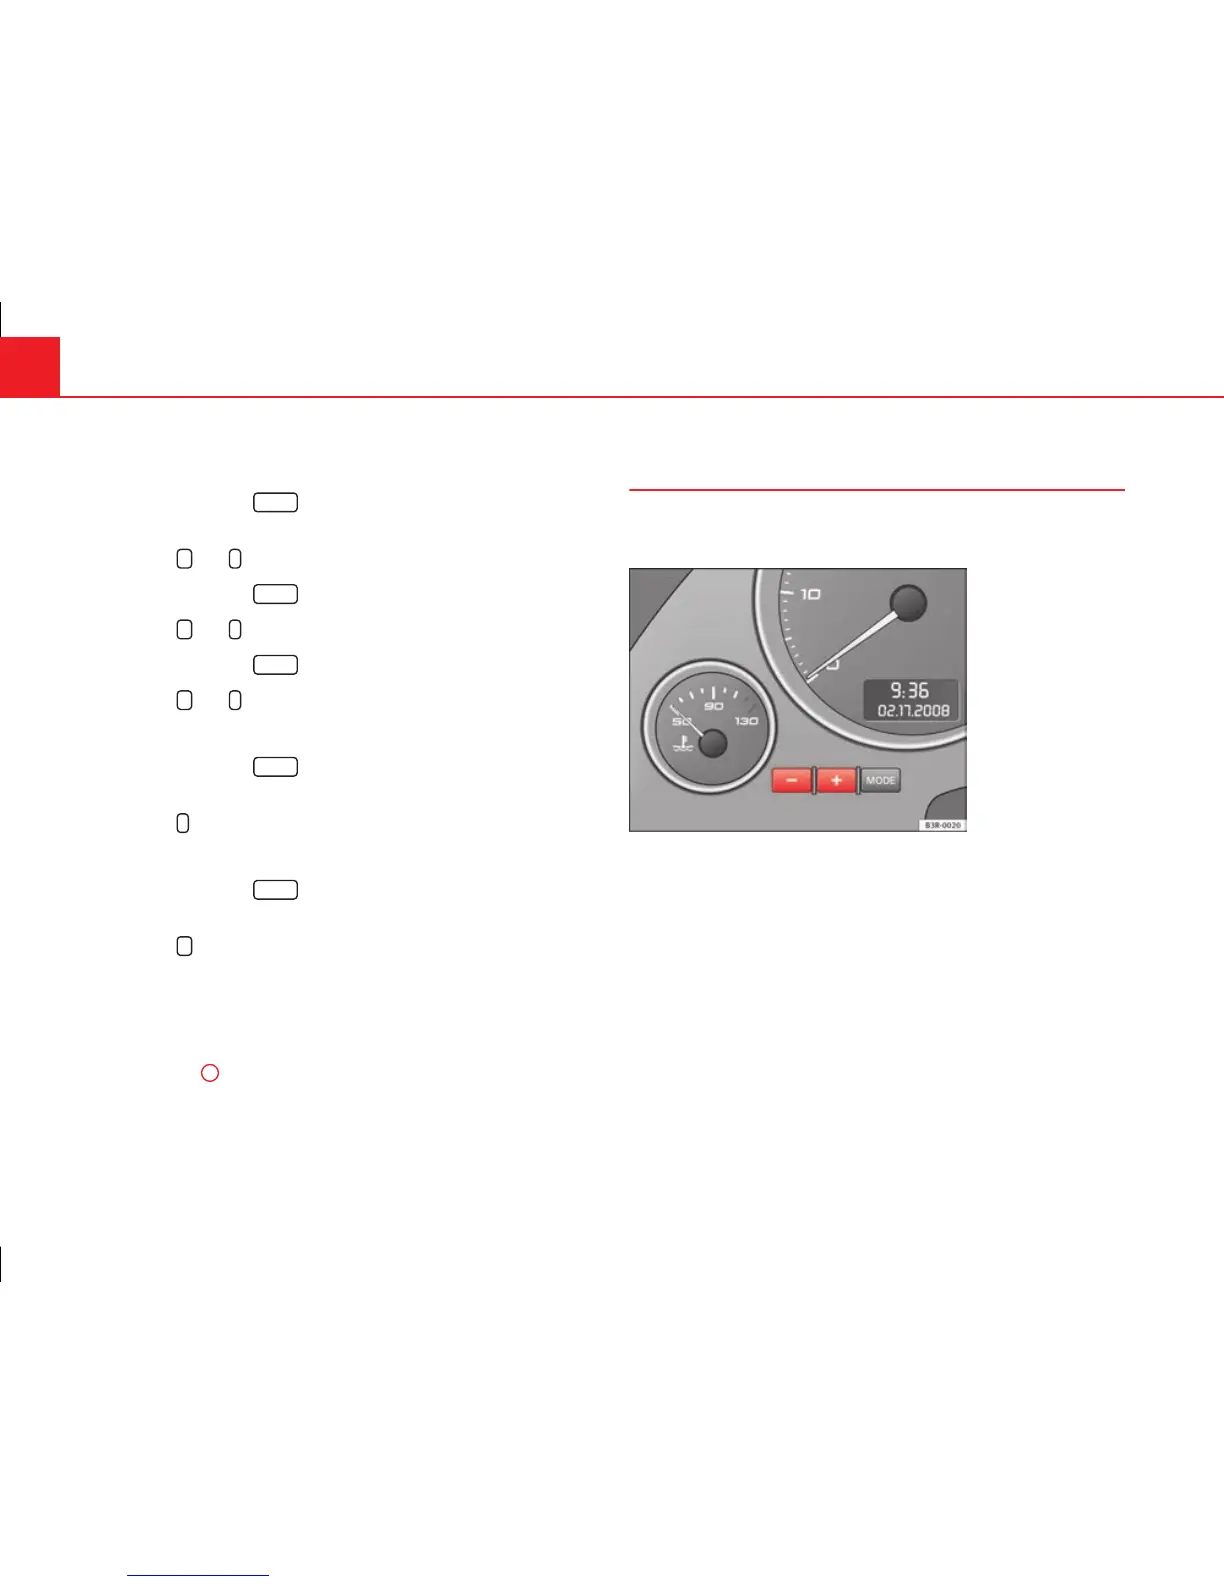
Instrument lighting
The brightness of the instrument lighting can be adjusted as
required.
Fig. 41 Instrument panel
lighting
– Press the "+" button to increase the brightness of the instru-
ment lighting.
– Press the "-" button to reduce the brightness of the instrument
lighting.
The instrument lighting (dials and needles), the centre console illumination
and the illumination of the displays are regulated by a photodiode incorpo-
rated in the instrument panel, depending on the outside light.