3.3 Testing a Class II Appliance
• Visually inspect the appliance and mains cord for
signs of damage.
• If the appliance passes a visual inspection
proceed with the electrical tests.
• Plug the earth test lead into the 4mm socket
on the PrimeTest 100 end panel.
• Plug the appliance into the PrimeTest 100 front
panel mains socket
• Connect the earth test probe to an exposed
metal part on the appliance.
• If the Appliance under test has an ON/OFF
switch, make sure it is in the ON position.
• Press the Class II test key
• The PrimeTest 100 will now test Insulation
Resistance and Leakage current.
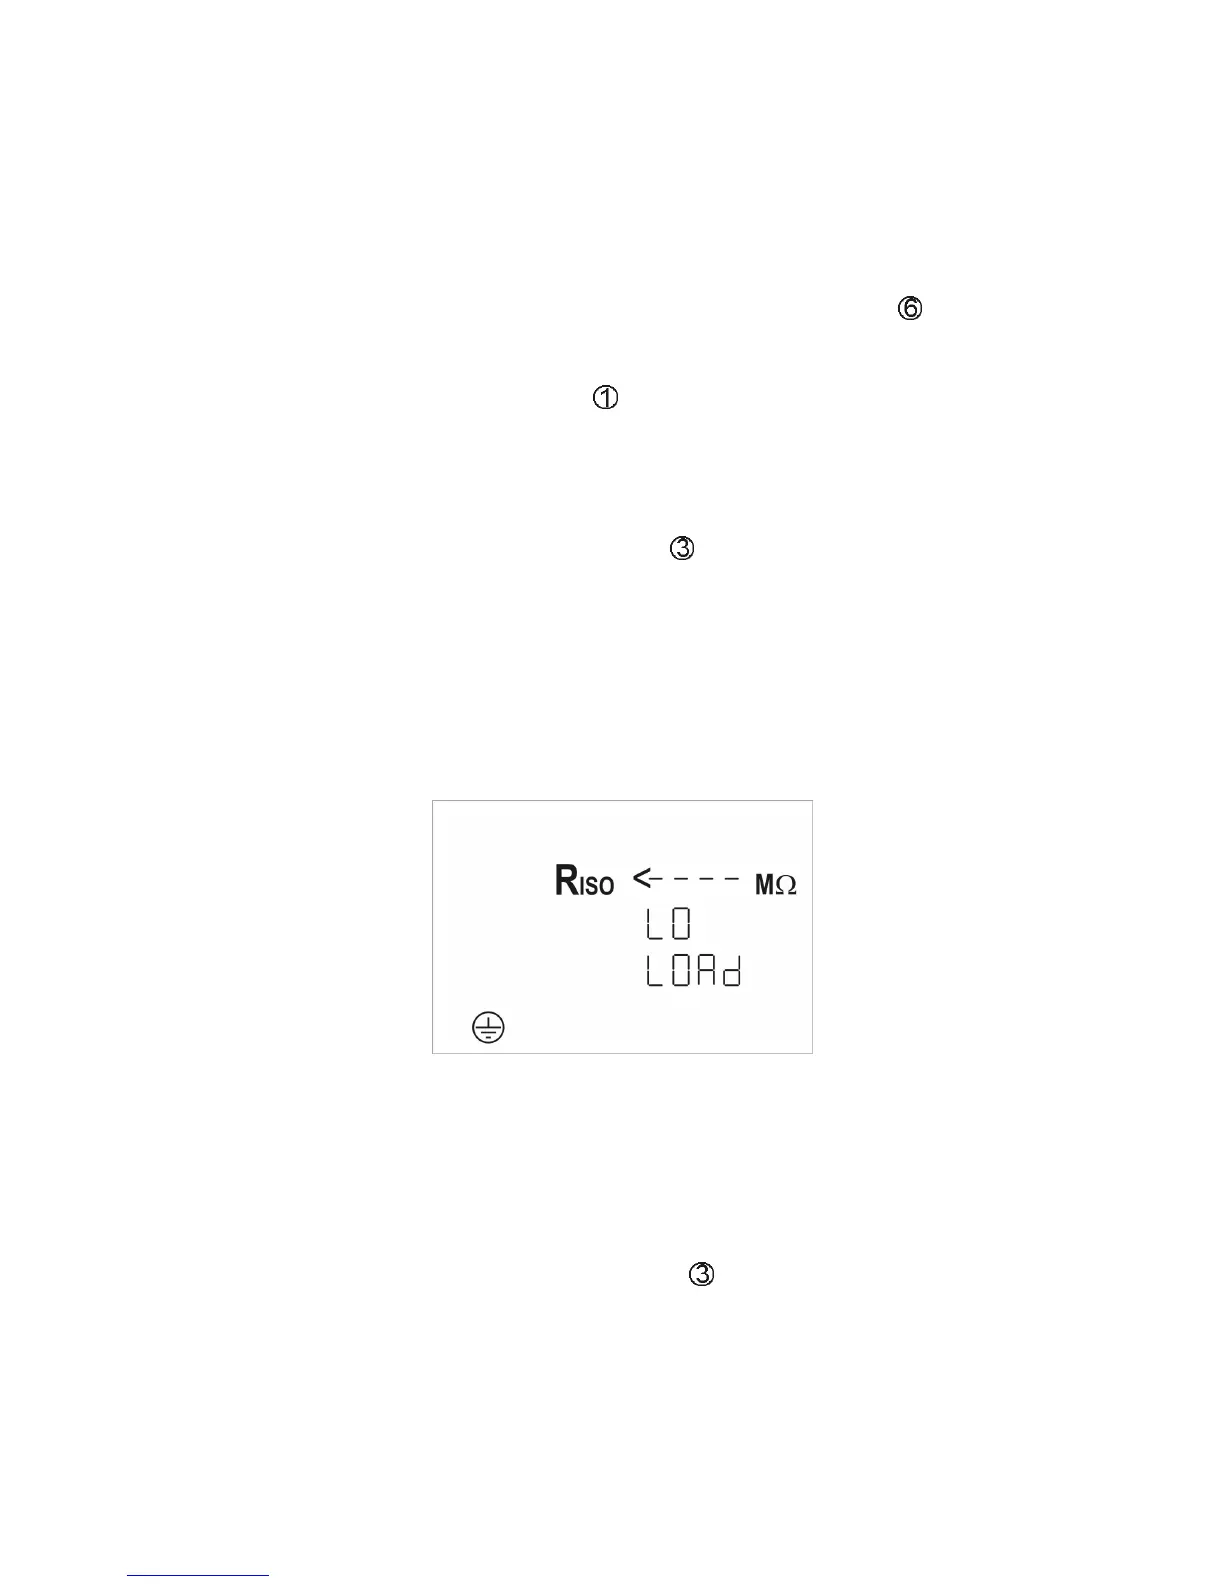
Note: The power switch on the appliance under
must be in the ON position to perform an
insulation test. If no appliance is detected
the PrimeTest 100 will display the
following.
• Check that the appliance power switch is in the
ON position. The test will automatically proceed
if the appliance power switch is placed in the ON
position.
• If the LO LOAd enunciator remains on the
display, the load presented by the appliance may
be too small for the PrimeTest 100 to detect. In
this case, press the test key to continue.
• If the Insulation Resistance is greater than the
factory set limit a tick is placed next to the Riso
enunciator. Similarly, if the Leakage

 Loading...