EN-14
EN
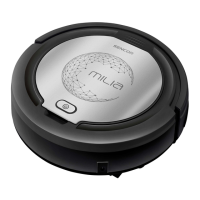
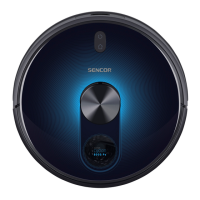
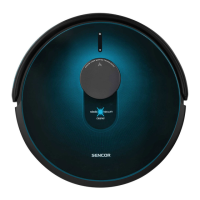
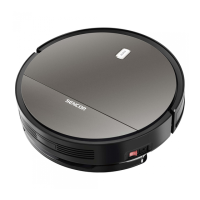
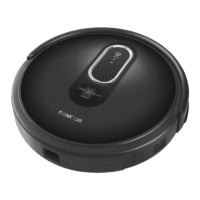
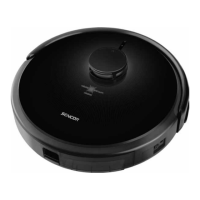
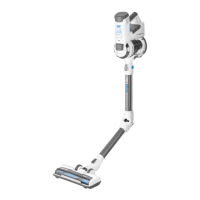
Robotic vacuum cleaner
SRV 1000SL
2019 01/2019
CLEANING AND MAINTENANCE
■ Prior to cleaning it, always turn off the robotic vacuum cleaner using the power button A3.
■ For cleaning, never use abrasive cleaning products, solvents, etc.
■ Neglecting cleaning and maintenance may negatively affect the functioning of the vacuum cleaner and lead to
its reduced performance.
DUST CONTAINER AND DUST FILTER
■ Clean the dust container A5 after every use. Insert afinger into the hole A4 and gently lift up the lid A2 and then
open it fully.
■
Take out the dust container A5. Remove the lid A6 from the dust container and take out the dust filter A7. Tip
the dirt out of the dust container bin A8. For hygiene reasons, we recommend doing this away from living areas.
■ Wash the dust container under running water and dry it well. Clean the dust filter using asoft brush and insert it
back into the dust container.
■ Close the dust container with the lid, put it back into the vacuum cleaner and tilt down the top cover.
Note:
It is not necessary to wash the dust container after every use.
Attention:
Do not wash the dust container in adishwasher.
Before putting the vacuum cleaner back into operation, check that the dust filter is properly installed
in its location. Otherwise the vacuum cleaner may be damaged.
CLEANING THE SUCTION HOLE
■ With repeat use, dust and dirt may accumulate around the suction hole A17, which may manifest itself through
decreased efficiency. Remove the dirt dust from the suction opening using asoft brush. Regularly clean the suction
opening to ensure maximum suction power.
CLEANING THE ROTARY BRUSHES
■ Remove the rotary brushes A11 and A16 by pulling them upwards. Remove any dust and dirt from the location
where the brushes were mounted.
■
Remove all dust and dirt from the brushes. If necessary you may wash the brushes under running water. If the bristles
were deformed while the vacuum cleaner was running, dip them in warm water to allow them to return to their
original shape. Allow the brushes to dry before reattaching them to the vacuum cleaner.
■ After cleaning them, reattach them.
Note:
The rotary brushes become worn out when used. After acertain time it is necessary to replace the used
brushes with new ones. To order new brushes, please contact your vendor or an authorised service centre.
MOP
■ After every use of the mop function, remove the antistatic duster B5, wash it by hand in lukewarm water with the
addition of asmall amount of gentle washing powder and allow it to dry naturally. Wipe the holder B4 using alightly
dampened cloth and then wipe it dry.
COMPLETE ROBOTIC VACUUM CLEANER
■ Regularly wipe the surface of the robotic vacuum cleaner using asoft dry wiping cloth.
■ At least once per week or more frequently, clean the front swivel wheel A10, the motorized wheels A13 and A18,
the suction hole A17, rotary brushes A11 and A16 and the bottom sensors A12.
■ First remove any coarser dirt from the front swivel wheel A10 and the motorised wheels A13 and A18. Then clean
them around their entire perimeter using alightly dampened cloth and wipe them dry. Do not forget to also clean
the area around the wheels.
■ Wipe the sensors A12 on the underside of the robotic vacuum cleaner using asoft dry wiping cloth or cotton buds.
 Loading...