SENNHEISER ELECTRONIC GMBH & CO. KG
COMPONENT MAINTENANCE MANUAL
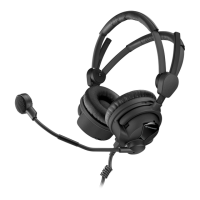
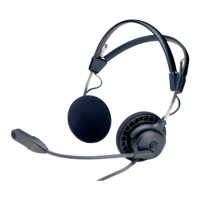
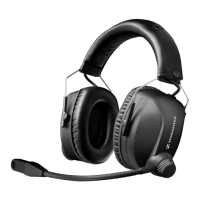
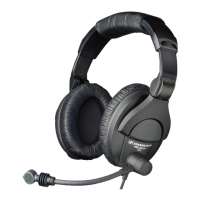
HMEC 26-SERIES
Page 3002
Jan 23/13
23-41-48
C. Removal of the caps from the acoustic units
NOTE:
REPLACEMENT OF DEFECTIVE ACOUSTIC UNITS FOR HEADSETS UP TO SERIAL NUMBER 00200100:
THE ACOUSTIC UNITS HAS BEEN REDESIGNED. FOR ACOUSTICAL REASONS ALWAYS REPLACE
- THE LEFT AND THE RIGHT ACOUSTIC UNIT AND
- THE LEFT AND THE RIGHT EARPAD (REF. IPL).
REPLACEMENT OF DEFECTIVE ACOUSTIC UNITS FOR HEADSETS FROM SERIAL NUMBER 00200100:
REPLACE THE DEFECTIVE ACOUSTIC UNIT ONLY. FOR HYGIENICAL REASONS THE EARPAD
REPLACEMENT IS RECOMMENDED.
NOTE:
FOR HMEC 26, REFER TO IPL FIG. 1 AND IPL FIG. 2; FOR HMEC 26-T, REFER TO IPL FIG. 3 AND IPL
FIG. 4.FOR THE SCREWDRIVER POSITIONS, REFER TO FIG. 3001.
(1) Remove the screws (090).
(2) Carefully put the tip of a small flat-headed screwdriver into the first slot .
(3) Use the screwdriver to lever the cap (040, 070) to the outer side to unhook the inner nose.
(4) Keep the cap (040, 070) and the acoustic unit (050, 060) under some tension to prevent a
movement of the hook to its old position.
(5) Do steps 2 thru 4 again for the second slot .
(6) Carefully put the tip of a small flat-headed screwdriver at position on the left and right side
near the headband (010).
(7) Use the screwdriver to lever the cap (040, 070) to the outer side to unhook the
inner noses.
CAUTION:
WHEN YOU REMOVE THE CAP AT THE MICROPHONE SIDE , YOU MUST MAKE SURE THAT
THE LEADS WHICH ARE ATTACHED TO THE PCB DO NOT BREAK OFF.
Oct 30/08