SENNHEISER ELECTRONIC GMBH & CO. KG
COMPONENT MAINTENANCE MANUAL
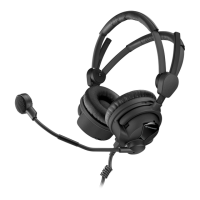
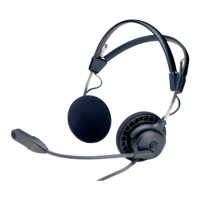
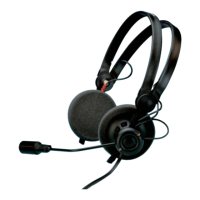
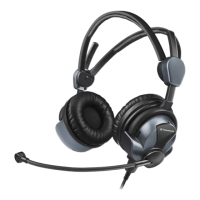
HMEC 26-SERIES
Page 3008
Jan 23/13
23-41-48
K. Disassembly of Cables -BV-CP, -B-CP, -V-KP, -V-RP, -V-CP, -BV-K, -B-KP, -BV-KP, -B-K and -V-KX
NOTE:
REFER TO IPL FIG. 8 TO IPL FIG. 16
(1) Use a screwdriver to remove the screws from the housing (010):
- Fig. 8 and Fig. 10 to Fig. 13: 050
- Fig. 9: 060
- Fig. 14 to Fig. 16: 040
(2) Remove the cover (020) from the housing (010).
(3) Remove the inserts:
- Fig. 8, Fig. 10, Fig. 13: 090 to 110
- Fig. 9: 100 to 120
- Fig. 11: 090 and 100
- Fig. 12: 110
- Fig. 14 to Fig. 16: 070 to 090
(4) Remove the oval insert:
- Fig. 9: 040
- Fig. 13: 120
(5) Remove the PCB and the attached cables from the housing (010):
- Fig. 8, Fig. 10 to Fig. 13: 060
- Fig. 9: 070
- Fig. 14 to Fig. 16: 050
(6) Remove the knobs from the relevant PCB if necessary.
- Fig. 8, Fig. 10 to Fig. 13: 070 and 080
- Fig. 9: 080 and 090
- Fig. 14 to Fig. 16: 060
(7) Unsolder the cables from the relevant PCB:
- Fig. 8: 120 and 130
- Fig. 9, Fig. 13: 130 and 140
- Fig. 10, Fig. 12: 120 to 140
- Fig. 11: 120 to 150
- Fig. 14: 100 to 120
- Fig. 15: 100 and 110
- Fig. 16: 100 to 115
(8) Remove the slide knob from the cover (020), if applicable.
- Fig. 8 to Fig. 13: 030
(9) Remove the optical waveguide from the cover (020), if applicable.
- Fig. 8, Fig. 10 to Fig. 13: 040
- Fig. 9: 050
- Fig. 14 to Fig. 16: 030
Oct 30/08