SENNHEISER ELECTRONIC GMBH & CO. KG
COMPONENT MAINTENANCE MANUAL
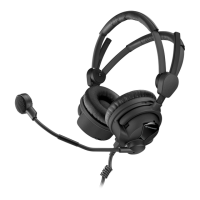
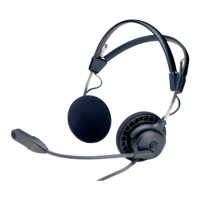
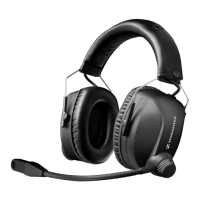
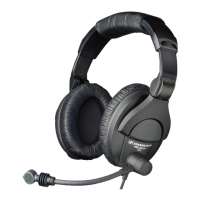
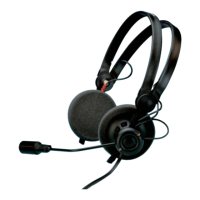
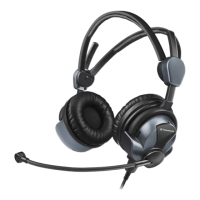
HMEC 26-SERIES
Page 3007
Jan 23/13
23-41-48
H. Removal of the optical waveguide
NOTE:
THIS PROCEDURE IS ONLY APPLICABLE TO THE HMEC 26-T HEADSET.
NOTE:
REFER TO IPL FIG. 3 AND IPL FIG. 4.
(1) Make sure that the earpad (100) is removed.
(2) Make sure that the two screws (090) are removed.
(3) Make sure that the cap (070 or 040) is removed, see also chap. C.
(4) Make sure that the clip (030) is removed.
(5) Push the optical waveguide (046, IPL Fig. 3; 030, IPL Fig. 4) out of the cap (040, 070) from
the inside.
I. Removal of the Talk Through rocker button
NOTE:
THIS PROCEDURE IS ONLY APPLICABLE TO THE NON MICROPHONE SIDE CAP OF THE HMEC 26-T
HEADSET.
NOTE:
REFER TO IPL FIG. 3.
(1) Make sure that the earpad (100) is removed.
(2) Make sure that the screws (090) are removed.
(3) Make sure that the cap (040) is removed.
(4) Carefully compress the two inside latches of the Talk Through rocker button (045).
(5) Push the Talk Through rocker button (045) out of the cap (040).
J. Disassembly of Cables - CP, -KP and -NP
NOTE:
THIS PROCEDURE IS ONLY APPLICABLE TO CABLES -CP, -KP AND -NP.
NOTE:
REFER TO IPL FIG. 5 TO IPL FIG. 7.
(1) Use a screwdriver to remove the four screws (040) from the housing (010).
(2) Remove the cover (020) from the housing (010).
(3) Remove the insert(s) (070).
(4) Remove the PCB (050) and the attached cables from the housing (010).
(5) Remove the knob (060) from the PCB (050).
(6) Remove the optical waveguide (030) from the cover (020), if necessary.
(7) Unsolder the cables (080, 090) and, if applicable, (100) at the PCB (050).
Oct 30/08