Switched PRO2 – User Guide
Installing the PRO2 • 16
Mounting the PRO2 Unit
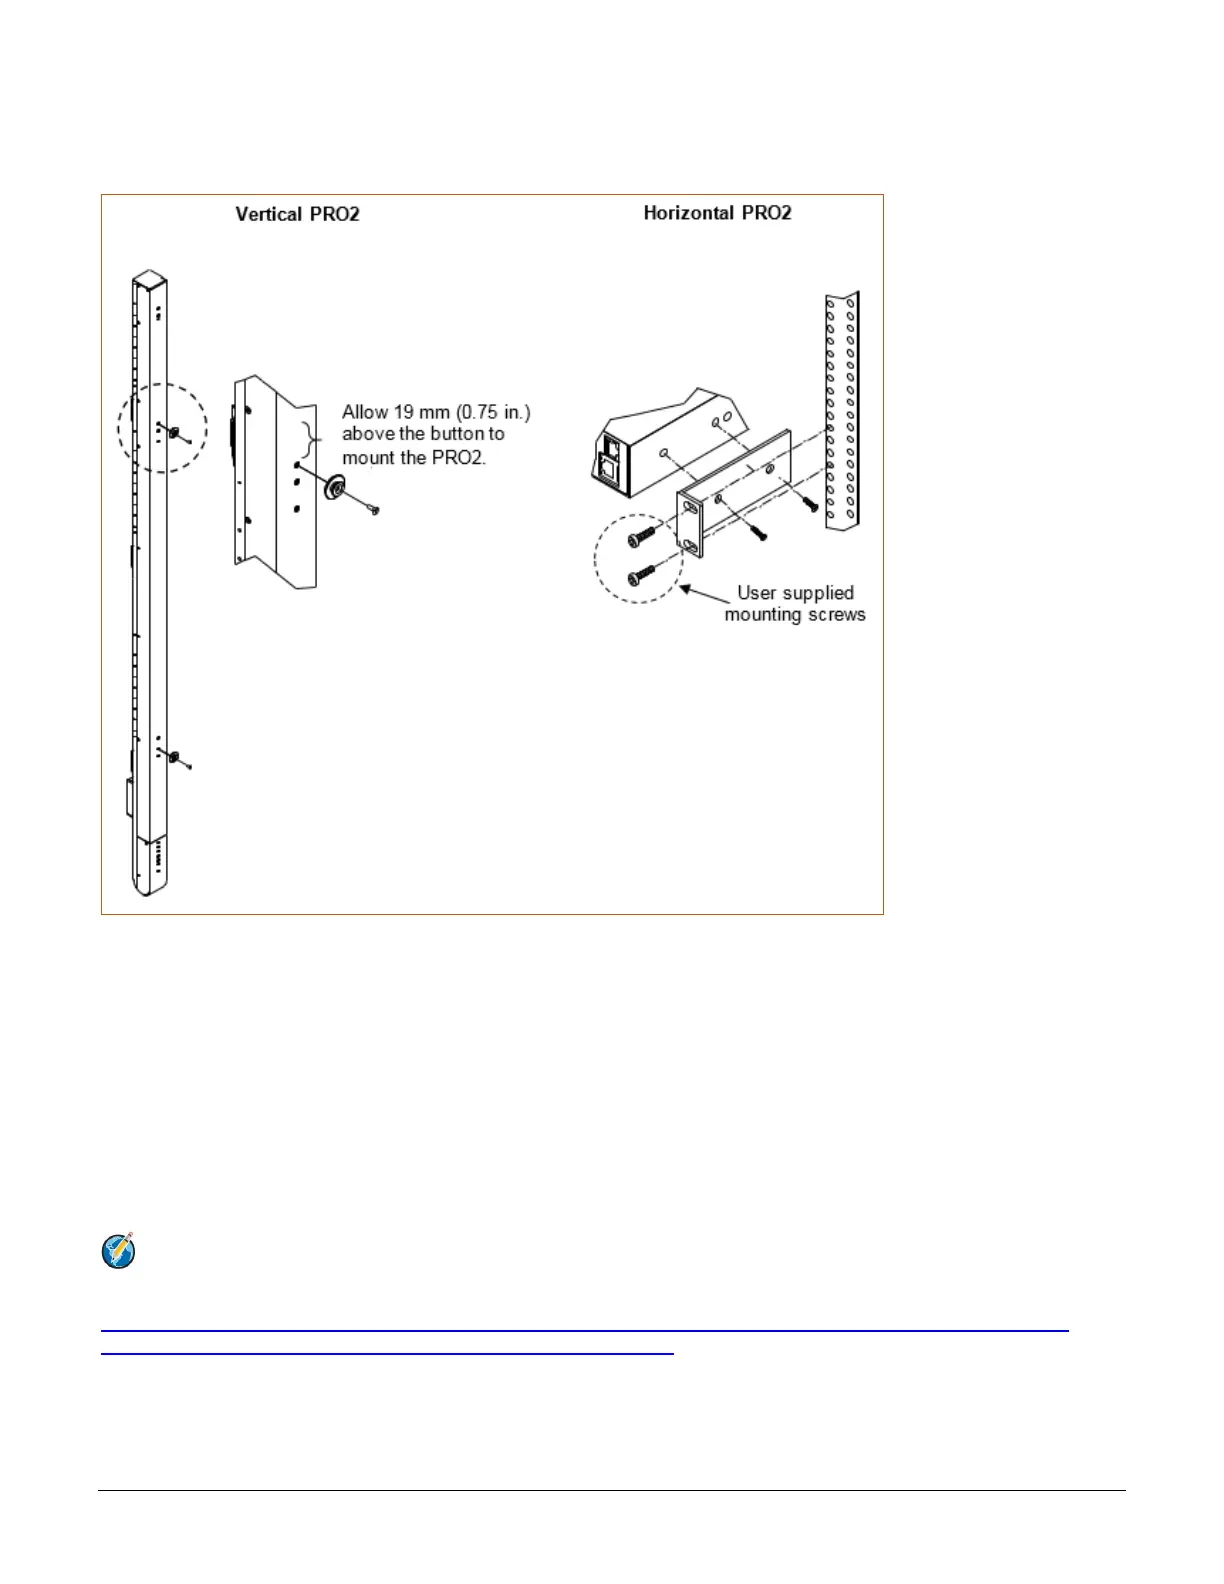
The following illustration shows how to mount the PRO2 unit in vertical or horizontal orientation:
Horizontal/Rack
1. Select the appropriate bracket mounting points for proper mounting depth within the rack.
2. Attach the L-brackets to these mounting points with two screws for each bracket.
3. Install the enclosure into your rack, using the slots in each bracket. The slots allow about 6 mm (0.25 inch)
of horizontal adaptability to align with the mounting holes of your rack.
Vertical
PRO2 units are supplied with button mounting kit(s). Distribute the buttons vertically and attach to the PRO2 as
appropriate for the cabinet. An additional 19 mm (0.75 inch) of clearance is required at the top of the PRO2 to allow
the button to mount into the keyholes.
Note: For more information about horizontal/vertical mounting options for the PRO2, see the Server
Technology PDU Mounting Bracket Catalog:
https://cdn10.servertech.com/assets/documents/documents/246/original/Mounting_Bracket_Catalog.2015-09-
25.pdf?1453767377#_ga=1.196494891.640622464.1488848222