SC: 04-30-2024_TAB_ Elbrd: J.E.
OBPN: RV2400WD_Series_IB_E_War-
ning-warning-warranty_iii_MP_mV3230515
• Accessory type and quantity may
vary depending on the model.
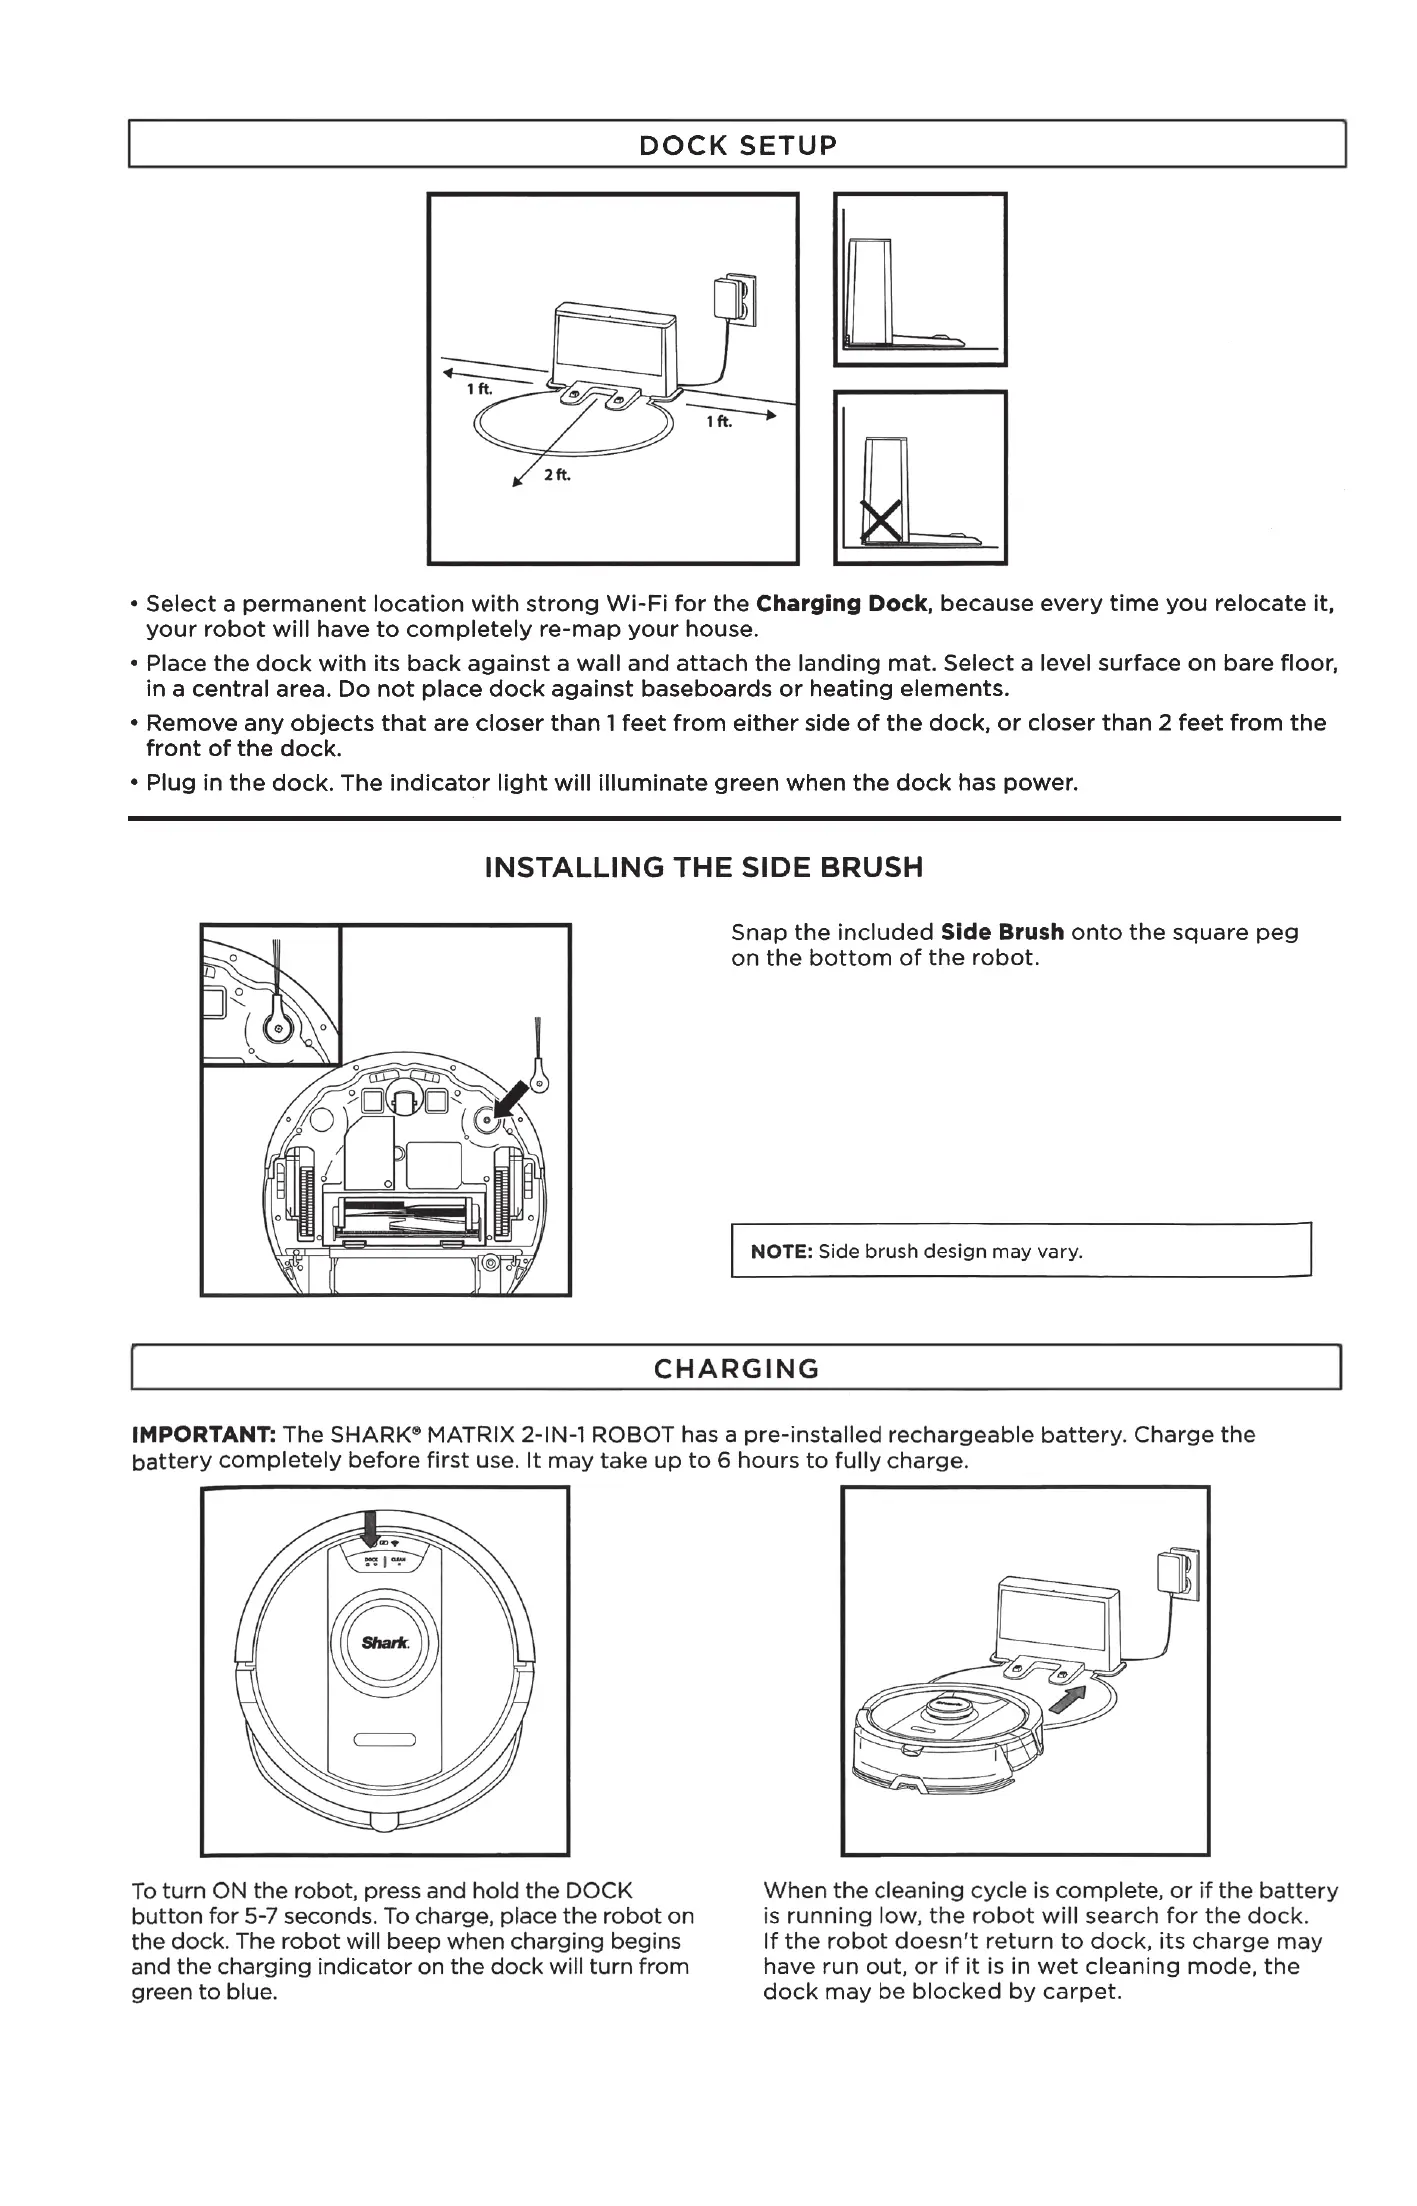
DOCK SETUP
1 ft.
1 ft.
2 ft.
• Select a permanent location with strong Wi-Fi for the Charging Dock, because every time you relocate it,
your robot will have to completely re-map your house.
• Place the dock with its back against a wall and attach the landing mat. Select a level surface on bare floor,
in a central area. Do not place dock against baseboards or heating elements.
• Remove any objects that are closer than 1 feet from either side of the dock, or closer than 2 feet from the
front of the dock.
• Plug in the dock. The indicator light will illuminate green when the dock has power.
(0
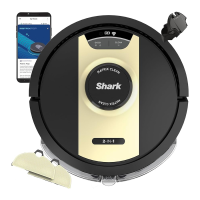
INSTALLING THE SIDE BRUSH
Snap the included Side Brush onto the square peg
on the bottom of the robot.
• Accessory type and quantity may
vary depending on the model.
O
NOTE: Side brush design may vary.
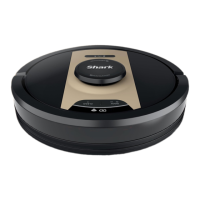
CHARGING
IMPORTANT: The SHARK@ MATRIX 2-IN-I ROBOT has a pre-installed rechargeable battery. Charge the
battery completely before first use. It may take up to 6 hours to fully charge.
To turn ON the robot, press and hold the DOCK
button for 5-7 seconds. To charge, place the robot on
the dock. The robot will beep when charging begins
and the charging indicator on the dock will turn from
green to blue.
When the cleaning cycle is complete, or if the battery
is running low, the robot will search for the dock.
If the robot doesn't return to dock, its charge may
have run out, or if it is in wet cleaning mode, the
dock may be blocked by carpet.