


J
Jeffrey RobinsonSep 12, 2025
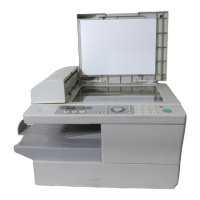
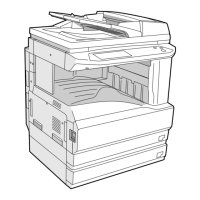
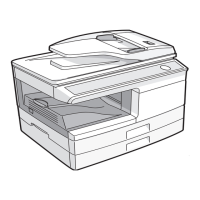
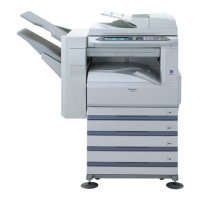
Why does automatic document feeding not work on my Sharp AM-300 All in One Printer?
- CChristina SloanSep 12, 2025
Check the size and weight of the document.
Why does automatic document feeding not work on my Sharp AM-300 All in One Printer?
Check the size and weight of the document.
Why is nothing printed at the receiving end from Sharp AM-300 All in One Printer?
Make sure that the document for transmission is placed face down if you are using the document glass, or face up if you are using the auto document feeder.
What to do if my Sharp All in One Printer does not respond when pressing keys?
If a beep sound isn't made when you press the keys, unplug the power cord, wait at least 5 seconds, and then plug it in again.
Why does nothing appear in the display of my Sharp AM-300?
Make sure the power cord is properly plugged into a power outlet. Connect another electrical appliance to the outlet to see if it has power.
Why is my Sharp All in One Printer copy faint?
Adjust the contrast setting. If output is generally faint, the toner cartridge may need replacement.
How to fix LINE ERROR on Sharp All in One Printer?
A LINE ERROR on your Sharp All in One Printer typically means the machine can't communicate with the other fax machine due to a phone line issue. Try the transaction again. Check the connection, ensuring the cord from the TEL. LINE socket to the wall is no longer than two meters. Ensure no modem devices share the line. Verify the other fax machine functions properly and have your telephone line checked for noise. You can also try connecting to a different telephone line. If the problem persists, your machine may need service.
What to do if the size of the printed document image does not match the size of the paper on my Sharp AM-300?
Make sure an appropriate enlarge/reduce setting is selected.
How to resolve Sharp AM-300 no reception occurs when polling is attempted?
Make sure the transmitting machine is in automatic reception mode. If the transmitting machine has polling security, make sure that your fax number has been entered both in your machine and in the transmitting machine.
What to do if the size of the printed document image does not match the size of the paper on my Sharp All in One Printer when receiving a fax?
Make sure that an appropriate reception ratio setting has been selected.
What to do if my Sharp All in One Printer is on, but reception does not take place?
Make sure that the telephone line cord is plugged into the TEL. LINE socket, and not the TEL. SET socket.
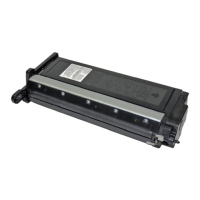
Details cartridge specifications, part numbers, chip usage, and notes on developer roller care.
Locate and remove the two screws securing the end cap of the toner cartridge.
Carefully detach the end cap from the toner cartridge after removing the screws.
Remove the fill plug and thoroughly clean out any remaining toner from the hopper.
Fill the hopper with the appropriate toner and replace the fill plug.
Slide the end cap back into place, ensuring it fits over the top tab, then reinstall the screws.
| Max Copying Resolution | 600 x 600 dpi |
|---|---|
| Scanner Type | Flatbed |
| Functions | Copier, Printer, Scanner |
| Paper Size | A4, A5 |
| Interface | USB |
| Operating Systems | Windows |