AR-M236/M276/M237/M277 ADJUSTMENTS 7 - 2
(3) Developing bias voltage adjustment (SIM 8-1)
1) Execute SIM 8-1.
2) Touch the exposure mode to be changed.
The current set value is displayed.
3) Enter the set value with the 10-key.
4) Press the [START] key.
Output is made with the entered value, and the display returns to
the original state.
<Adjustment specification>
(4) Grid bias voltage adjustment
(High mode) (SIM 8-2)
1) Execute SIM 8-2.
2) Touch the exposure mode to be changed.
The current set value is displayed.
3) Enter the set value with the 10-key.
4) Press the [START] key.
Output is made with the entered value for 30sec, and the display
returns to the original state.
<Adjustment specification>
Min. unit: –25V increment
(5) Grid bias voltage adjustment (Low mode) (SIM 8-3)
1) Execute SIM 8-3.
2) Touch the exposure mode to be changed.
The current set value is highlighted.
3) Enter the set value with the 10-key.
4) Press the [START] key.
Output is made with the entered value for 30sec, and the display
returns to the original state.
<Adjustment specification>
Min. unit: -25V increment
B. Mechanism section
(1) Print start position adjustment
1) Execute SIM 50-5.
2) Touch the item to be adjusted.
The item and the currently set value are highlighted.
3) Press the [P] key.
The display is shifted to the copy menu.
4) Select the paper feed tray, the print density, and the duplex mode.
Enter the adjustment value with the 10-key.
Item Content
Installation
range
Default
1 AE AE 200-550 400 (–400V)
2 TEXT Character 450 (–450V)
3 TEXT/PHOTO Character/Photo 450 (–450V)
4 PHOTO Photo 450 (–450V)
5 SUPER/PHOTO Super photo 400 (–400V)
6 TONER SAVE Toner save 376 (–376V)
Item Content
Setting
range
Default
1AE AE 1-8 3 (–530V)
2 TEXT Character 5 (–580V)
3 TEXT/PHOTO Character/Photo 5 (–580V)
4 PHOTO Photo 5 (–580V)
5 SUPER/PHOTO Super photo 3 (–530V)
6 TONER SAVE Toner save 2 (–505V)
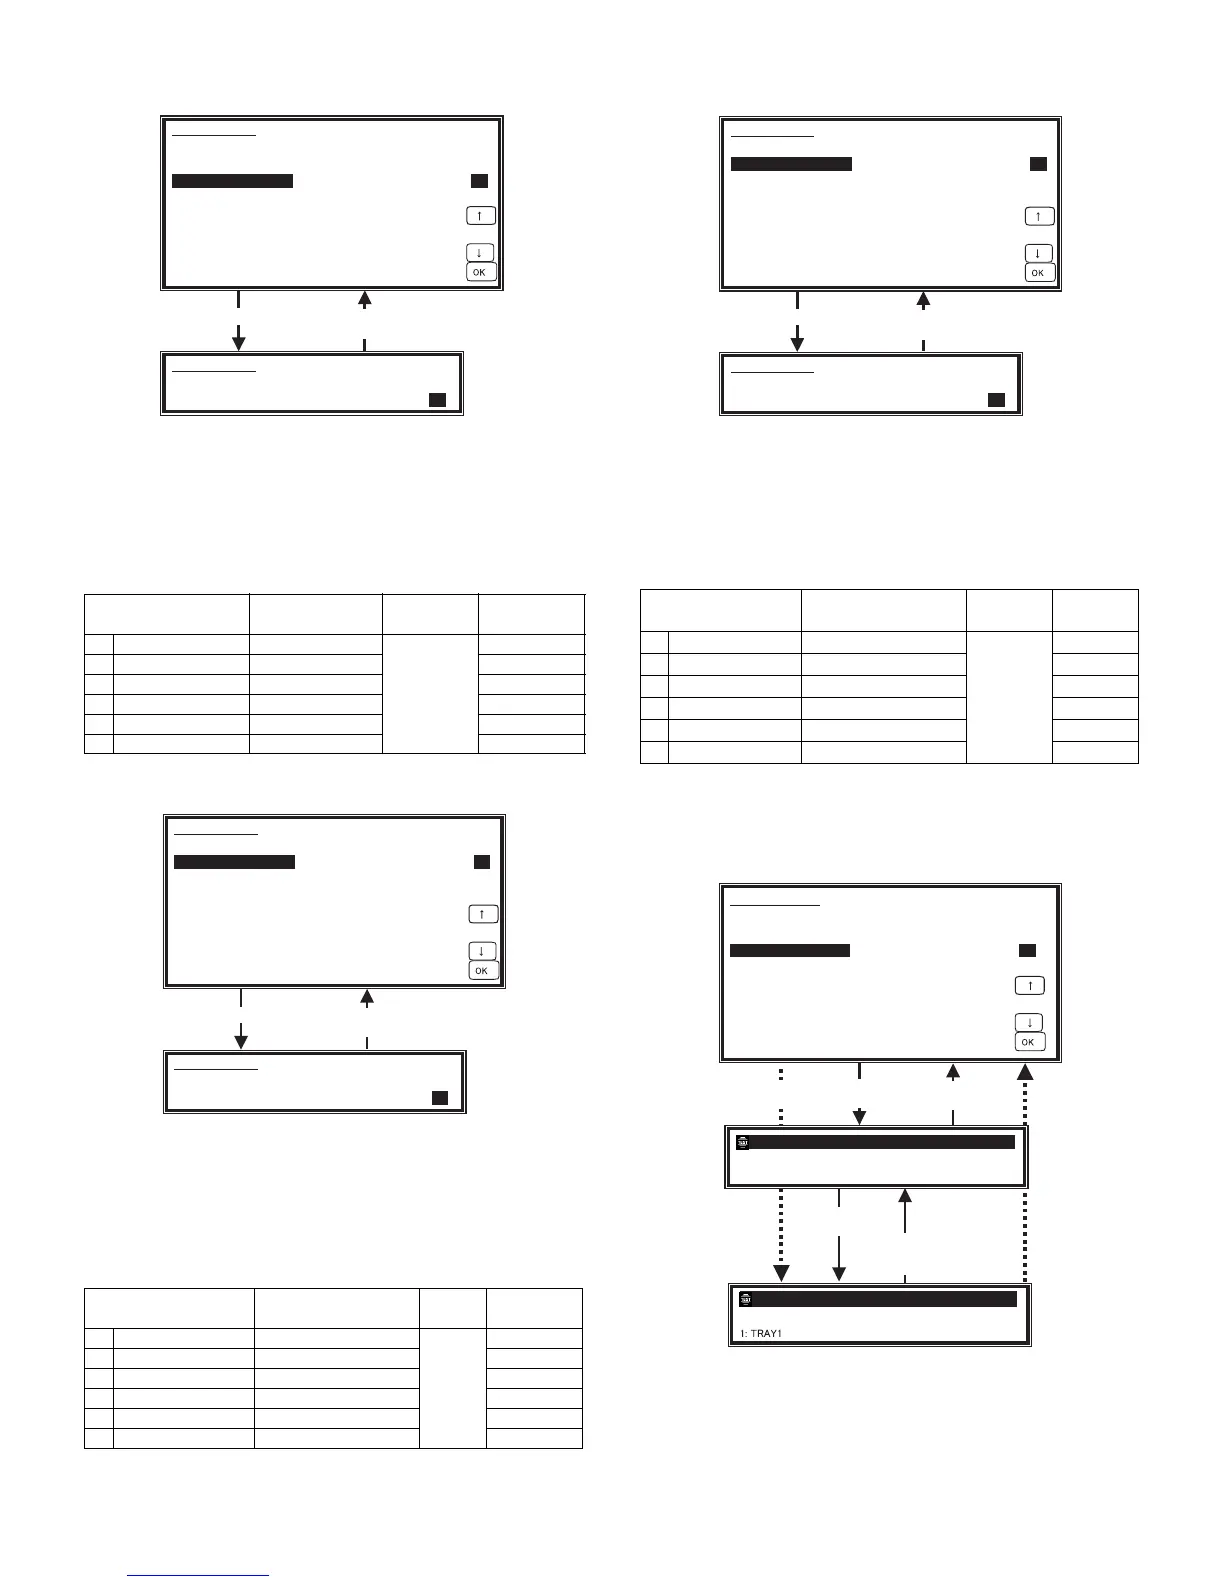
Press the [CUSTOM SETTINGS] key.
Or after completion of operation.
Press the [START] key.
SIMULATION 8-1
DV BIAS COPY SETTING. EXECUTING...
5:SUPER PHOTO
400
SIMULATION 8-1
400
1/1
DV BIAS COPY SETTING. INPUT VALUE 200-550, AND PRESS
START.
1: AE 400
2: TEXT 450
3: TEXT/PHOTO 450
4: PHOTO 450
5: SUPER/PHOTO 400
6: TONER SAVE 376
Press the [CUSTOM SETTINGS] key.
Or after completion of operation.
Press the [START] key.
SIMULATION 8-2
MHV(H) COPY SETTING. EXECUTING...
5:SUPER PHOTO
3
SIMULATION 8-2
3
1/1
MHV(H) COPY SETTING. INPUT VALUE 1-8, AND PRESS START.
1: AE 3
2: TEXT 5
3: TEXT/PHOTO 5
4: PHOTO 5
5: SUPER/PHOTO 3
6: TONER SAVE 2
Item Content
Setting
range
Default
1AE AE 1-8 3 (–400V)
2 TEXT Character 5 (–450V)
3 TEXT/PHOTO Character/Photo 5 (–450V)
4 PHOTO Photo 5 (–450V)
5 SUPER/PHOTO Super photo 3 (–400V)
6 TONER SAVE Toner save 2 (–375V)
Press the [CUSTOM SETTINGS] key.
Or after completion of operation.
Press the [START] key.
SIMULATION 8-3
MHV(L) COPY SETTING. EXECUTING...
5:SUPER PHOTO
3
SIMULATION 8-3
3
1/1
MHV(L) COPY SETTING. INPUT VALUE 1-8, AND PRESS START.
1: AE 3
2: TEXT 5
3: TEXT/PHOTO 5
4: PHOTO 5
5: SUPER/PHOTO 3
6: TONER SAVE 2
During execution of copying the [CUSTOM SETTING] key and
the [INTERRUPT] key are disabled.
Press the
[CUSTOM SETTINGS]
key.
COPIES IN PROGRESS. 50
READY TO COPY 50
1: TRAY1
SIMULATION 50-5
53
1/1
Press the
[START] key.
Press the
[P] key.
Press the
[START] key.
Press the [CA] key.
Or after completion
of operation.
LEAD EDGE ADJUSTMENT(PRINT). INPUT VALUE 0-99, AND PRESS
START.
1: TRAY1 53
2: OPTION 53
3: MANUAL 53
4: DUPLEX 53
After canceling JAM
(After pick-up,
the [C] key is disabled.)