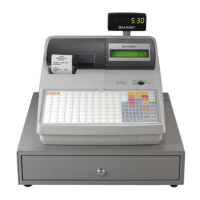
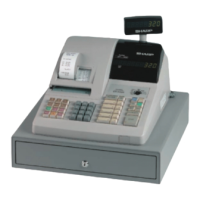
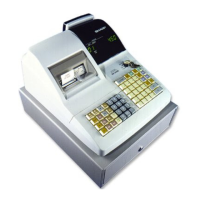
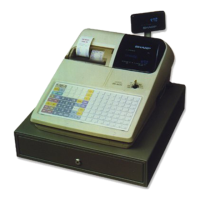
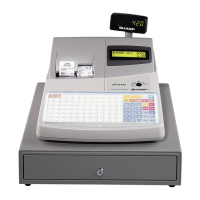
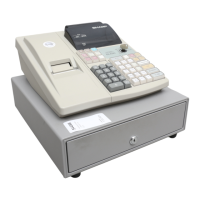
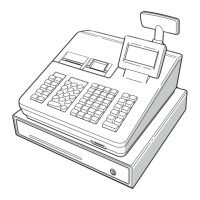
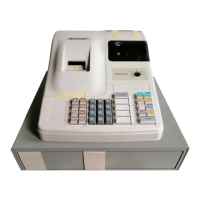
PERIPHERALS
Specifications subject to change without notice: Revision date 10/07 Page 63 of 266
Quick Steps – Scale
To quickly setup the ER-A520/ER-A530 to interface with a Scale, please refer to the outlined
procedures below:
No. Description Comments/Procedure
Step–1 Connect the Scale CH–1 or CH–2
Step–2
SRV Job#903-B, C, D
903 Æ [.] Æ [@] Æ x030 Æ [CA/AT]
(For 3 Decimal Places) or
903 Æ [.] Æ [@] Æ x020 Æ [CA/AT]
(For 2 Decimal Places)
Step–3 SRV Job#906-D 906 Æ [.] Æ [@] Æ xxx1 Æ [CA/AT]
(For Fractional Entries)
Step–4
SRV Job#918
918 Æ [.] Æ [@] Æ x0xx Æ [CA/AT]
(For Non-Scale Fractional Entries) or
918 Æ [.] Æ [@] Æ x1xx Æ [CA/AT]
(For Disallowing Non-Scale Fractional Entries)
Step-5 SRV Job#950
• Place the [SCALE] Key (Function #107) on the keyboard
• Place the [OPEN TARE] Key (Function #108) on the keyboard
Step-6
PGM Job #2690
2690 Æ [.] Æ [@] Æ 1 Æ @ Æ 0010 [SBTL] Æ [CA/AT] for CH–1)
or
2690 Æ [.] Æ [@] Æ 1 Æ @ Æ 0020 [SBTL] Æ [CA/AT] for CH–2)
Note: Must match the physical connection
Step-7
Program Reset
• Place the SRV-Key counter-clockwise to 6 o’clock position
(SRV’ position)
• Count 5 seconds
• Turn SRV-Key clockwise to 7o’clock position (SRV position)
• Verify”***PROGRAM RESET has printed on the journal-side
tape.
Step-8
PGM Job #2110
-and/or-
PGM Job#2210
2110 Æ [.] Æ [@] Æ (Dept. No.) Æ @ Æ xyzxxx [SBTL] Æ [CA/AT]
–and/or-
2210 Æ [.] Æ [@] Æ (Dept. No.) Æ @ Æ xyz [SBTL] Æ [CA/AT]
Y = Tare Table No. (1–9)
Z = Scale Comp. /Enabled/Inhibited = 2/1/0