Do you have a question about the Sharp ER-A160 and is the answer not in the manual?
Important points to consider before operating the cash register.
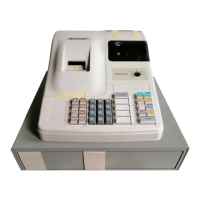
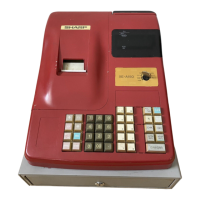
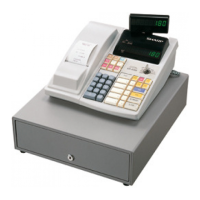
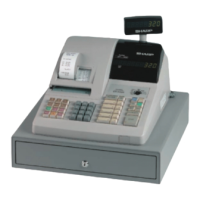
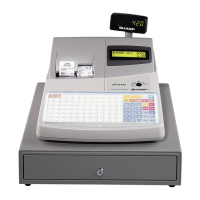
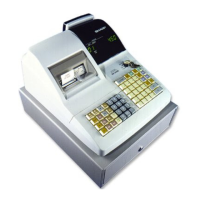
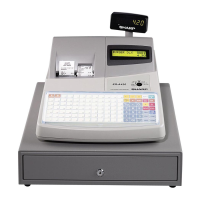
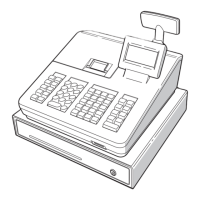
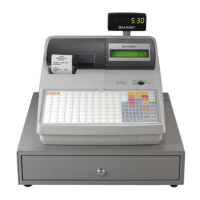
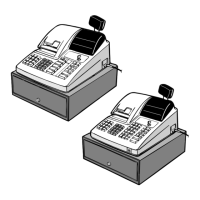
Visual overview of the cash register's external components for ER-A160 and ER-A180.
Details of the keyboard layout, key names, and optional keys for operation.
Explanation of the mode switch and its various settings for operation.
Description of operator and customer display elements and symbols.
Steps for unpacking and physically installing the cash register unit.
Procedure to initialize the cash register before first-time programming.
Instructions for installing batteries to preserve data during power loss.
Guide on how to properly install the paper roll for printing.
Procedure to enter the current date into the cash register.
Procedure to enter the current time into the cash register using 24-hour format.
Steps required before starting sales entries, including receipt status and cashier assignment.
Step-by-step guide for performing a standard sales transaction.
Information on common error states and how to handle them.
How to enter individual items, including PLU and subdepartment entries.
Method to view the running subtotal of a transaction.
Procedures for completing transactions using cash, cheque, or credit.
Explanation of different VAT/tax systems and their computation.
Details on percent calculations, discounts, and refunds.
Handling different payment types, including currency exchange.
How to issue a receipt after a transaction is finalized.
Using AUTO keys for programmed transaction sequences.
How to override entry limits using the manager mode.
Voiding the most recent entry immediately after it's made.
Voiding previous entries before finalizing the transaction.
Voiding an entire transaction before it's finalized.
Procedures for correcting errors after a transaction has been completed.
Overview of daily (X1/Z1) and periodic (X2/Z2) sales reports.
Examples of general, cashier, PLU, and hourly sales reports.
Setting VAT or tax rates for sales calculations.
Assigning sales departments, tax status, and entry limits.
Programming prices and associated departments for individual items.
Programming rates, discount amounts, and percentage limits.
Setting register numbers, consecutive numbers, and optional features.
Viewing programmed settings like reports, AUTO keys, and PLU data.
Explains how the register handles EURO and national currency across different periods.
Steps to automatically adapt the register system for EURO introduction.
Instructions for replacing the backup batteries and related cautions.
Guide on how to remove and install paper rolls.
Steps for replacing the ink ribbon to ensure print quality.
Instructions for refilling the logo ink on the ER-A180 model.
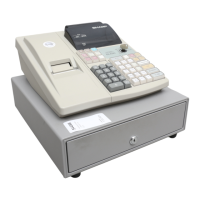
Procedures for locking, unlocking, and removing the cash drawer.
How to manually open the cash drawer in case of power failure.
Securing the register to a surface using the provided angle bracket.
Actions to take during power loss or printer malfunctions.
Procedure for resetting the register's programs to default settings.
Checks to perform before contacting service for machine malfunctions.
| Type | Electronic Cash Register |
|---|---|
| Printer | Thermal Printer |
| Tax Tables | 4 |
| Display | LCD |
| Power Supply | AC 100V |
| Paper Width | 58 mm |