5-75
SCANNER/INTERNET FAX►OTHER FUNCTIONS
5
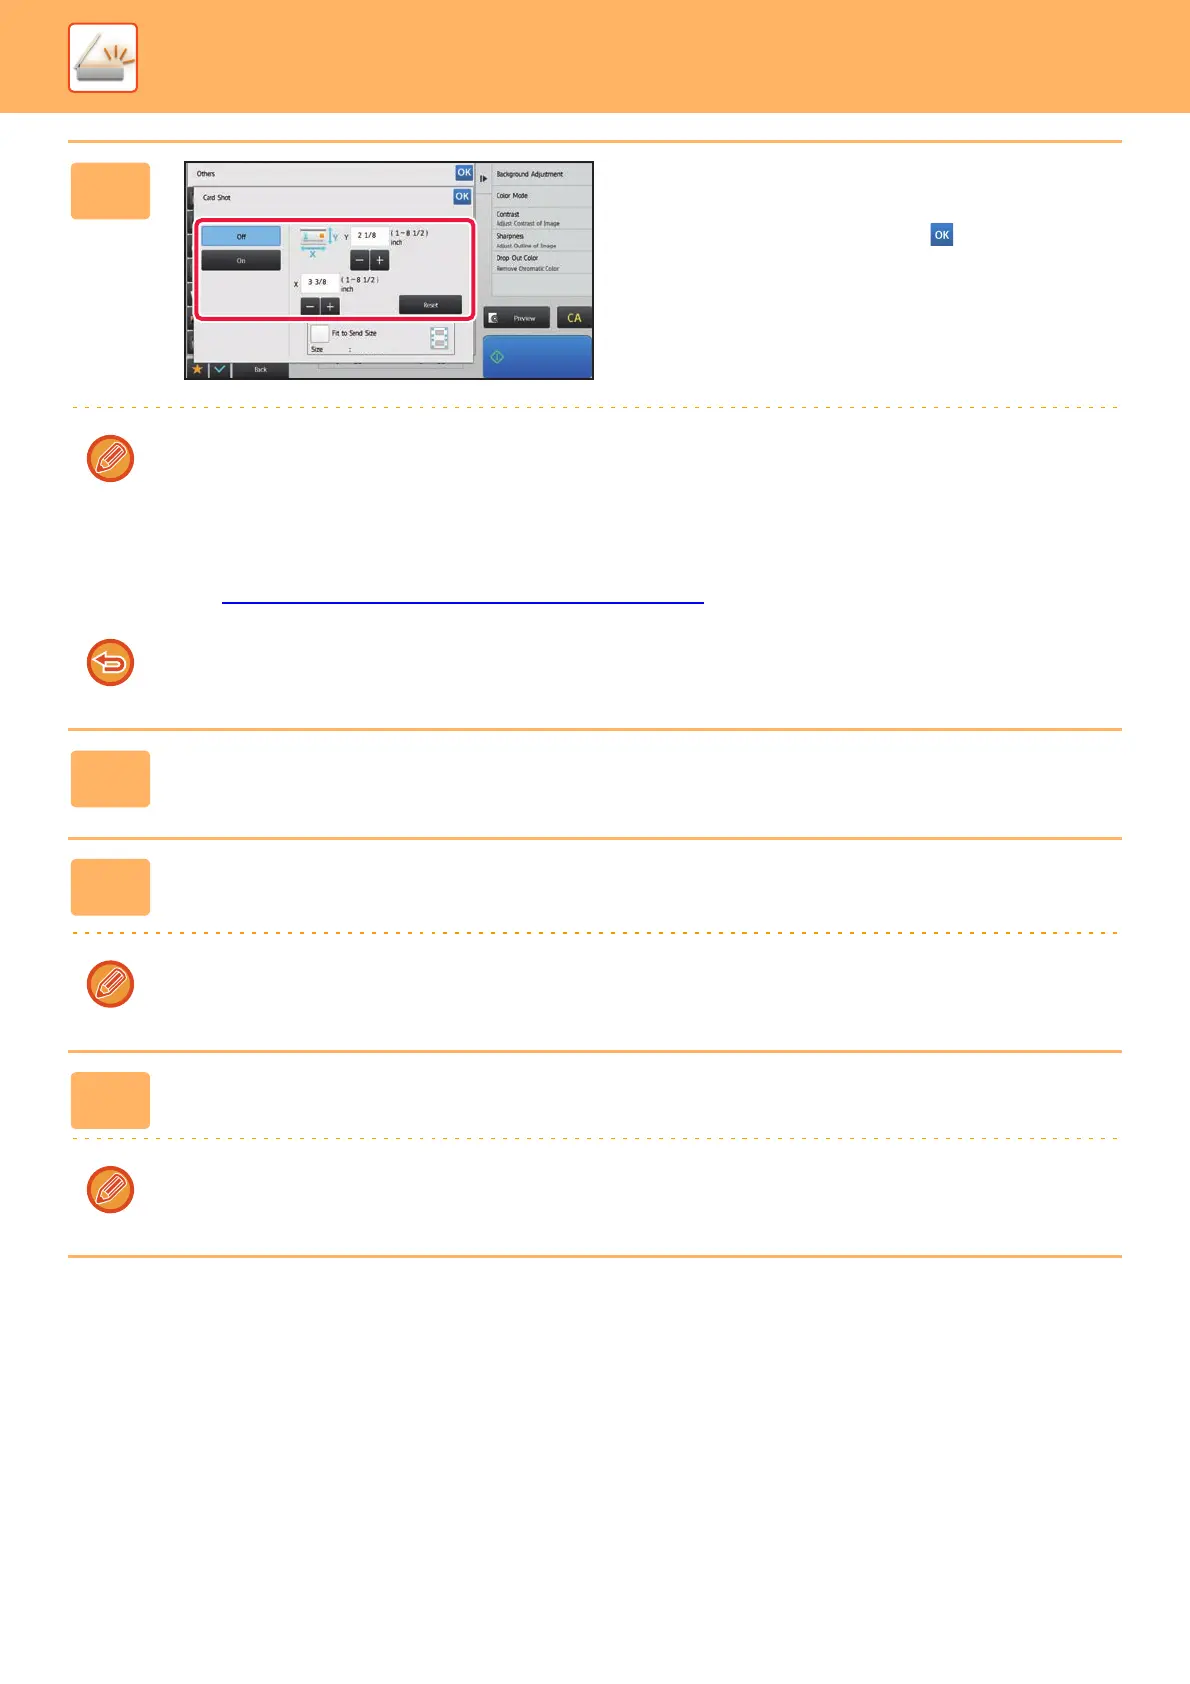
Tap the [On] key, and specify the
original size as required.
After the settings are completed, tap and [Back] keys in
sequence.
• Tap the areas displaying width and height sizes respectively, and enter the sizes using the numeric keys.
• To quickly set the size, first specify a value close to the desired ratio value by the numeric keys, then tap [-] or [+] for
adjustment.
• To enlarge or reduce the images to fit the paper based on the entered original size, tap the [Fit to Send Size] key.
• After selecting Card Shot, tap the [Original] key in the base screen to change the original scan size or the send size. In
this case, the screen of this step appears when you tap the scan size key. For the procedure for setting the send size,
see "SPECIFYING THE SEND SIZE OF THE IMAGE (page 5-54)
".
To cancel the Card Shot settings
Tap the [Off] key.
6
Tap the [Start] key, and scan the front side.
7
Place a card face up on the document glass, and tap the [Start] key to scan
the reverse side.
Before scanning the back of the card, tap the [Change Setting] key on the touch panel to change the exposure.
8
Tap the [Read-End] key.
If you will continue by scanning the front of the card, you can tap the [Change Setting] key to change the exposure,
resolution, scan size, and send size.