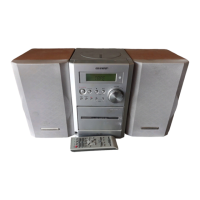
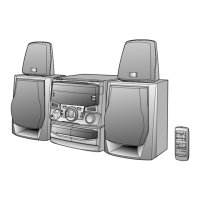
XL-30H/30W
– 6 –
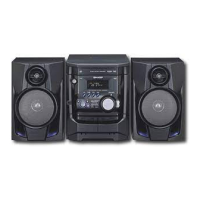
1. Bass Reflex Duct
2. Full-Range Speaker
3. Speaker Wire
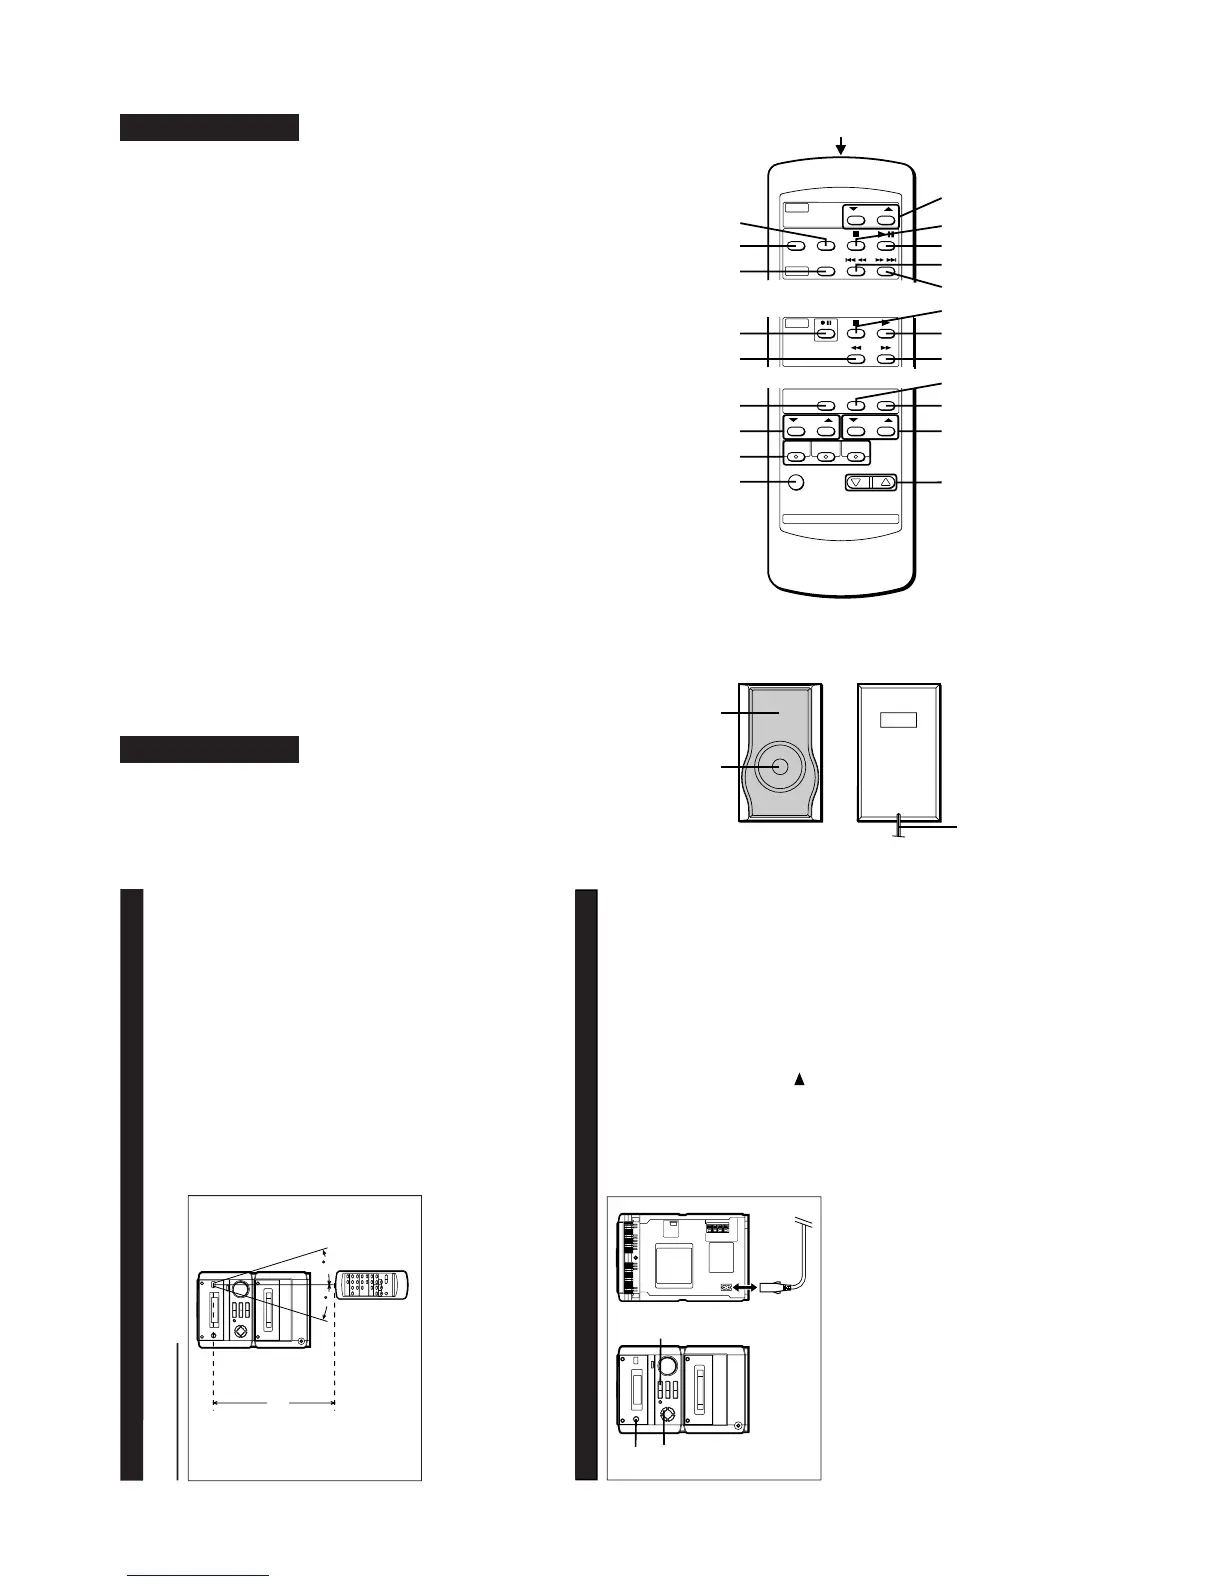
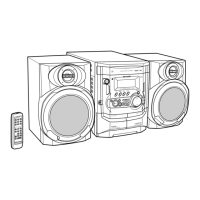
■ Remote control
1. Remote Control Transmitter LED
● Tuner control section
2. Preset Up/Down Buttons
● CD control section
3. Clear Button
4. Random/Repeat Button
5. Memory Button
6. Stop Button
7. Play/Pause Button
8. Track Down/Review Button
9. Track Up/Cue Button
● Tape control section
10. Record Pause Button
11. Rewind Button
12. Stop Button
13. Play Button
14. Fast Forward Button
● Common section
15. Sleep Button
16. Bass Up/Down Buttons
17. Function Selector Buttons
18. On/Stand-by Button
19. Timer Button
20. Clock Button
21. Treble Up/Down Buttons
22. Volume Up/Down Buttons
Notes concerning use:
● Replace the batteries if the operating distance is
reduced or if the operation becomes erratic.
● Periodically clean the transmitter LED on the re-
mote control and the sensor on the main unit
with a soft cloth.
● Exposing the sensor on the main unit to strong
light may interfere with operation. Change the
lighting or the direction of the unit.
● Keep the remote control away from moisture,
excessive heat, shock, and vibrations.
0.2m - 6m
(8” - 20”)
■ Remote control
1
2
3
3
4
5
10
11
2
6
7
8
9
12
13
14
20
22
15
16
17
18
19
21
1
OPERATION MANUAL
XL-30H/30W
RESETTING THE MICROCOMPUTER
1
3
3
2,3
AC INPUT
Reset the microcomputer under the following
conditions:
● To erase all of the stored memory contents (clock
and timer settings, and tuner and CD presets).
● If the display is not correct.
● If the operation is not correct.
1
Press the ON/STAND-BY button to enter the
stand-by mode.
2 Unplug the AC power lead from the AC INPUT
socket on this unit.
3 Whilst pressing down the MEMORY/SET but-
ton and the button, plug the AC power lead
into the AC INPUT socket on this unit.
Caution:
● The operation explained above will erase all data
stored in memory, such as clock and timer set-
tings, and tuner and CD presets.