20
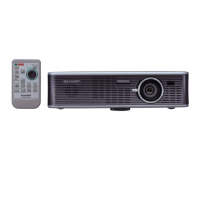
XR-1X
3. Removing the main PWB
3-1. Remove the fixing screw for S-VIDEO terminal (terminal side).
3-2. Remove 2 hex head screws fixing D-SUB 15-pin terminal (terminal side).
3-3. Remove 4 main PWB fixing screws.
3-4. Remove 9 connectors from the main PWB.
3-5. Lift off the main PWB in an oblique direction from the terminal panel side.
4. Removing the power supply ballast unit and fan unit
4-1. Remove 3 ballast unit fixing screws.
4-2. Remove 2 lamp socket fixing screws to detach the socket.
4-3. Remove the bimetal unit fixing screw to lift off the bimetal unit.
4-4. Disconnect the connector between ballast unit and the inlet PWB unit.
4-5. Lift off the ballast unit.
4-6 Remove 1 fan unit fixing screw to detach the fan unit.
3-1
3-2
3-3
3-5
3-4
3-4
3-4
3-4
3-4
[FC]
[LF]
[SO]
[KY]
[EA]
[FA]
[FB]
[DD]
Main PWB
4-1
4-2
4-3
4-4
4-5
4-6
Power supply ballast unit
Fan unit
Lamp
Socket
Bimetal unit