Required Items:
l Pencil
l Drill
l One Torx T20 screwdriver
l One Philips screwdriver
l Stud Finder (oponal)
Included Items:
l 4 each, wood screws
l 4 each, “molly” hollow wall anchors
l 8 each, 18mm M4 Torx T20 screws
l 2 each, Ethernet cables
l ShoreTel IP Phone Wall Mount Adapter
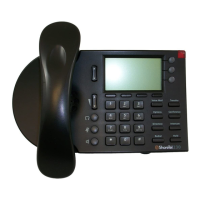
Remove the Phone Stand
1. Grasp the phone stand in one hand and the base of the phone in the other. Pull the stand o
the base unl it unsnaps. Set the stand aside.
2. Disconnect the handset cable from the rear of the ShoreTel IP Phone and set it aside.
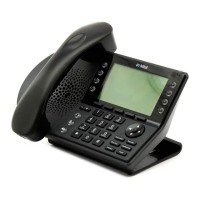
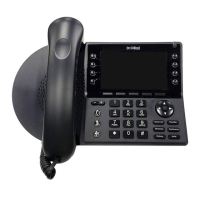
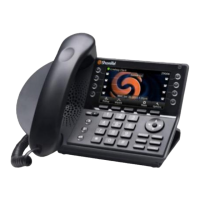
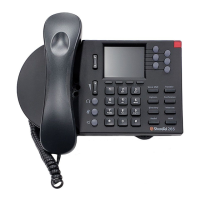
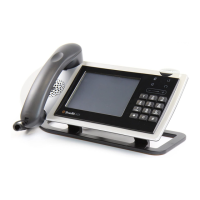
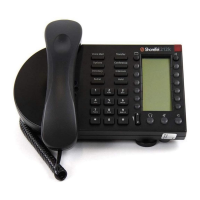
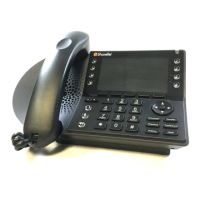
IP Phone 480/480G/485G
Wall Mount Installation
ShoreTel, Inc. l www.shoretel.com
Refer to http://support.shoretel.com/products/ip_phones/ for more information
Part Number 800-1545-01
4
1
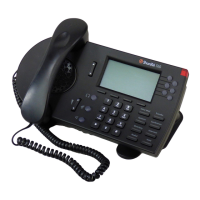
Mount the Phone
1. Insert the Wall Mount Bracket’s upper two tabs into the slots on the phone’s Mounng
Adapter and pivot the base of the phone toward the lower tabs unl the phone snaps in.
2. Insert two Torx screws at the base of the Mounng Adapter to secure the Mounng Adapter
to the Wall Mount Bracket.
3. Replace the handset in the cradle and posion the coiled handset cable in the well of the
Wall Mount Bracket.
4. Wait for the phone to reboot before aempng to place a call.
1
2
3
4
2
1