Shure Incorporated
4/50
•
•
•
•
•
•
•
•
1.
2.
3.
4.
MXA920
Ceiling Array Microphone
Getting Started
Designer Setup Example
This example uses Designer 6.0 to connect an MXA920 and a P300. The process is similar when using other combinations of
devices in Designer, so use these steps as a starting point.
After completing this basic setup process, you should be able to:
Discover the MXA920 in Designer
Add coverage areas
Adjust DSP settings and route audio
Understand the basic workflow for working with devices in Designer
This example uses:
Cat5e (or better) Ethernet cable (shielded cable recommended)
Network switch that provides Power over Ethernet (PoE) and PoE+ for the P300
Shure Designer software installed on a computer. Download at shure.com/designer.
P300
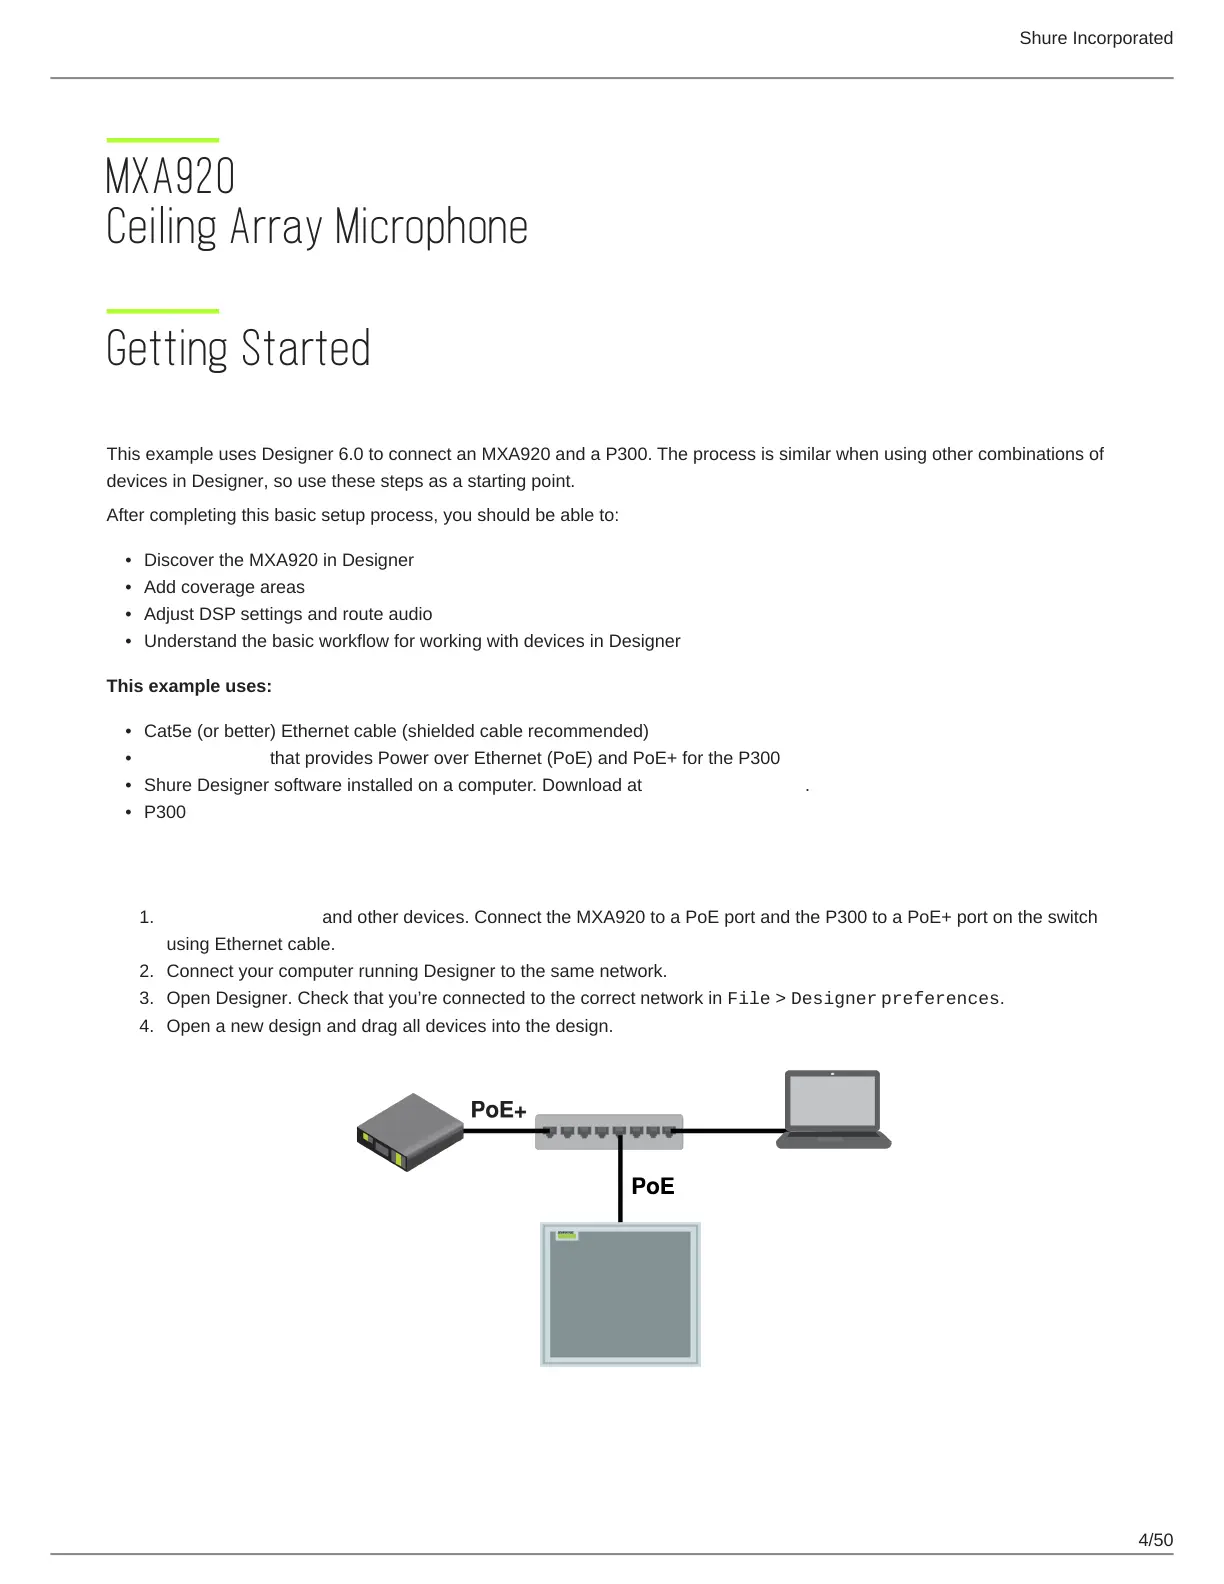
Step 1: Install and Connect
Install the MXA920 and other devices. Connect the MXA920 to a PoE port and the P300 to a PoE+ port on the switch
using Ethernet cable.
Connect your computer running Designer to the same network.
Open Designer. Check that you’re connected to the correct network in File > Designer preferences.
Open a new design and drag all devices into the design.
 Loading...