Table 7: Alarm
Alarm (≤ 100 mA)
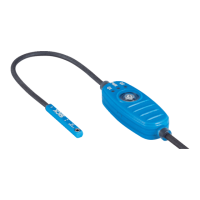
7 Commissioning
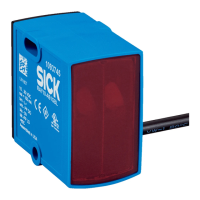
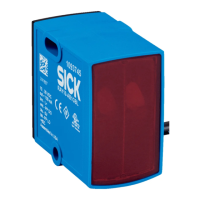
1 Alignment
Align the sensor with a suitable reflector. Select the position so that the red emitted light
beam hits the center of the reflector. The frontlens of the sensor and the reflector have to
be cleaned before teaching. The switch on the back side has to be turned to the right to
start teaching and also to the left for terminating teach procedure.
NOTE
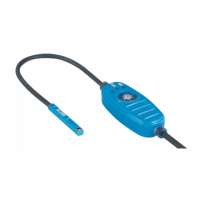
Tip: Use the signal strength light bar on the back of the sensor to help you align it correctly.
The sensor must have a clear view of the reflector, with no object in the path of the beam
[ see figure 4]. You must ensure that the optical openings of the sensor and reflector are
completely clear.
Optimized alignment can be achieved and verified by using the signal strength light bar
located on the back cover of the sensor. The LEDs on the light bar will illuminate corre‐
sponding to the signal strength of light received by the sensor. When no blue LEDs are illu‐
minated, the sensor is receiving no or too little signal to switch the output. The first blue
LED will illuminate at the minimum switching threshold and the remaining blue LEDs will
continue to illuminate as the received light increases see figure 4 .
COMMISSIONING 7
8022198 | SICK
Subject to change without notice
9